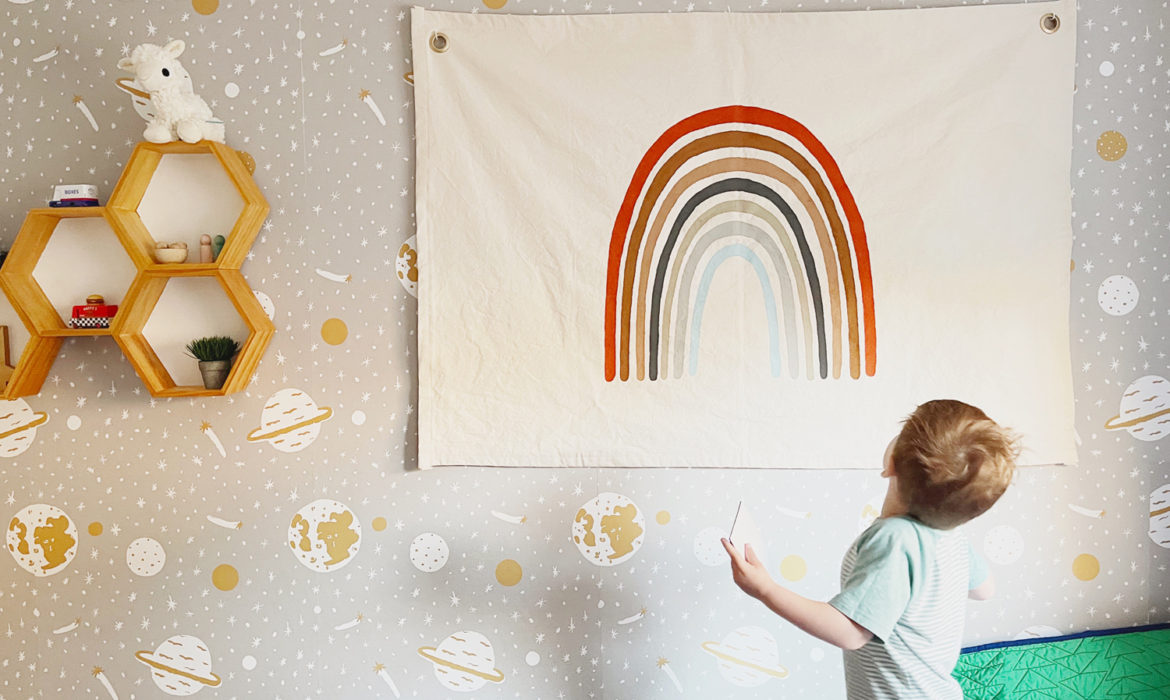
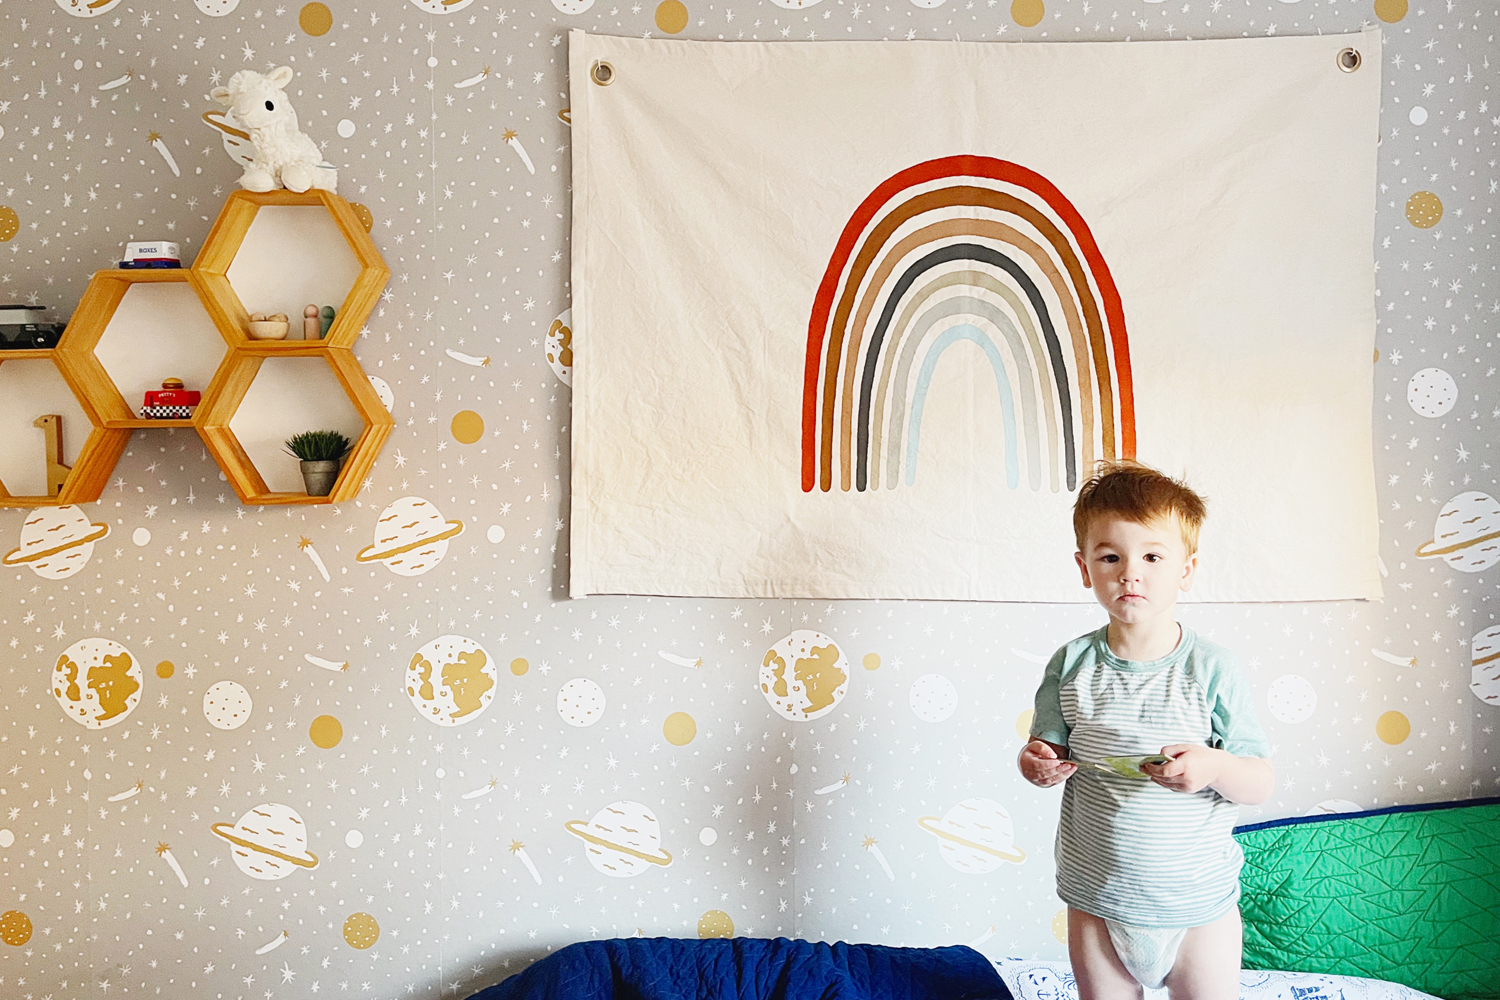
When Hue got a big boy bed it was natural that things needed to be moved around. I wanted to put a cloth banner above his bed because we live in California where we have earthquakes and I wanted something soft near his bed incase something were to fall it wouldn’t hurt him.
INSPIRATION + PLANNING Here is how I started this project. I really liked this Gathre mat and this was my starting off point for inspiration. I liked the idea of doing it myself because then I could choose the colors that would work best for Hue and his room. I ended up in spending about $14 in fabric and paint and another $12 for grommets. In total this cost me less than $30 to make. I knew I was going to want a heavy canvas like material and there was a page of one of Hue’s books that had such a nice color combo so I used that as a starting off point for my color palette. I ended up getting an outdoor canvas fabric (from Joann’s) because all the cotton blends didn’t have the weight I was looking for.
I got around 1+1/4 yards in fabric taking into account that I would wash and hem the fabric. I washed the canvas and sewed a 1″ hem around all 4 sides. Then I ironed it to smooth out all the wrinkles. I think because this is an outdoor fabric their is some kind of coating on it to protect from outdoor weather and it made it hard to iron out. I had to go over an area many times and it always seemed a little wrinkly even after ironing a million times. Since this came from the store and we are in Covid times I wanted to wash it. If I hadn’t washed it it probably would have stayed smoother but since it’s going over Hue’s bed I want to make sure it’s clean.

Here is the book I got my color inspiration from.
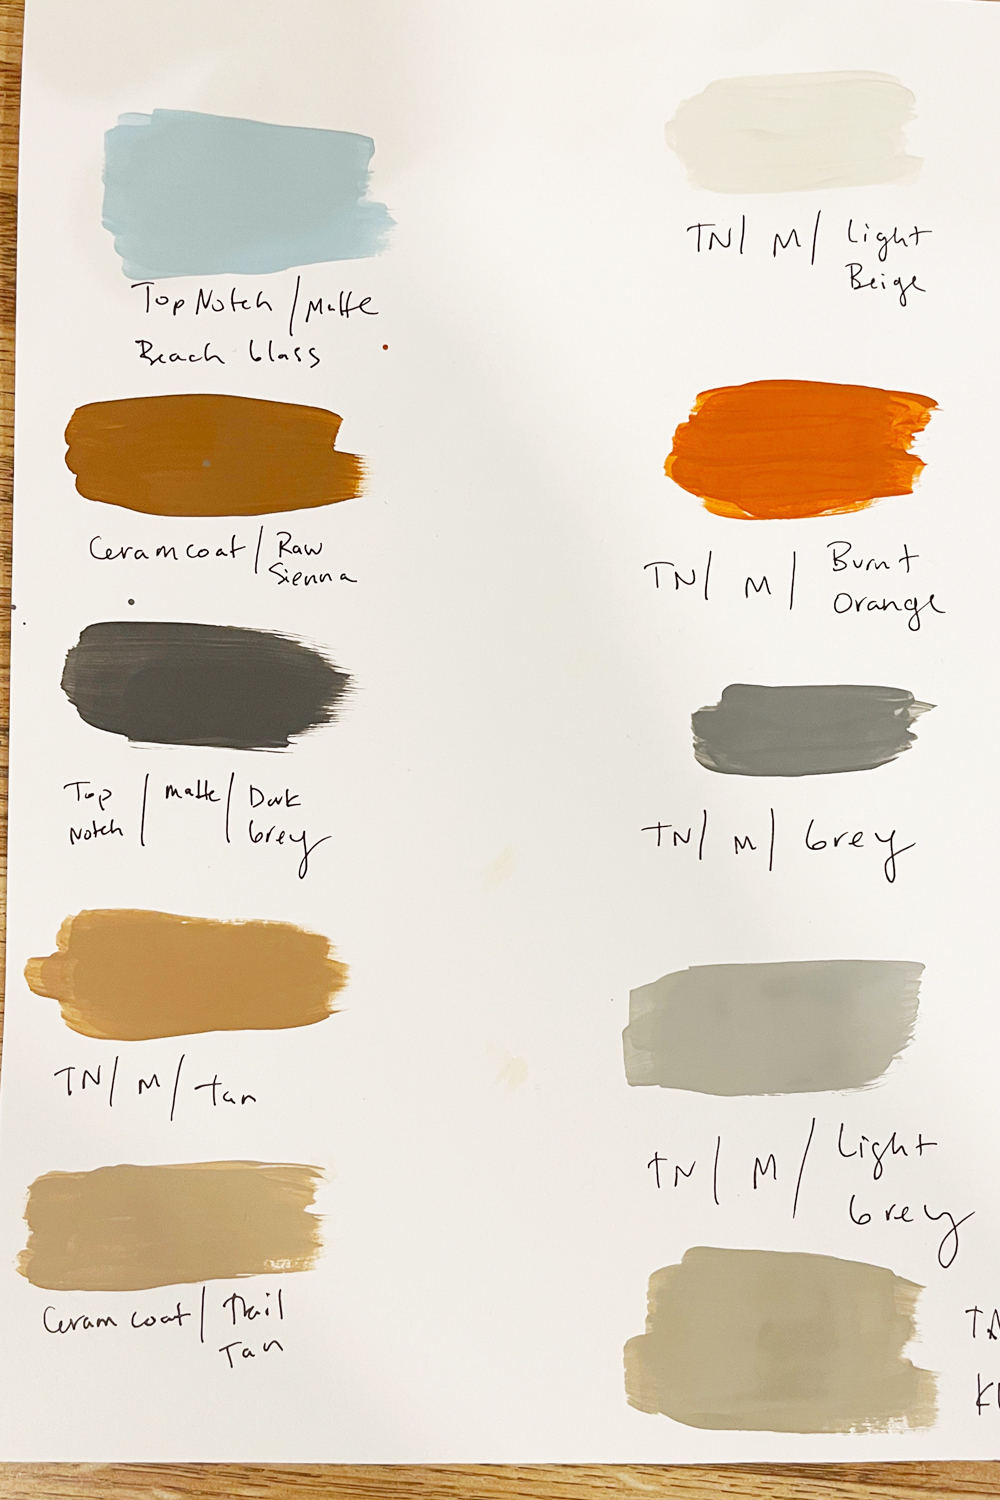
PHYSICALLY MAKING A COLOR GUIDE It’s important to see what the colors look like painted on something and dried. I made a color guide on paper making two coats for each color.
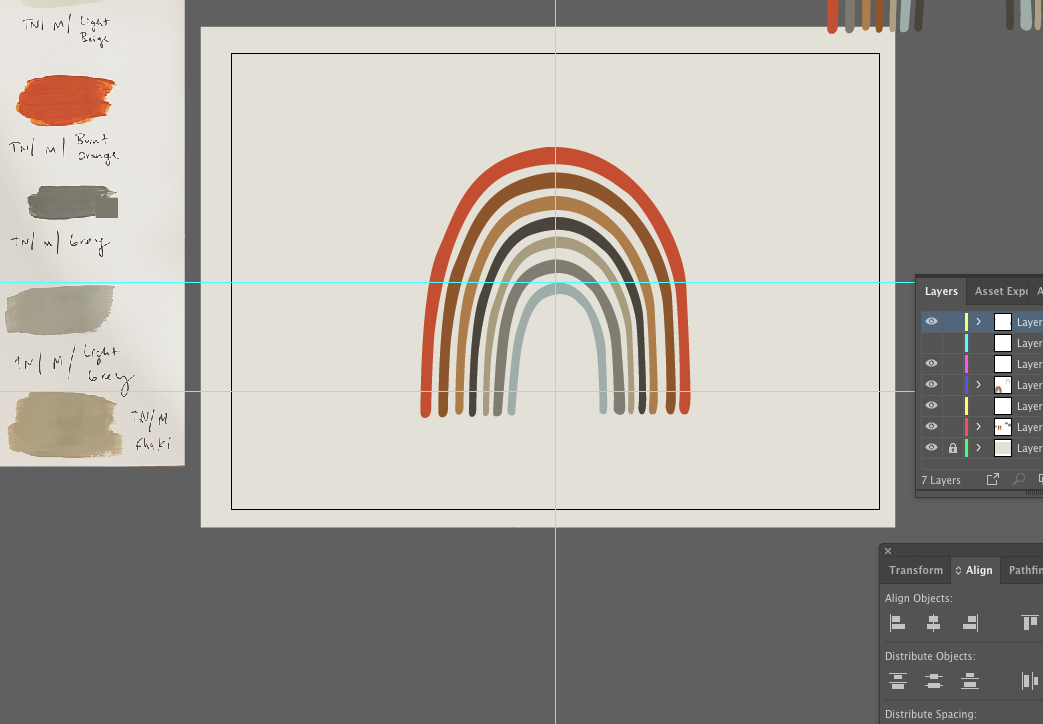
Then I airdropped the dried color guide picture to my computer and dropped it into my file. So I could color drop the colors into may rays. I made this in ai. I drew out the rays to have a similar shape as my inspo pic. I just played around with my color palette until I like the flow. I ended up changing the order of colors a couple of times while painting it too. It’s a nice tool/jumping-off-point to be able to mock-it-up on my computer screen to visually see the different color sequences. Once you are actually painting it (of course) it looks different so that is why I ended up changing the sequence.
MAKING A RAINBOW TEMPLATE Once I had a color combo sequence I liked, I copied the rainbow so I had one in color and one outlined. I made the outlined rainbow with no fill/black outline and the background color white. (I actually made my background color to match my fabric as much as possible to see what the colors would look like against it and forgot to turn that off! I spent a lot of ink/money unnecessarily printing an off-white color. -Major eye roll inserted here.) So if you do that don’t forget to turn that beige layer off! You are making yourself a template to help draw your rainbow rays.
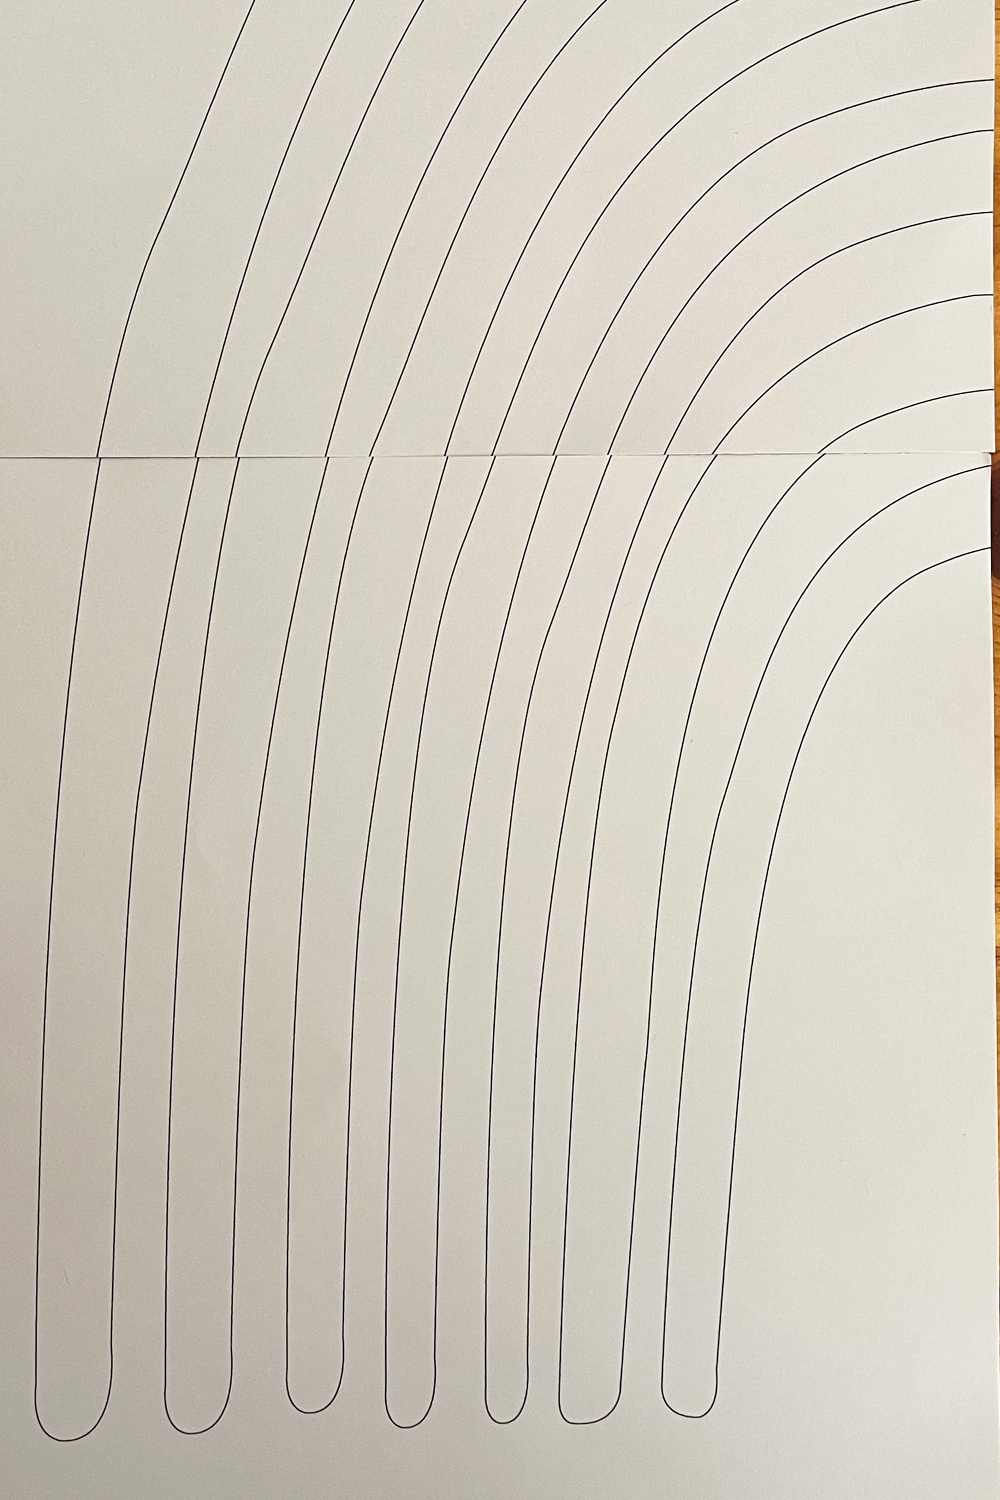
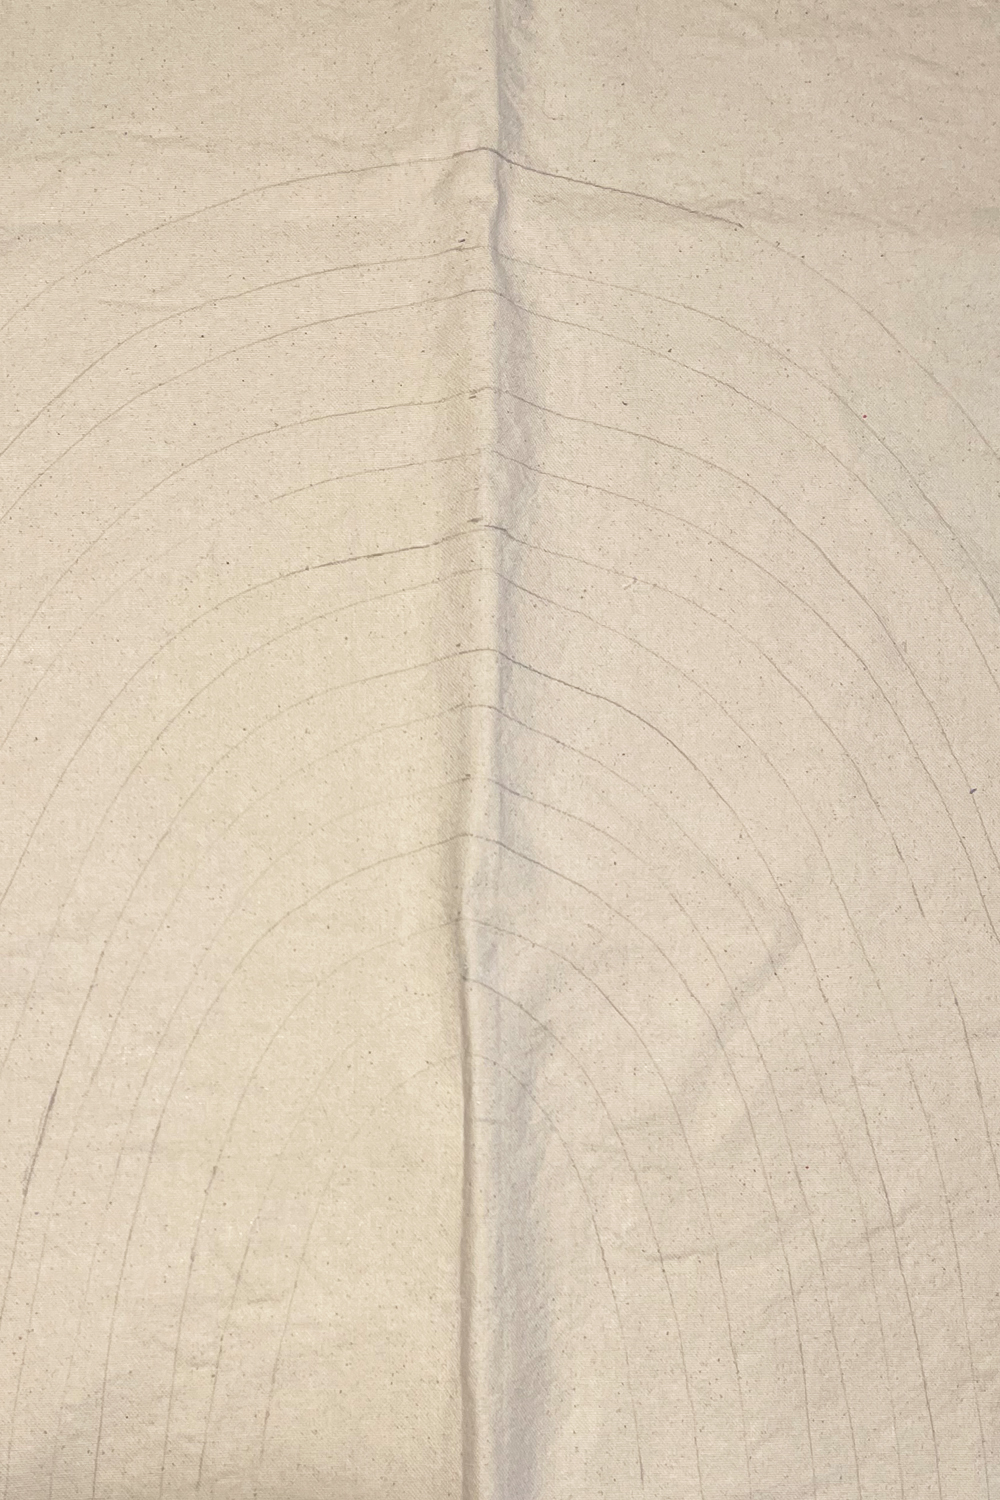
TRACING YOUR RAINBOW TEMPLATE You can print out the template I made here. I made my banner really big so this is printed on 12′ x 18″ paper. I only printed one side (half a ray) and the top left side is on one page and the bottom left is on the the second page. I cut out each ray and connected the bottom with the tops and connected them together with tape. Then I found my center on my canvas and started to trace each ray with a pencil on the canvas leaving about an inch space in between. I traced the left side of the ray and the flipped it over to trace the right side to make a complete rainbow ray.
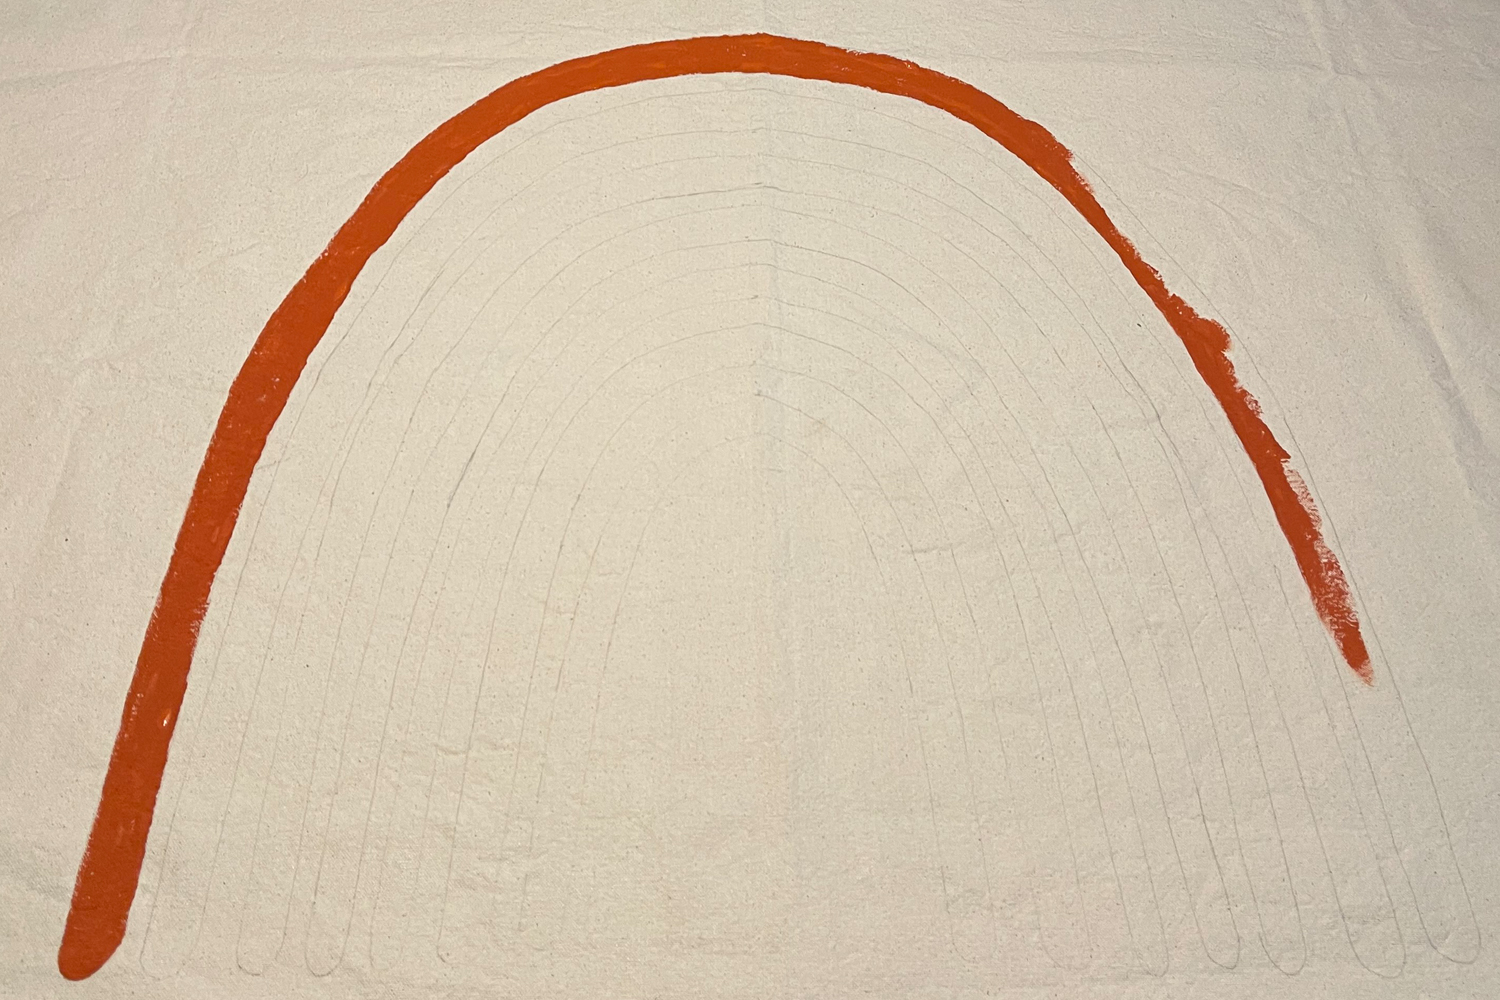
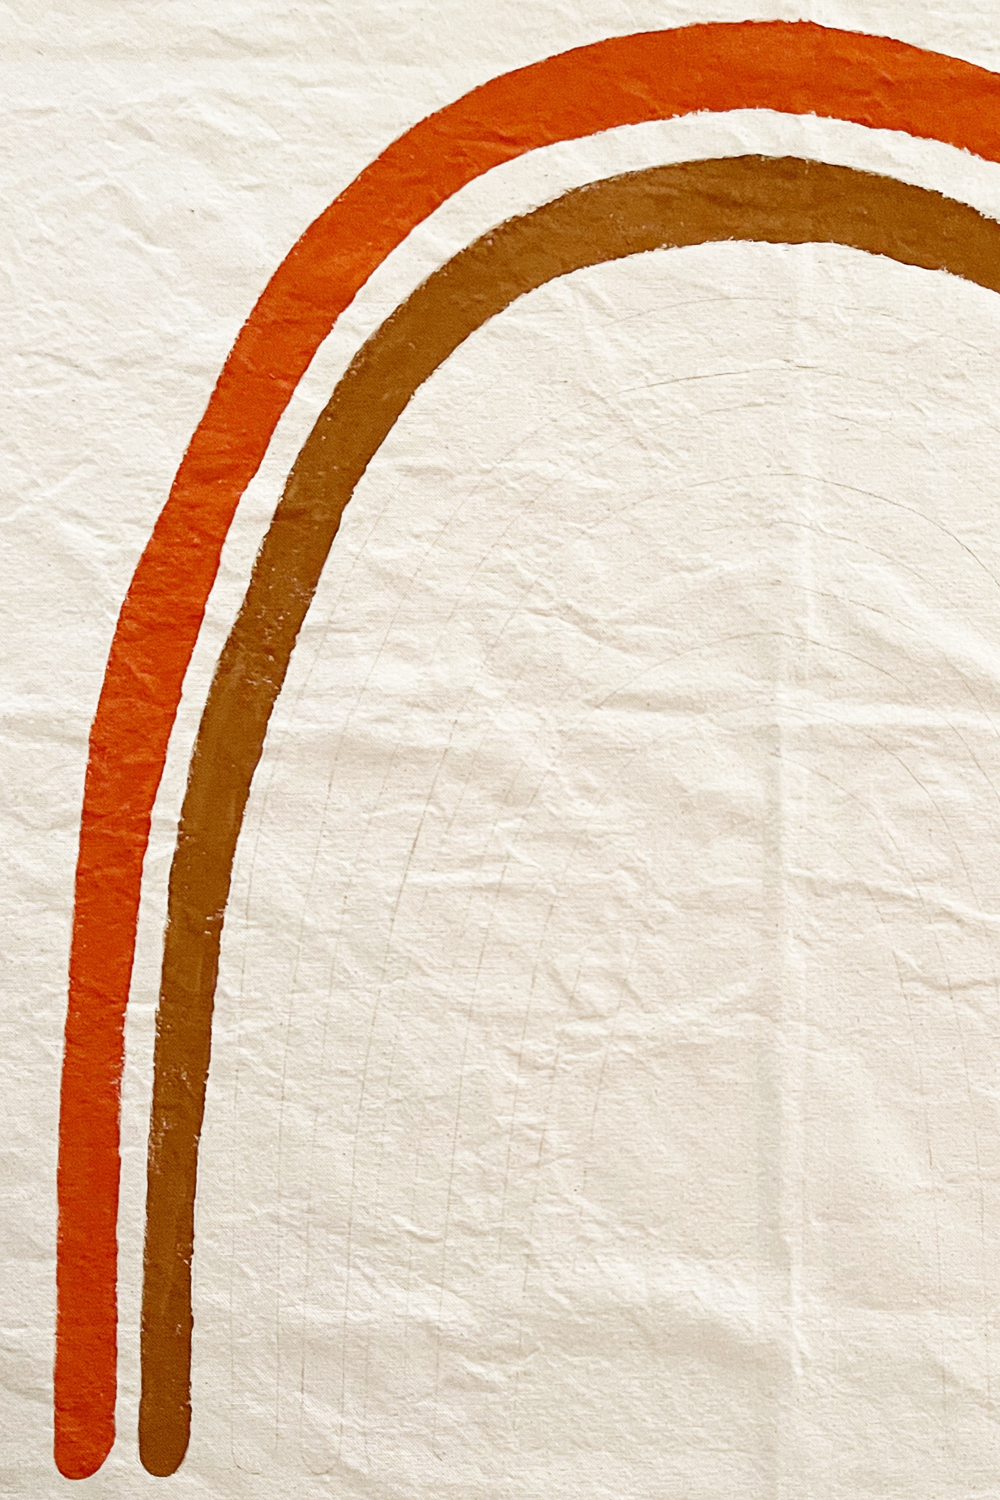
PAINTING ON CANVAS Once I had the rainbow traced out I was ready to paint. I pulled up my AI file with my rainbow sequence and I started with the top ray and worked my way down. I did it this way so my hand was resting on dry fabric. The first two rays which are much larger than the rest took me a while to get through. The rest I was able to finish all in one of Hue’s nap times. I got faster as I got the hang of how to paint it – carefully! Especially around the edges!
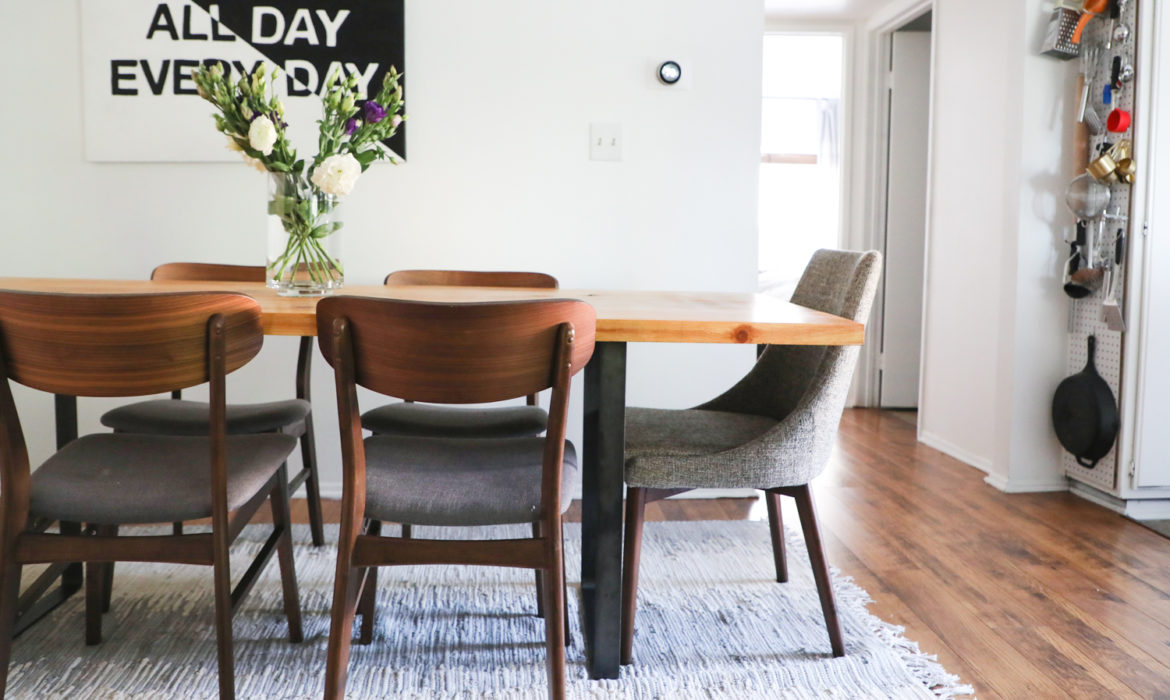
TECHNICAL DIFFICULTIES I ended up having a couple of technical difficulties. The first night I folded it up so we could eat dinner (I work on our dining table which has multiple uses besides eating) + I laid it on top of my fresh paint palette! I was able to get the paint out by scrubbing really hard with detergent but I was too scared to fold it up and Hue ended up coloring with washable markers all over the left side of the rays! I ended up fixing both problems and am pretty proud of myself! The first problem I aggressively scrubbed but the second problem was too close to the rays to scrub so I had to paint over. I had always planned on doing two coats so it ended up just working out when fixing Hue’s markings. Problem solving gets better and stronger as I make more mistakes with each project!
GROMMETS The question of whether or not to grommet was on my mind a lot. I had originally intended to use a grommet in each corner but when I was at Joann’s buying the other supplies, grommet making was more complicated/expensive than I expected – who knew you needed a grommet tool? I only needed two grommets so a tool seemed like a big commitment. So, I skipped the grommets. I used 3m removable adhesive strips but the banner was too heavy and fell down. Just as I was about to buy the expensive grommet tool and grommets, Yellow Brick Home posted a project with grommets that didn’t need the tool. So, I ordered those right away and love how they look! It was super easy to do. Thanks YBH for the tip! I was concerned about Hue ripping out a nail and ending up in his bed so I using some screw-in hooks so hopefully they stay put.
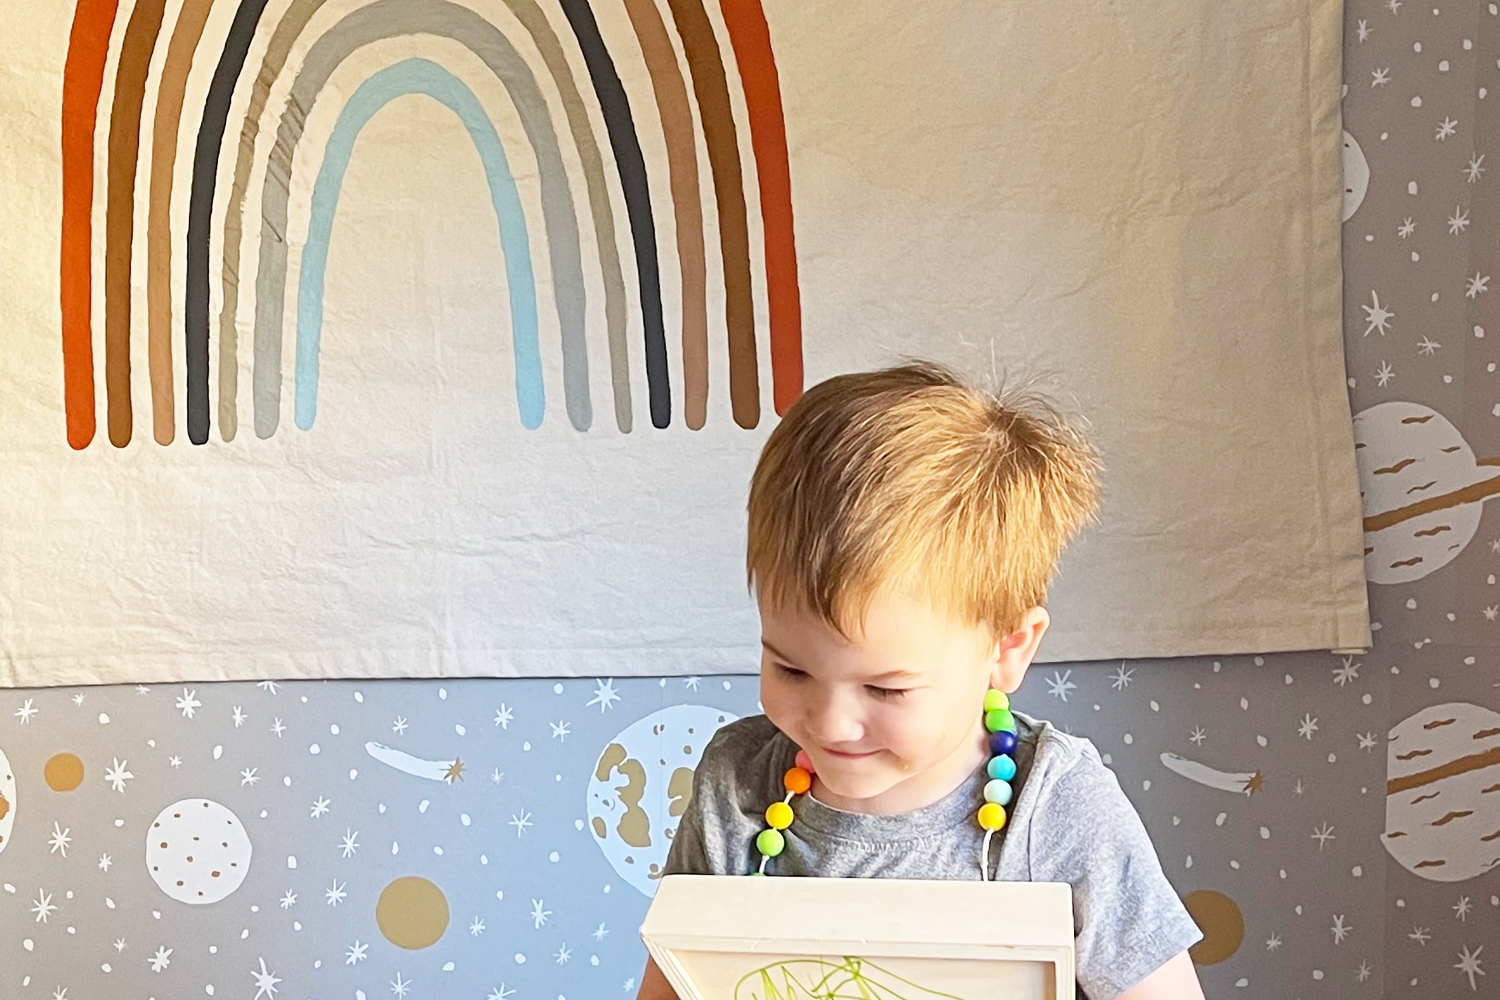
You can see I was in the middle of fixing the rays here. You can see Hue’s artwork on the bottom three rays! Here is a list of supplies you will need to make this rainbow banner!
Supplies Needed:
• Heavy weight Canvas Material (I got mine in the furniture fabric area in Joann’s)
• Craft Paint (Any colors you want!!!) I got mine at Joann’s while I picked up my fabric.
• Paint brushes + palettes (already had on hand)
• Template (You can use mine here) I printed on card stock or a heavier weighted paper
• Sewing machine for a cleaner edge (optional)
• Iron (If you wash your material + it’s wrinkly)
• Pencil for tracing
• Grommets
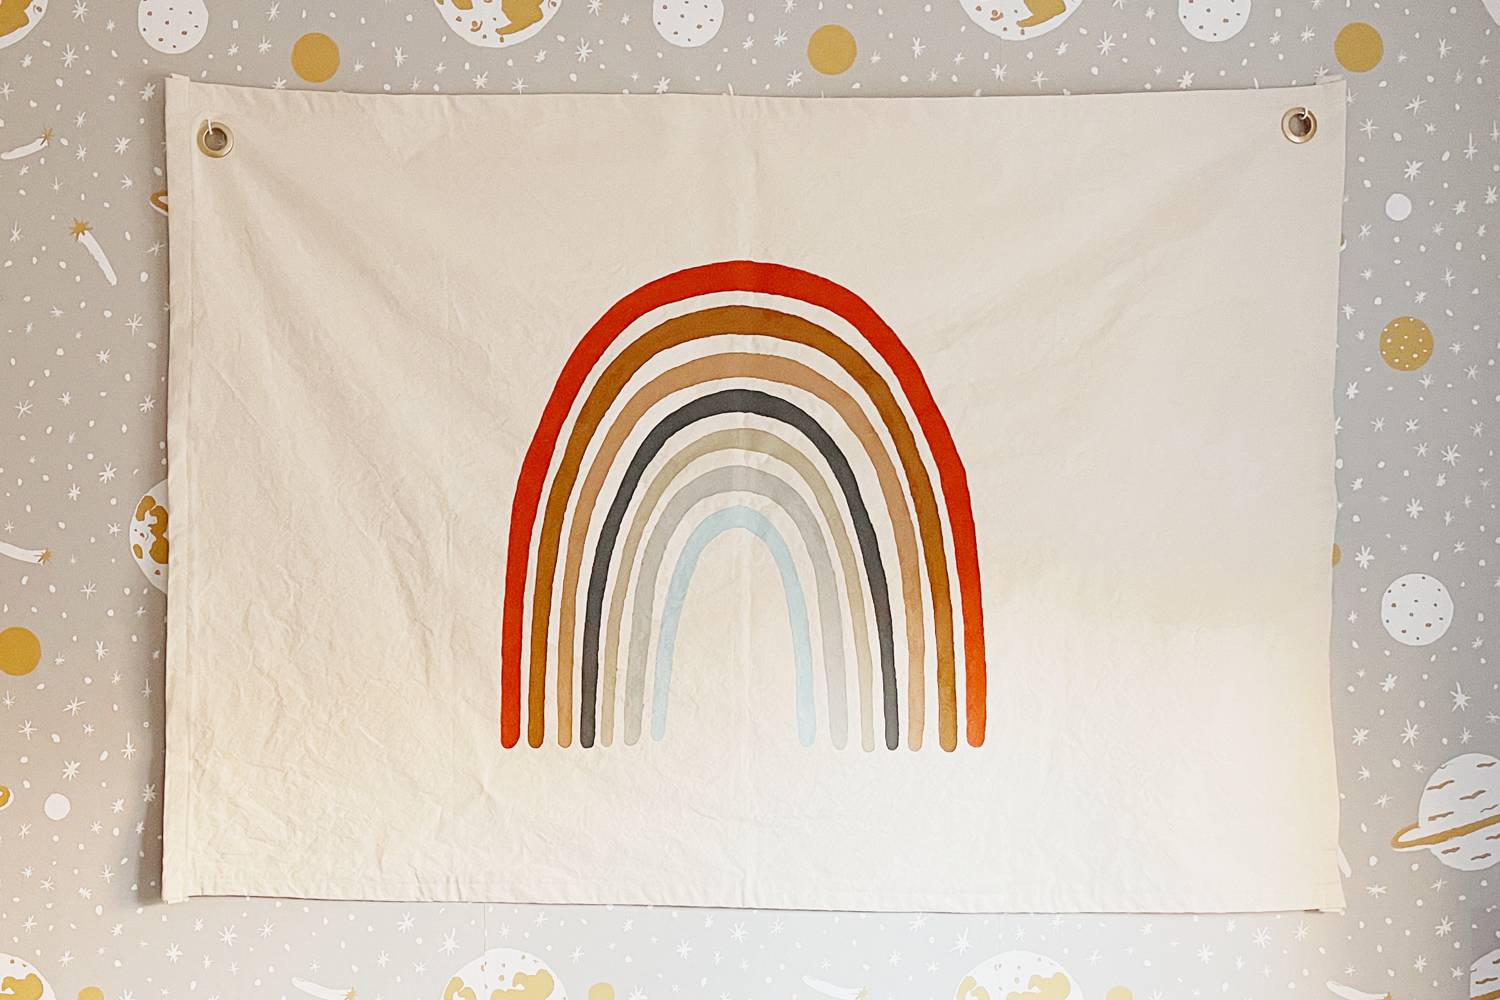
Here is the final look! Let me know if you end up making this rainbow banner!

Cassandra
Saved as a favorite, I love your web site!