I wanted Hue’s first birthday to be so special, magical, and beautiful for him and for us as a family. When we were in the hospital waiting for Hue’s arrival, Jake said something about why he gets why birthdays are such a big deal now. We waited three full days in the hospital being examined and watched over until Hue arrived. We were full of so many emotions, the biggest being the anticipation of our baby. Then we were also hit with the impending realization that we are going to have to care and be responsible of this baby out in the world – and that is terrifying. So the first year birthday celebration is not only for your baby but for the parents too. So let’s just say I started to plan this party around the day Hue was born.
I needed to start with the invitations. I had a theme in mind. I knew from about 2 weeks after Hue was born where his party was going to take place. We went on a walk around Lake Balboa to get Hue some fresh air. I couldn’t walk too far because my c-section scar was still healing. I noticed someone having a kids party in the stone structure where cement picnic tables were underneath. The backdrop of the lake behind the structure was stunning. I was like, that’s it, this is the place. The stone structure had an overnight camp feel. I know I wanted the vibe to have references from the movie Moonrise Kingdom.
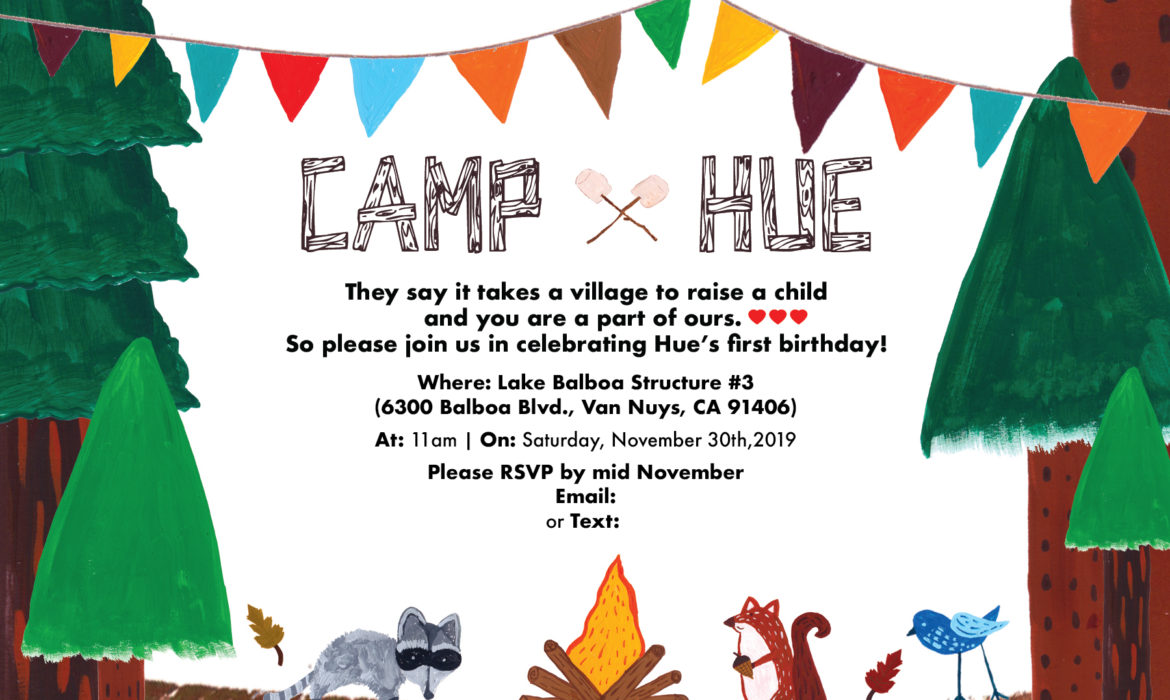
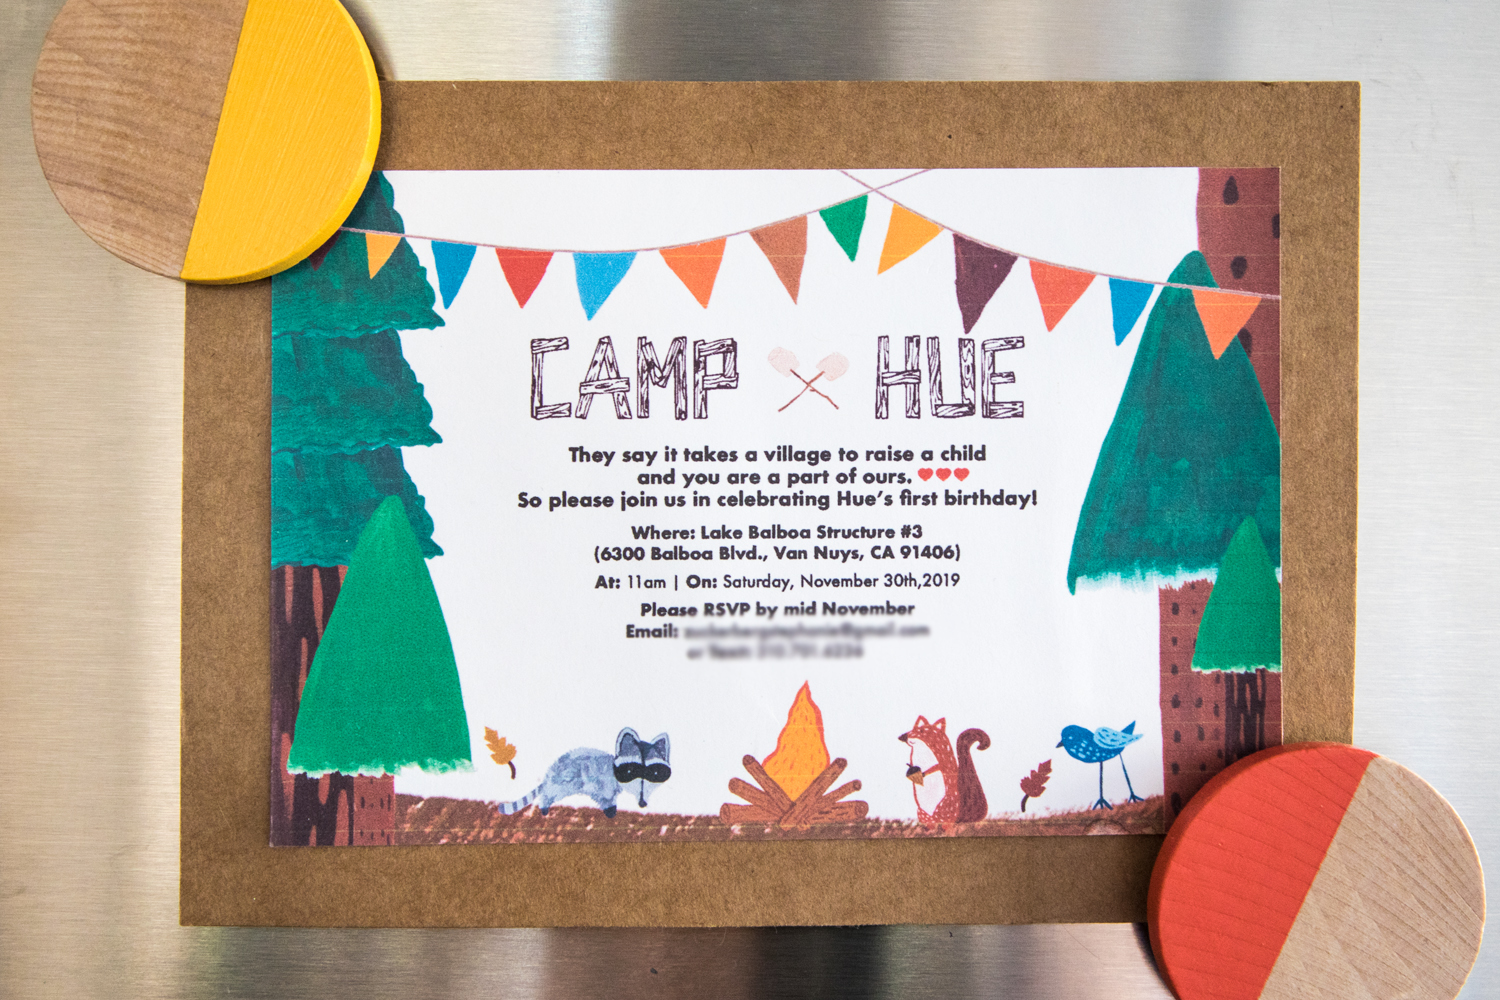
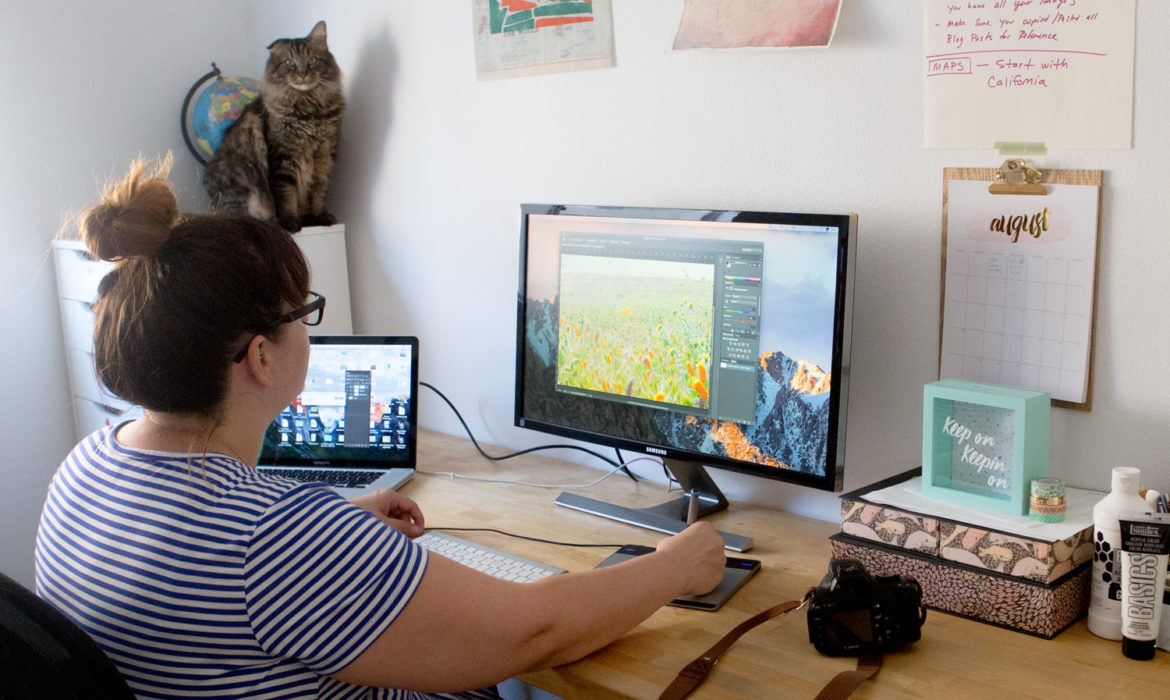
I searched through pinterest boards referencing the same movie. So many first birthdays have been in this theme! I needed to figure out the theme so I could figure out the invitations. I added forest trees, some animals, a campfire and some cute birthday flags, that also were referencing arrow shapes. I hand drew, then painted all the assets that went on the card. I then scanned them and made them individual items in photoshop. I knew what size I needed the cards to be, (I had already ordered 5″ x 7″ craft paper cards with envelopes) so I made my artboard the specific size and then started to move all my assets around until I was happy with what I had. I saved that compositions as a jpeg and brought it into illustrator where I figured out all the font. Then I saved it as a pdf for print where I had two on a page.
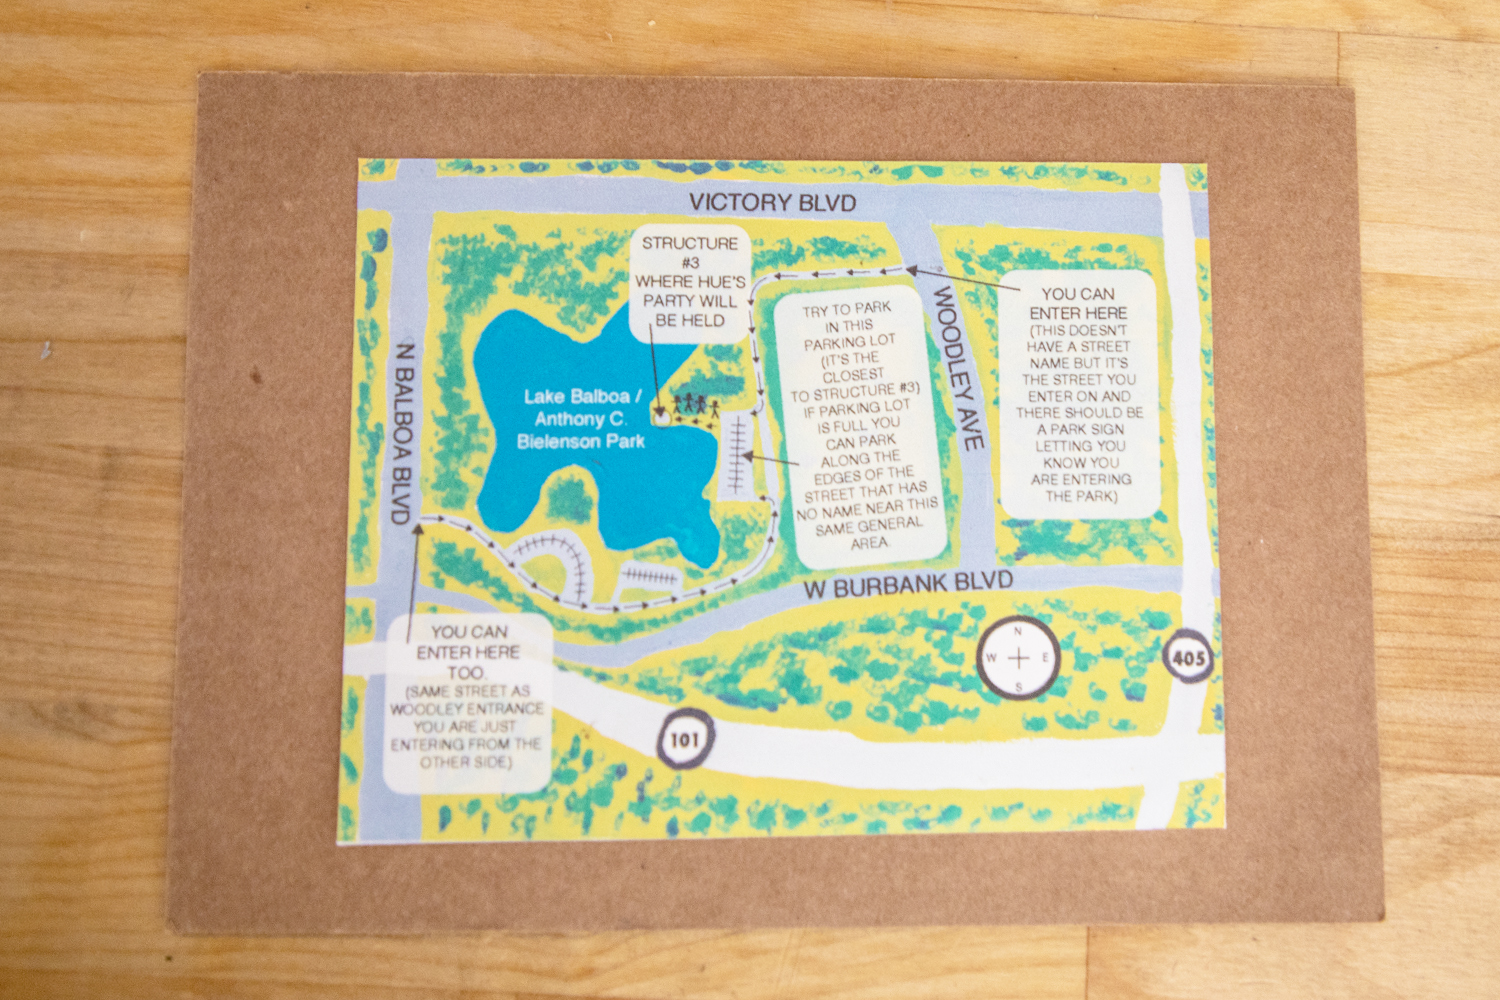
I did the same technique for the map that went on the pack of the invitations. Instead of painting them as individual pieces I painted this as a whole image. Then I scanned it and added all the copy in illustrator. Saved it as a pdf and printed two per page.
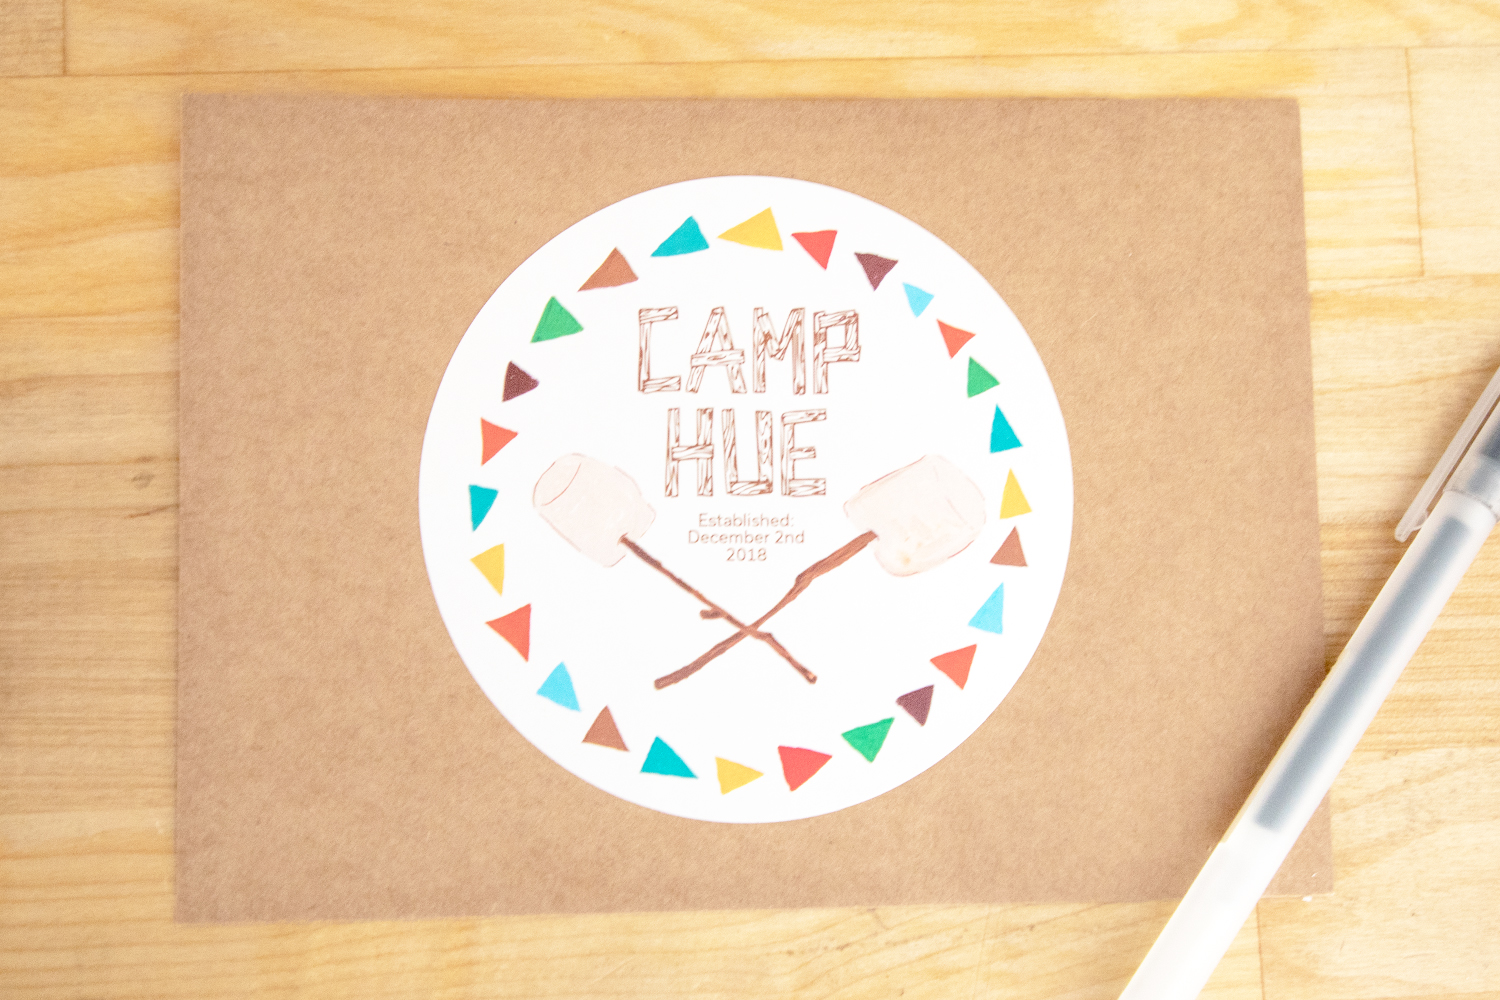
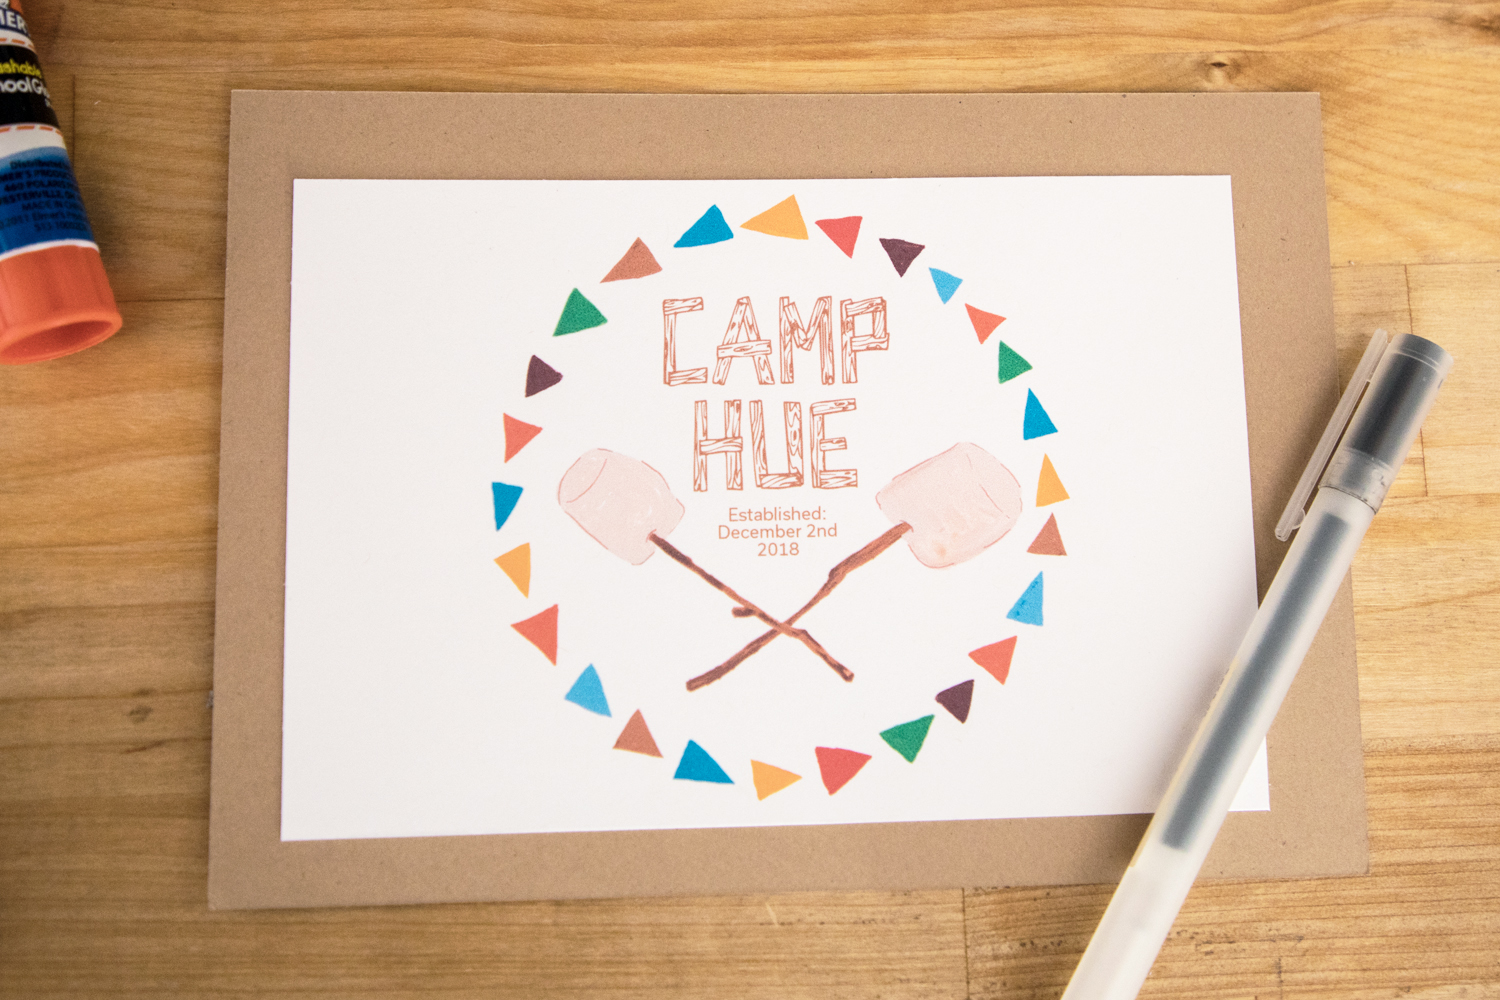
These stickers came out so cute right? I designed them and had them printed from this company. I have bought the labels from the store and tried to print at home but the registration is always off and for like the 25 stickers you paid for maybe a couple turn out. This is where I feel it’s ok to have someone else print the stickers. It saves a lot of headaches on my part. I wanted everyone to where a sticker at the party kind of like a camp badge. I had about 18 leftover out of the 50 I ordered. So I was like this would make a great thank you card! I like my cards to have some meaning from the party. These stickers were perfect.
I didn’t have enough stickers so I simply printed them out and to make my life easier I made the border a rectangle to make cutting easy. (Much easier than cutting a circle!)
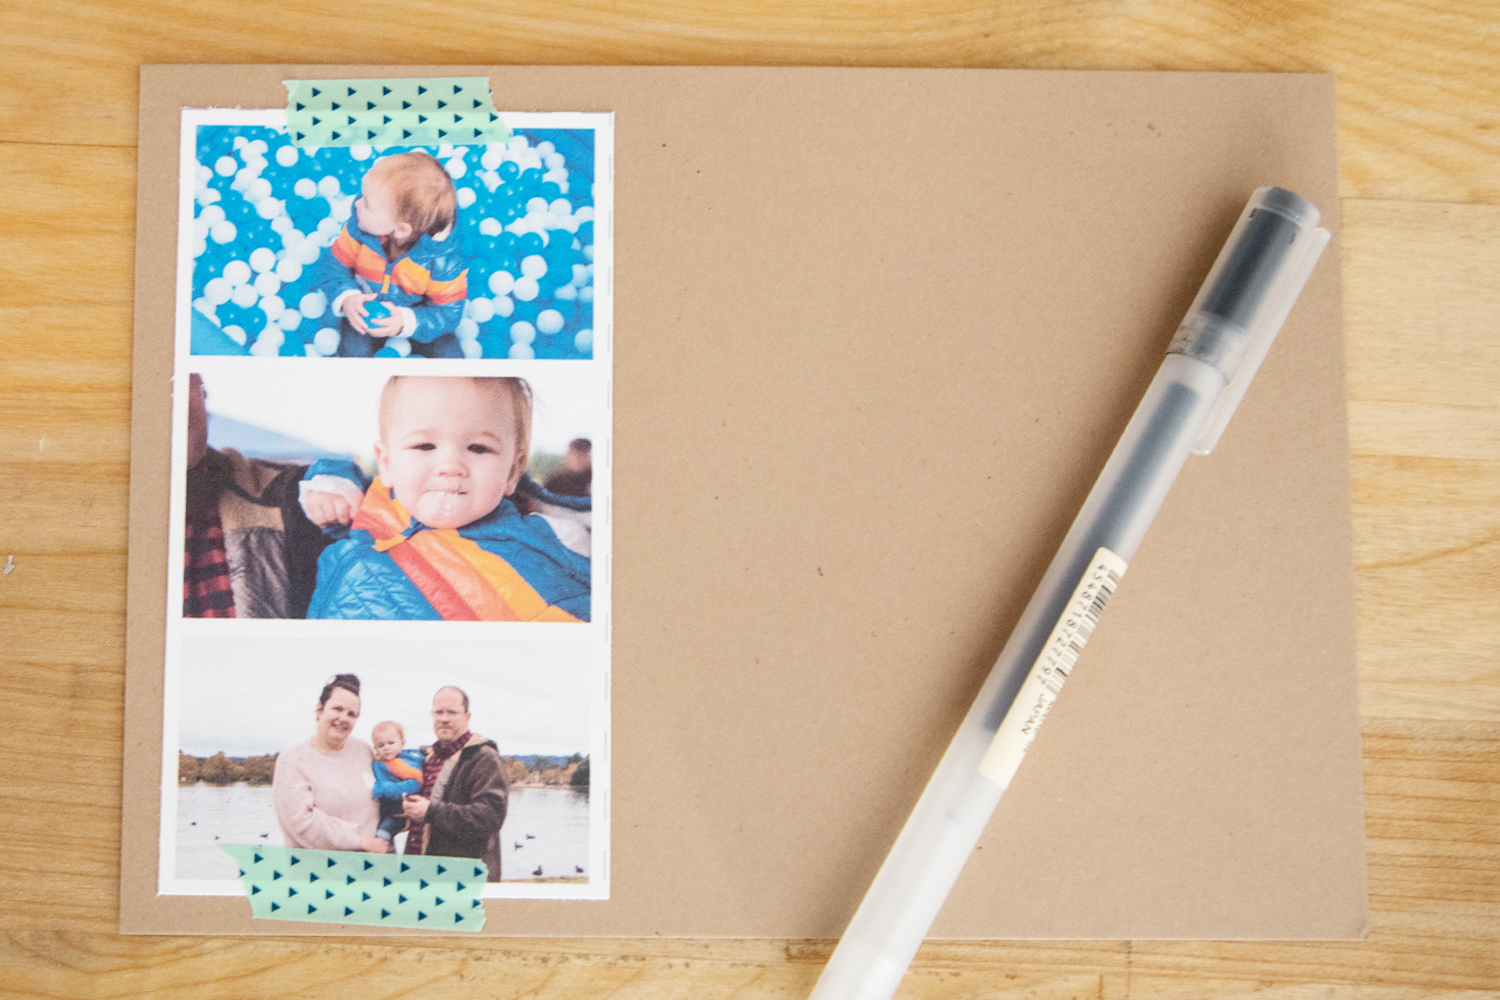
Lastly, where I planned on writing the notes to our friends, I made a photo booth-like strip of images of Hue and us. Slapped some arrow washi tape on there which ties with the triangles I had stringing in the invitations and later, hanging from the balloons at the party. Let me know if you have any questions on how I made the invitations or thank you cards.
The party post will be coming soon!

