
The artwork you put in your child’s room is so special. The choices are kind of endless so making an actual decision is so hard. Also, Hue is our first baby so everything is very new and very precious. I wanted the artwork to be handmade by me. That was really important. I started with a space theme with the Chasing Paper Space Odyssey removable wallpaper. You can see it here: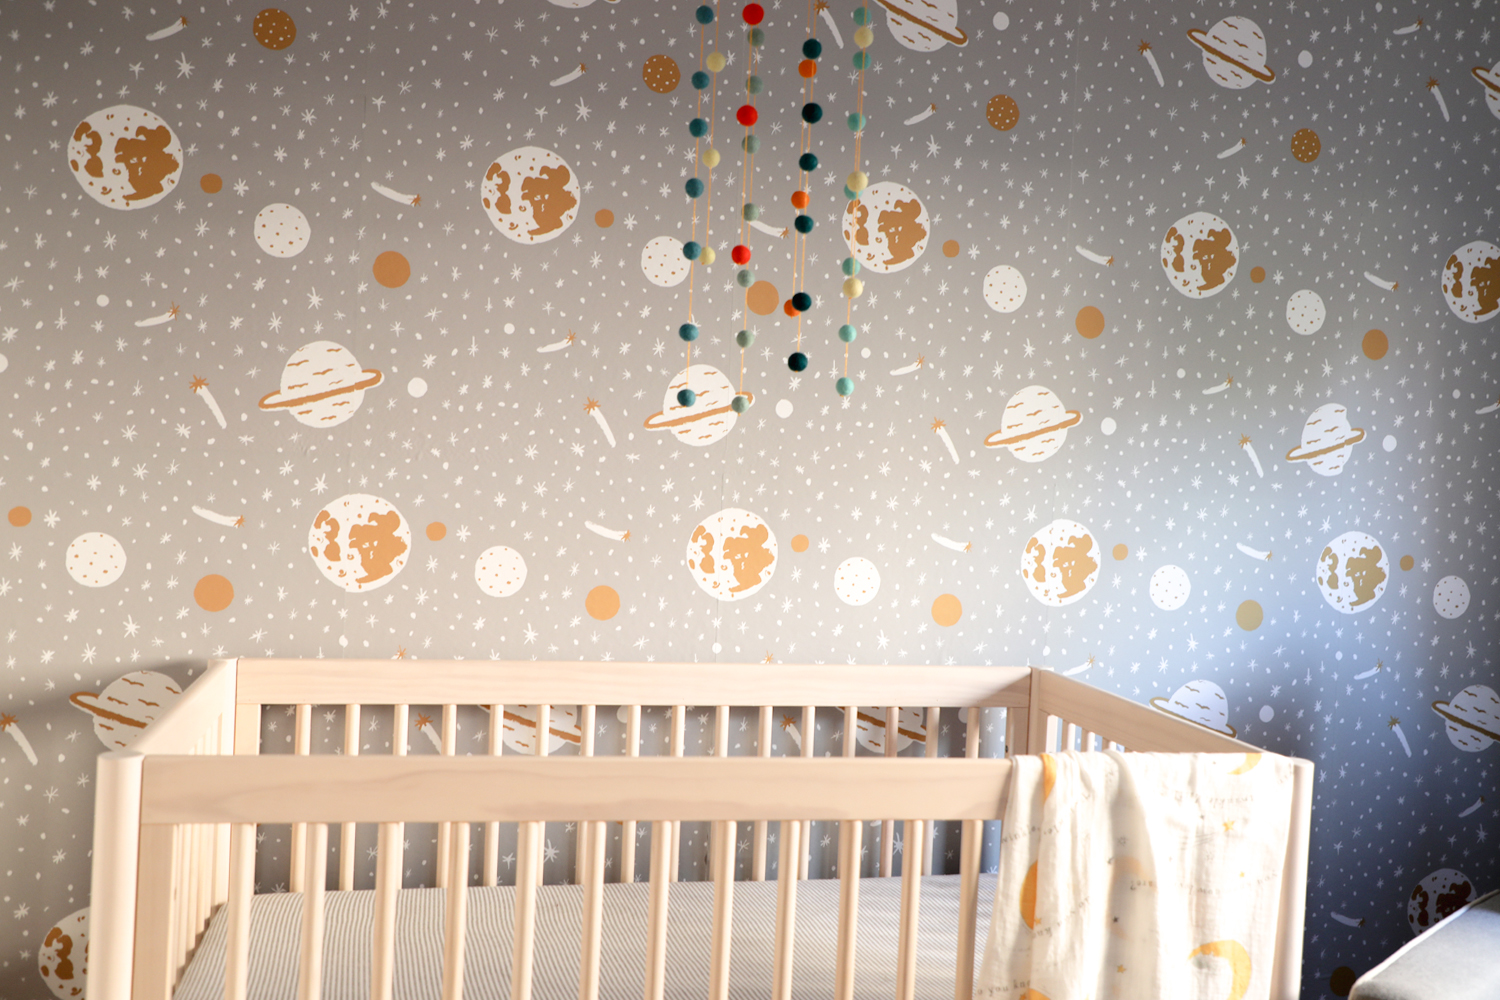
If you want to make this easy DIY baby mobile you can find how-to here. I have the wallpaper only on one wall. Curtains take up another, closet and door take up another, so I only have one wall to max out the art I wanted to add in Hue’s nursery. I didn’t necessarily stick to space all the way around but I did pay attention to all the colors making sense together.
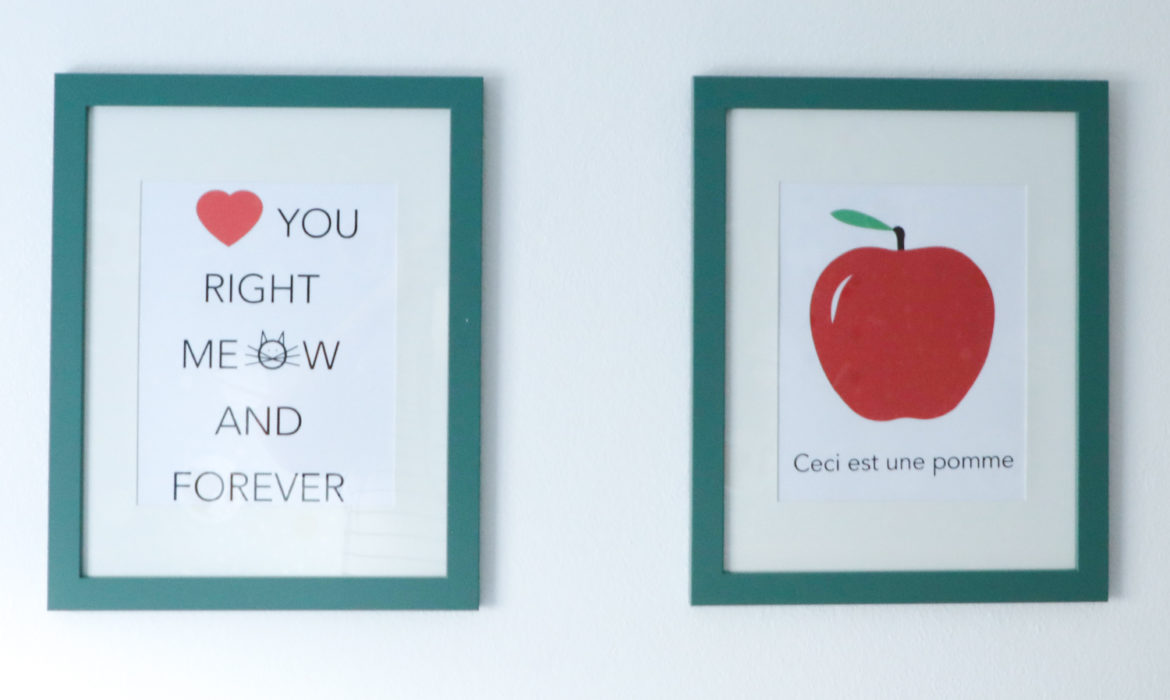
The first thing I made was the art for the frames I got for Hue’s room. I made it while pregnant on maternity leave. I spent a couple of hours on them and they are really meant as starter art for the room. Once Hue shows us more of his personality, then I will be able to tailor make art for him that really fits him. The art I made for him are sized at 8″ x 10″. I printed these at home on card stock. You can download the free pdfs here: “Love you right meow” and “This is an apple”.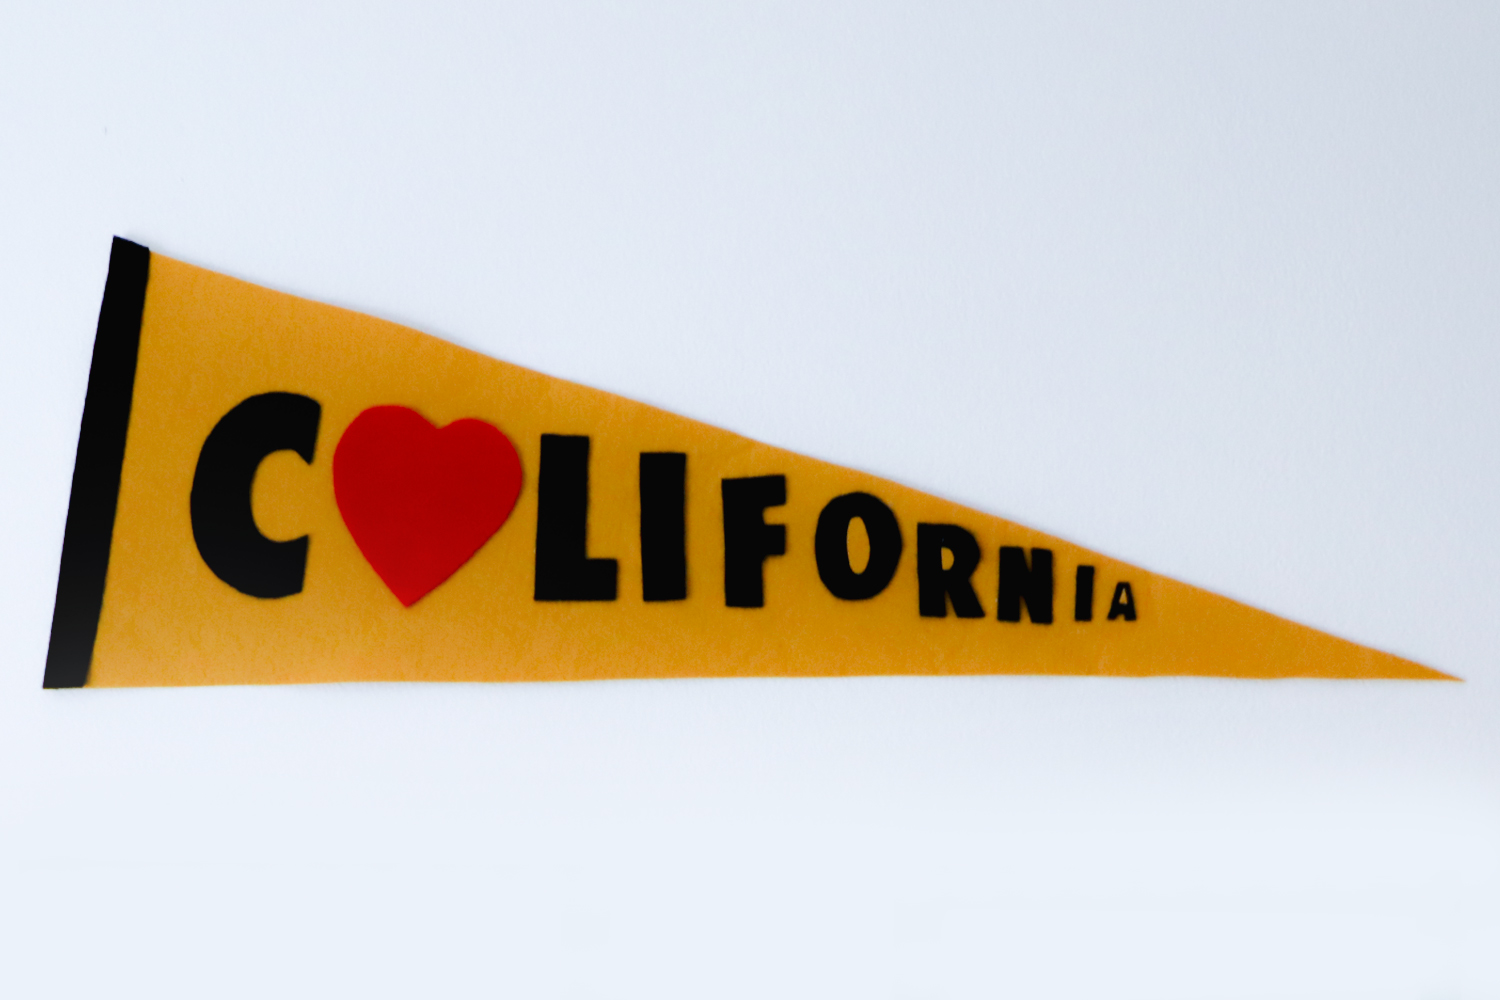
CALIFORNIA FELT FLAG
I like the classic, vintage look and feel of this California flag. I knew I wanted them to be above the framed art so I measured that area. I then mocked up a template in illustrator and printed out to scale the letters. I then cut the out the paper letters and put them on top of the black felt using a pin to keep the paper letters in place. Once I had all the letters cut out in black felt, I put them on the gold stiff felt flag (which I used the template to cut out the flag shape) and placed them where I wanted the letters to be. Then I glue-gunned them to the gold flag. For the smaller parts for the O, R and A, I cut out the shape in gold and glue-gunned that on top of the letter. The letters are not perfectly aligned but I like the handmade feel it has. I added the black strip on the wider left side. The day before I made the wool gold felt stiff by following these instructions. I attached the flag to the wall with command strips.
Here are the supplies used:
Gold wool felt (Wool felt was recommended when making it stiff)
Black and red craft felt
Scissors
Glue gun + glue sticks
Regular glue
Water
Bucket
Command Strips
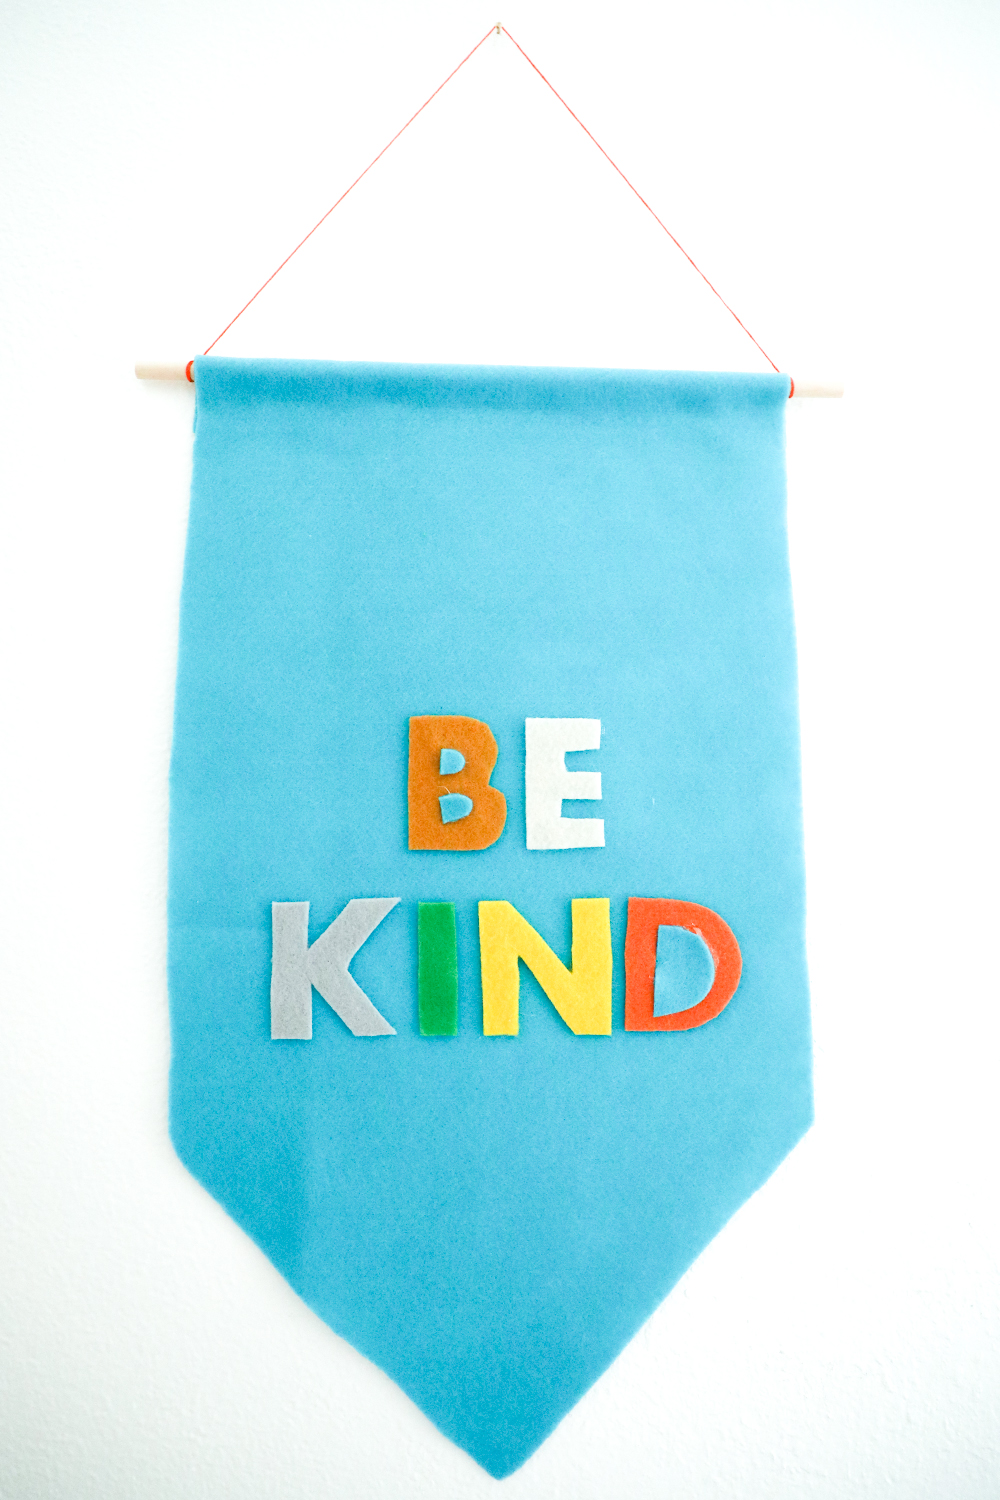
BE KIND BANNER
For the letters and the shape of the banner I created a template in illustrator leaving extra room at the top to fold over the dowel. I used the template to cut out the shape of the banner and the letters. I used the same technique I did here as I used for the California Flag. I folded over the extra felt at the top over the dowel and secured it with a glue gun. I then tied string to each dowel end.
Here are the supplies used:
Craft felt in different colors
12″ dowel (.25″ thick)
String to hang
Scissors
Glue gun + glue sticks
Small nail for hanging
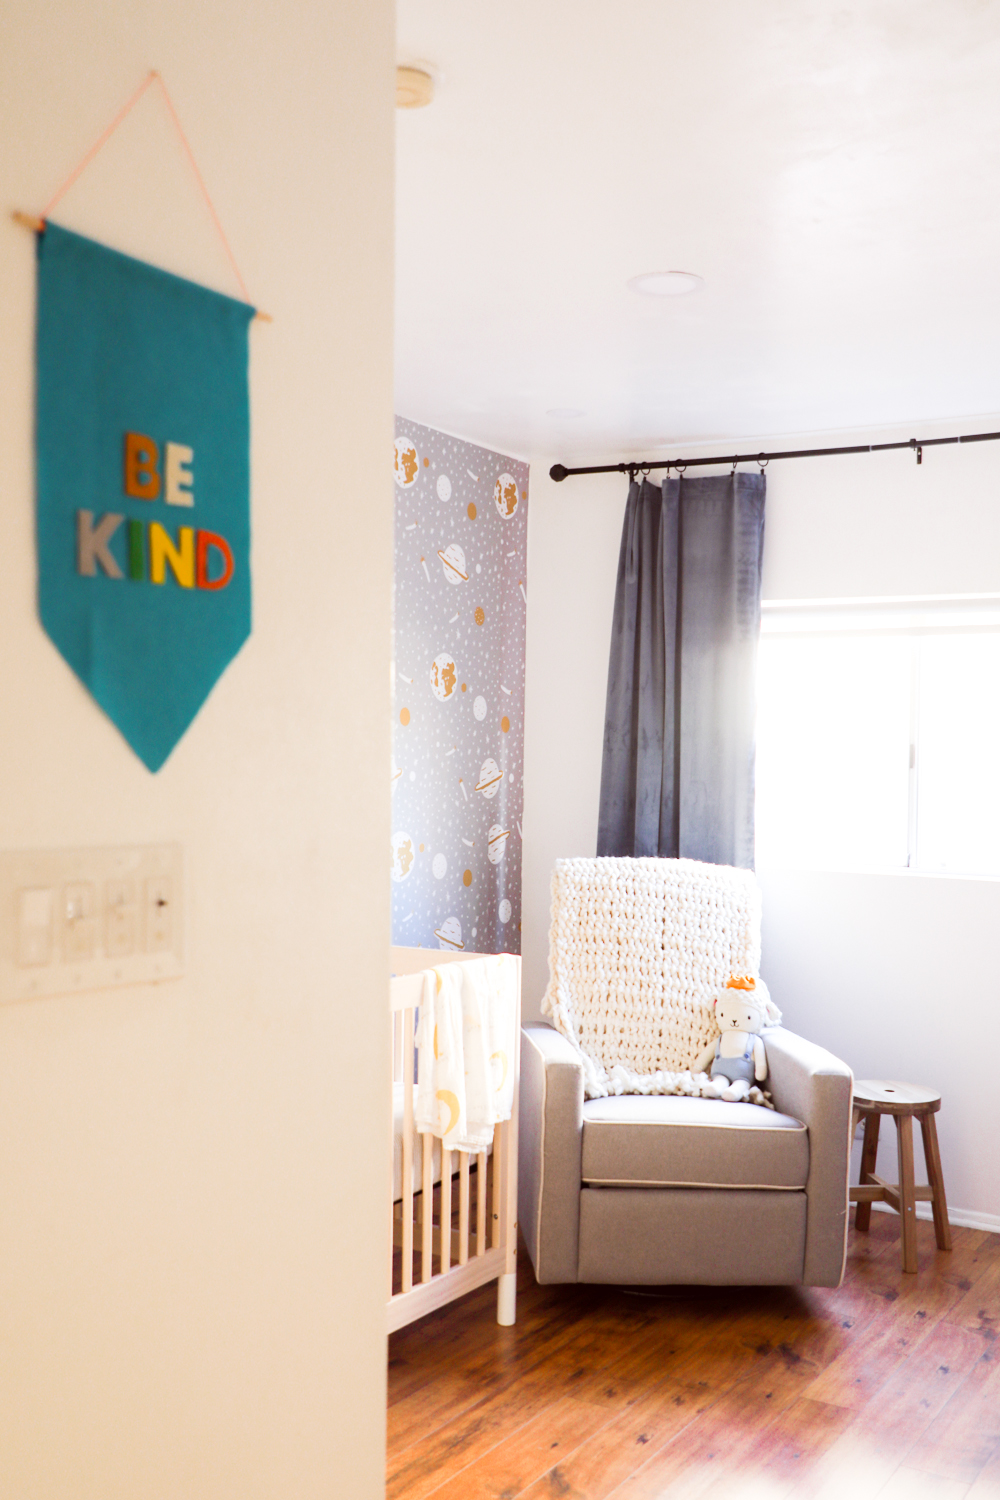
Love how these all turned out and how they added a personal touch to Hue’s room.