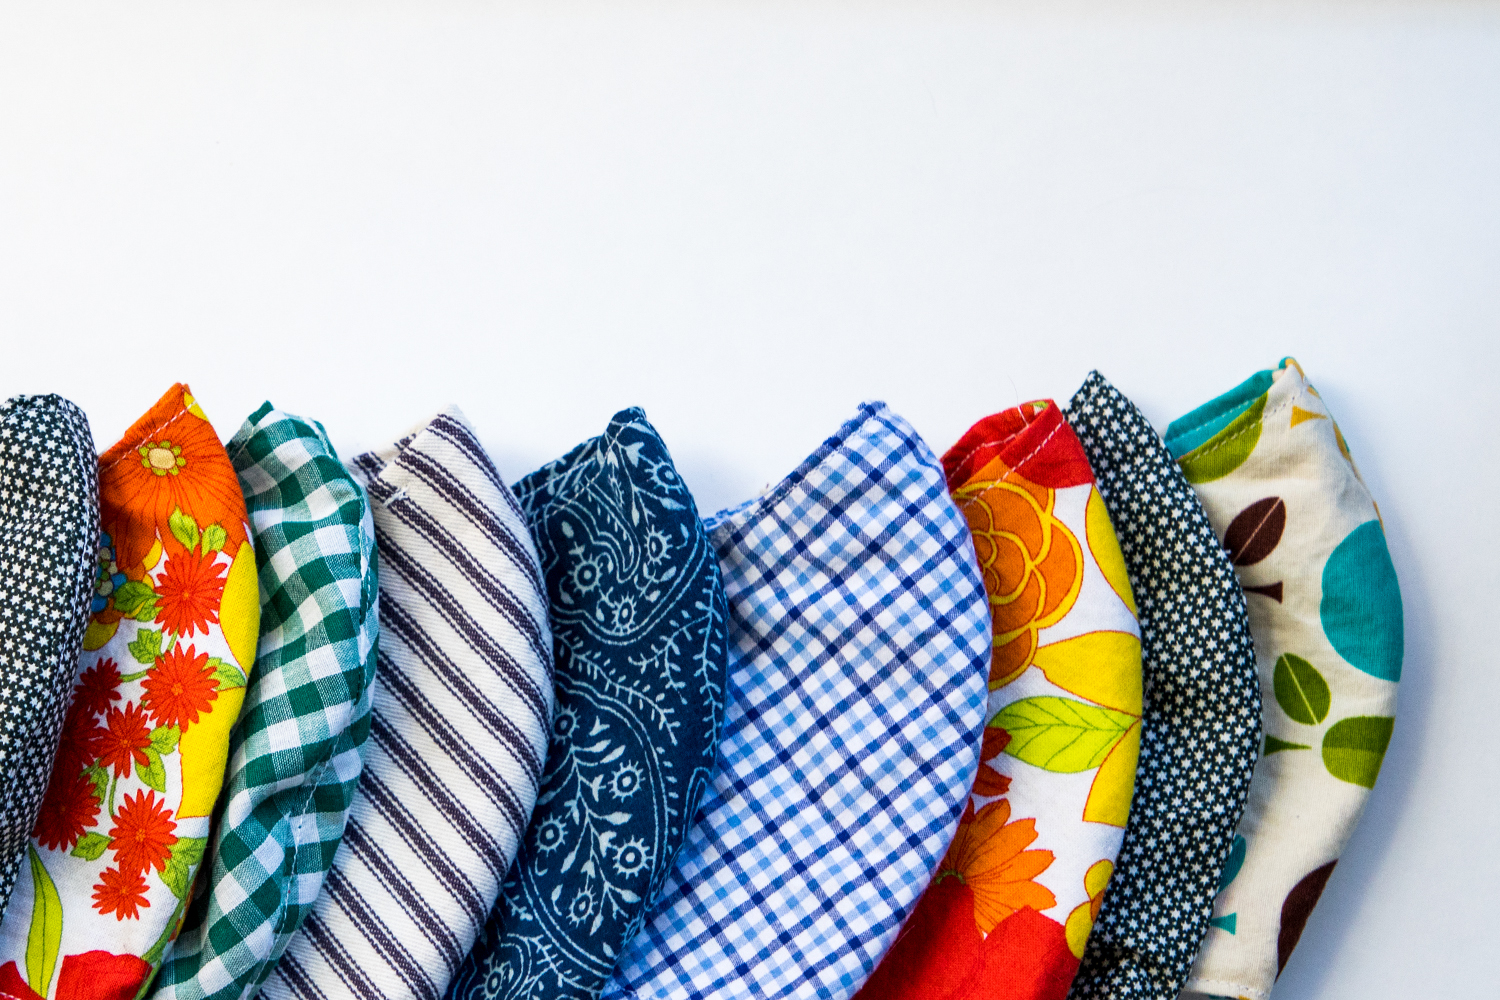
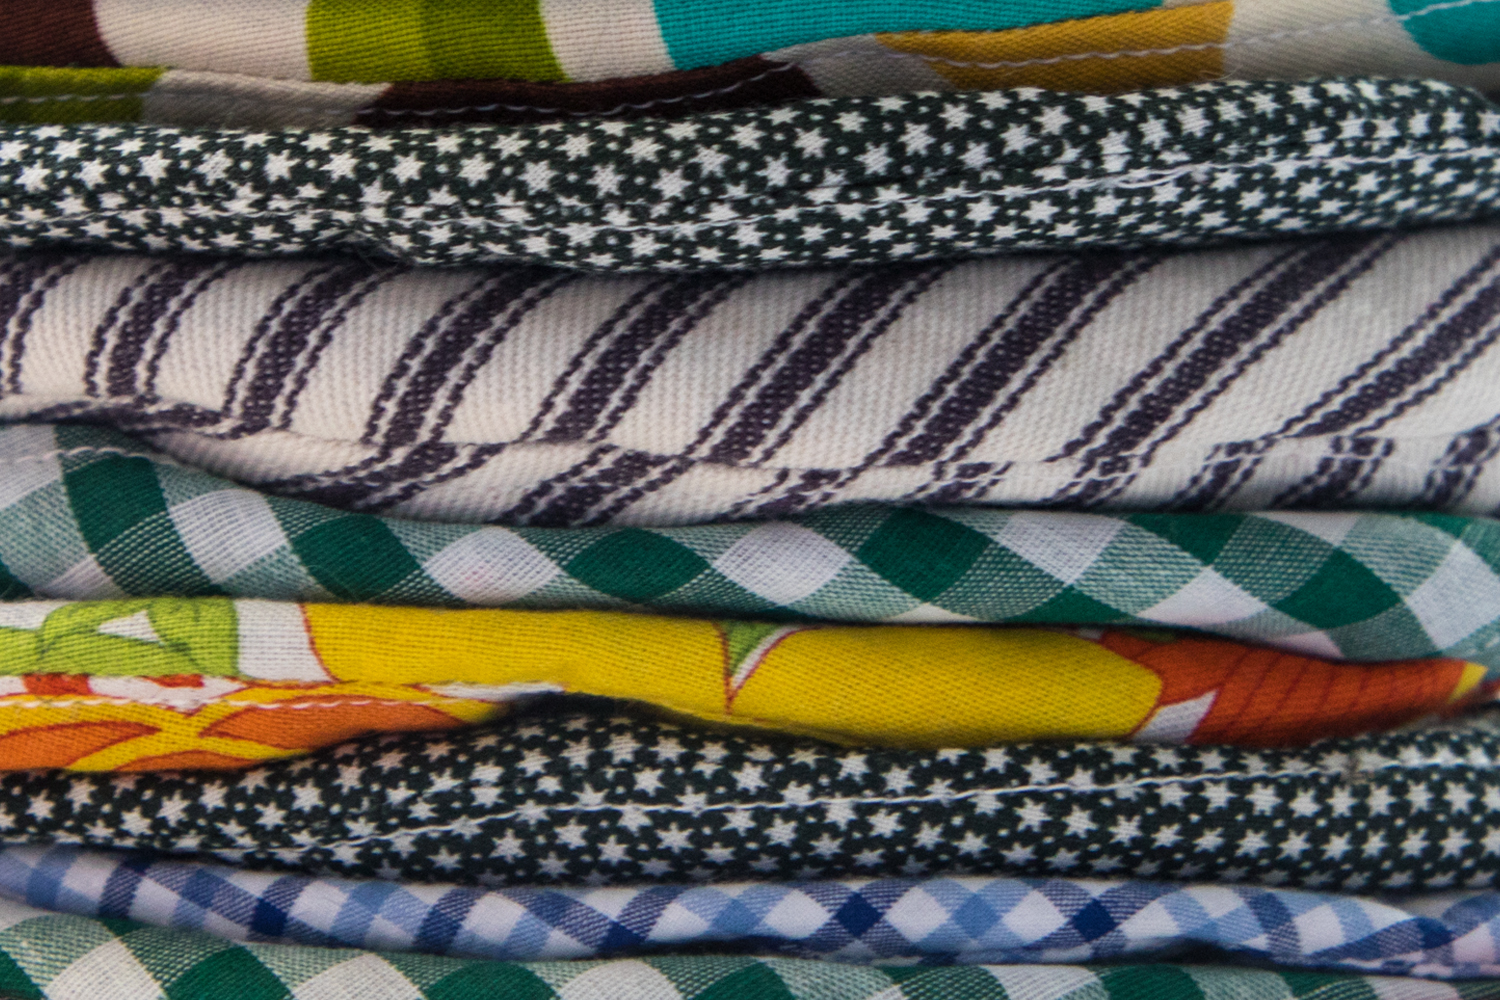
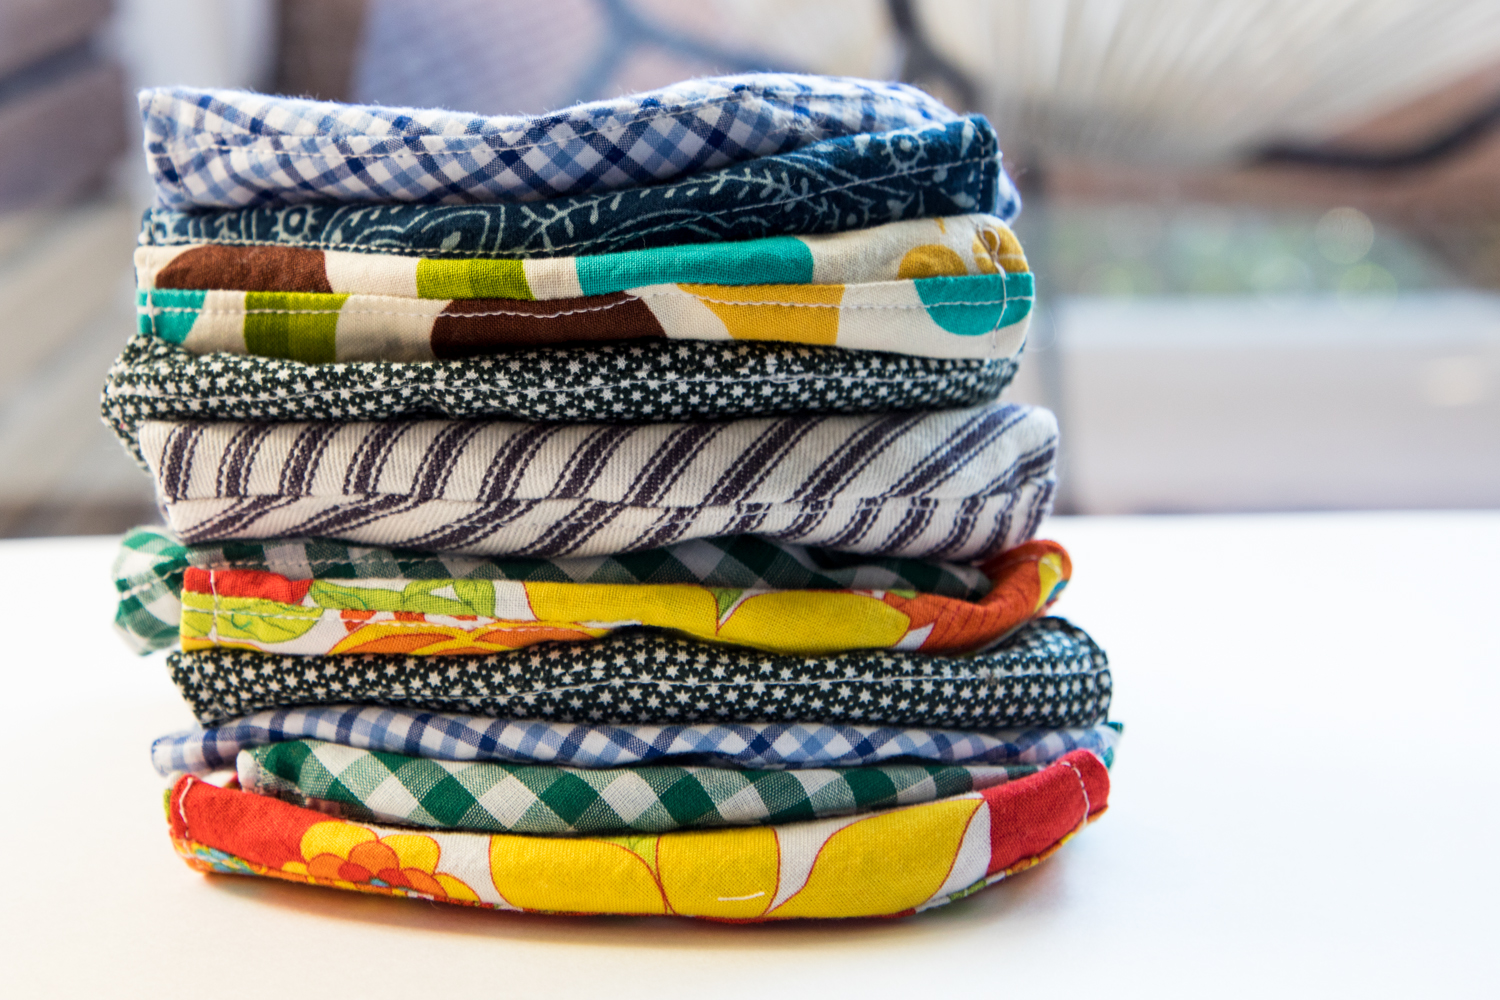
I started this project in the beginning of July. I hadn’t sewn in at least ten years so I was a little nervous to dive in. My friend had made some and that gave me a boost to make some myself. The ole’ fashioned “if she can do it, I can do it!” mentality! I shared a bunch of old fabric I had with her and we talked about what fabric would make good masks/have good breathability. Later on my friend sent me a link she used to make her masks. This is extensive and there is so much info. So, I watched the video a couple of times and then took cliff notes with my basic understanding of sewing knowledge. Here is the original link:
https://www.craftpassion.com/face-mask-sewing-pattern/
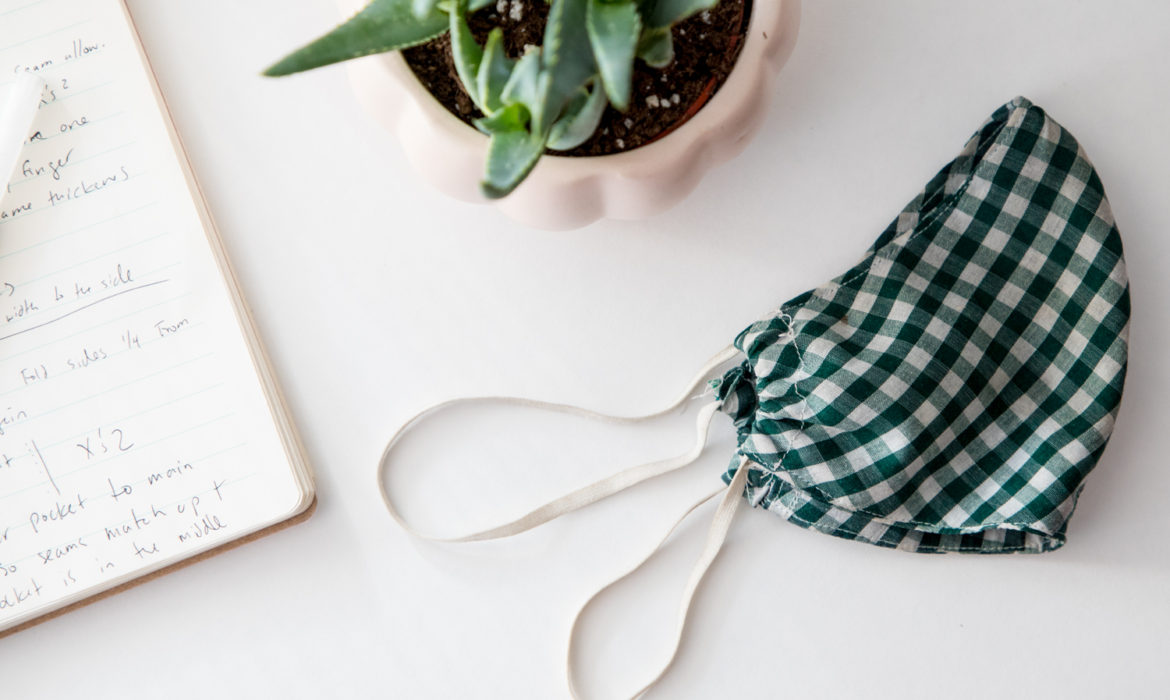
As I said earlier this page has so much information which I am grateful for but almost overwhelmed. So here are the cliff notes of the main how-to video. My sewing language is not fancy but more intuitive. I also used the male mask pattern because I was concerned the female mask pattern would be too small and I really wanted it to cover my face which it does and I am happy with the fit. Here we go…
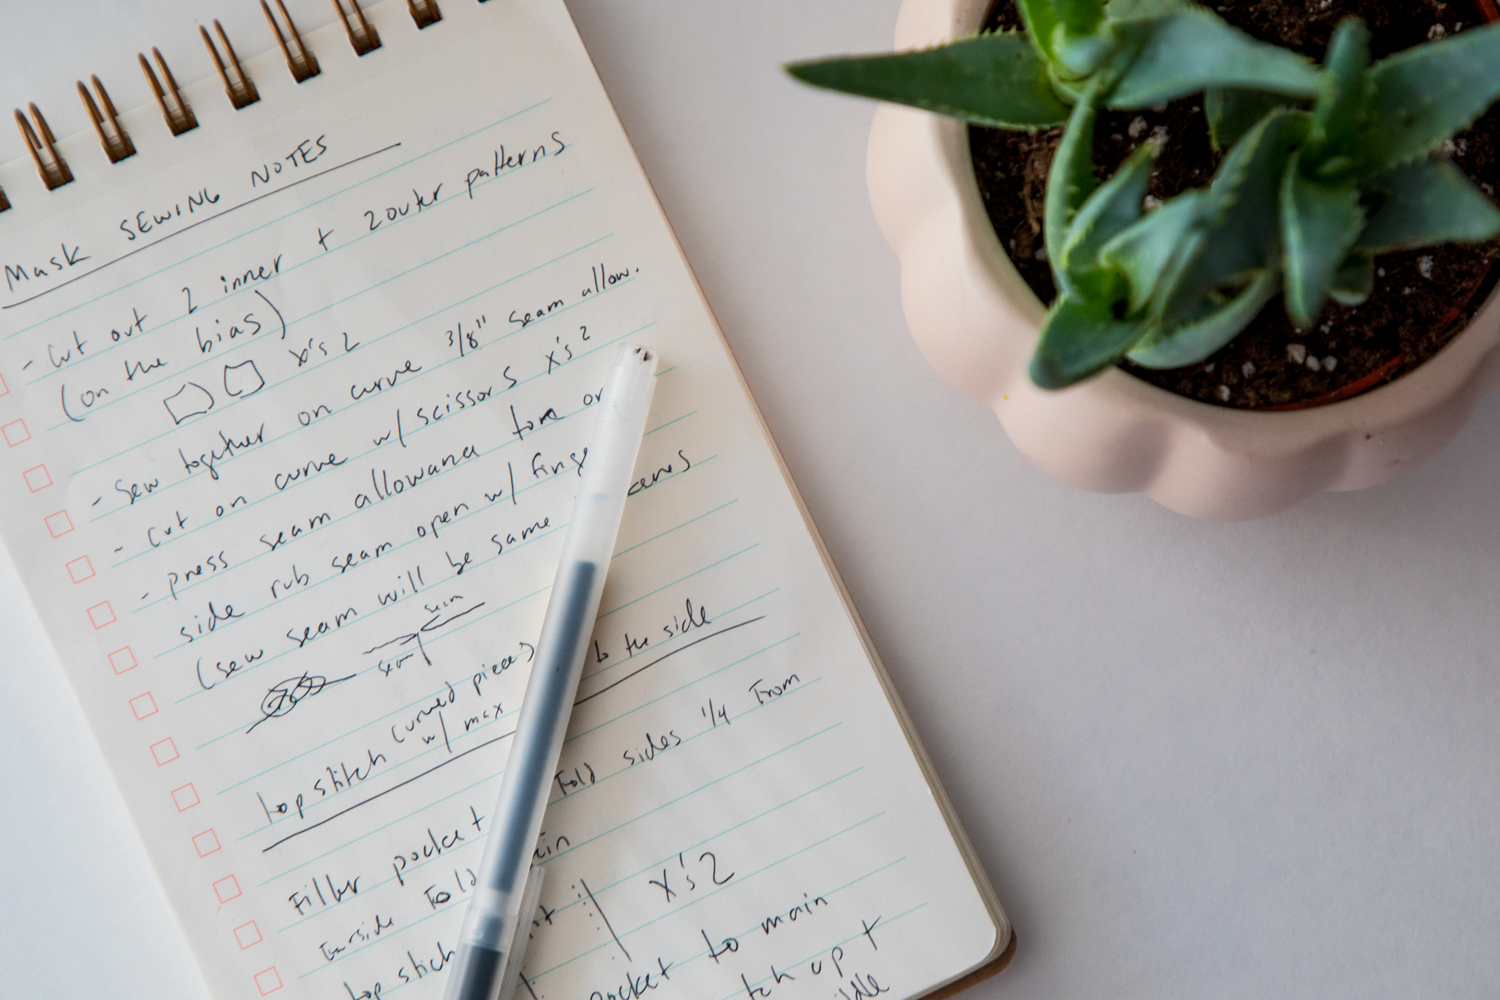
HOW TO MAKE A MASK / SEWING NOTES:
- Cut out 2 inner + 2 outer patterns (on the bias for extra stretch)
- Sew together on the curve 3/8″ seam allowance x’s 2
- Cut the inside seam with little cuts to allow for extra stretch x’s 2
- Press the seam allowance to one side, rub seam open with finger (This is so the sew seam with be the same thickness when you put both inner and outer mask together.)
- Top stitch curved pieces x’s 2 with max width to the side
-
Filler/inner/smaller mask. Fold sides 1/4″ from side, fold again. Top stitch both sides of the fold, do this on both sides of the mask.
- Join smaller mask to bigger/main piece mask so both seams match up + smaller mask is in the middle of bigger mask.
- Use pins if needed. I start with the top side. Use 3/8″ seam allowance. Do same for bottom. With scissors clip with little cuts along seam allowance. Do this for both top and bottom to allow for better stretch.
- Flip mask inside out so it looks like a mask. Fix all the seams so everything lays as flat as possible.
- Finish the edges. Fold 1/4″ and then again 1/4″ so fold lines up to inner/smaller mask. Pin if needed. Sew edge closest to inner/smaller mask. Do again on the other side of the mask
- Put elastic or string through the edges with a safety pin as your guide.
- You are done!
If you make these masks let me know how it goes!

oPpgCcVti
ScuzHlbxGMOJ