My longest friend is also my playdate partner in-crime. Lucky enough she use to be a pre-school teacher. She not only has the BEST ideas but she also backs up why you should do that craft for/with your child. I think I broke her heart a little bit when I told her we were not doing a Christmas Tree a couple months back. She was like it makes the time of year so special and it helps your little one tell time. The latter struck me as super important. I want Hue to be able to stare at things he helped make and be able to know year after year what time of year it is. (I love Christmas Trees, just too much right now with how small Hue is, we have a small space and he would have been so up in it, it causes me stress even thinking about it. We will do the whole tree thing by next year or/when we buy a house and have more room.) So naturally we talk A LOT about crafts for kids. I am pretty crafty myself but my friend knows the child craft world extremely well.
I was hanging out with her on a playdate and noticed some cute decorations on the window. I can’t remember what holiday, it might have been for Valentine’s day but last year. Anyways, she had some cute color/shapes on what looked like to be a clear sheet of paper. After asking because I was curious, it was contact paper and one of her favorite all-time crafts/decorations. She loves it because you just stick the shape on the contact paper and then the whole thing goes on the window. I wanted to make a banner out of this so I changed up some of the steps a little bit.
Heart Shaped Banner Shopping List:
Clear Contact Paper
8.5″ x 11″ card stock or thick-ish paper
Red or Pink Tissue paper (Or any color you want…)
Scissors
Whole punch Tool
String
Tape (I used painters tape that I had on hand.)
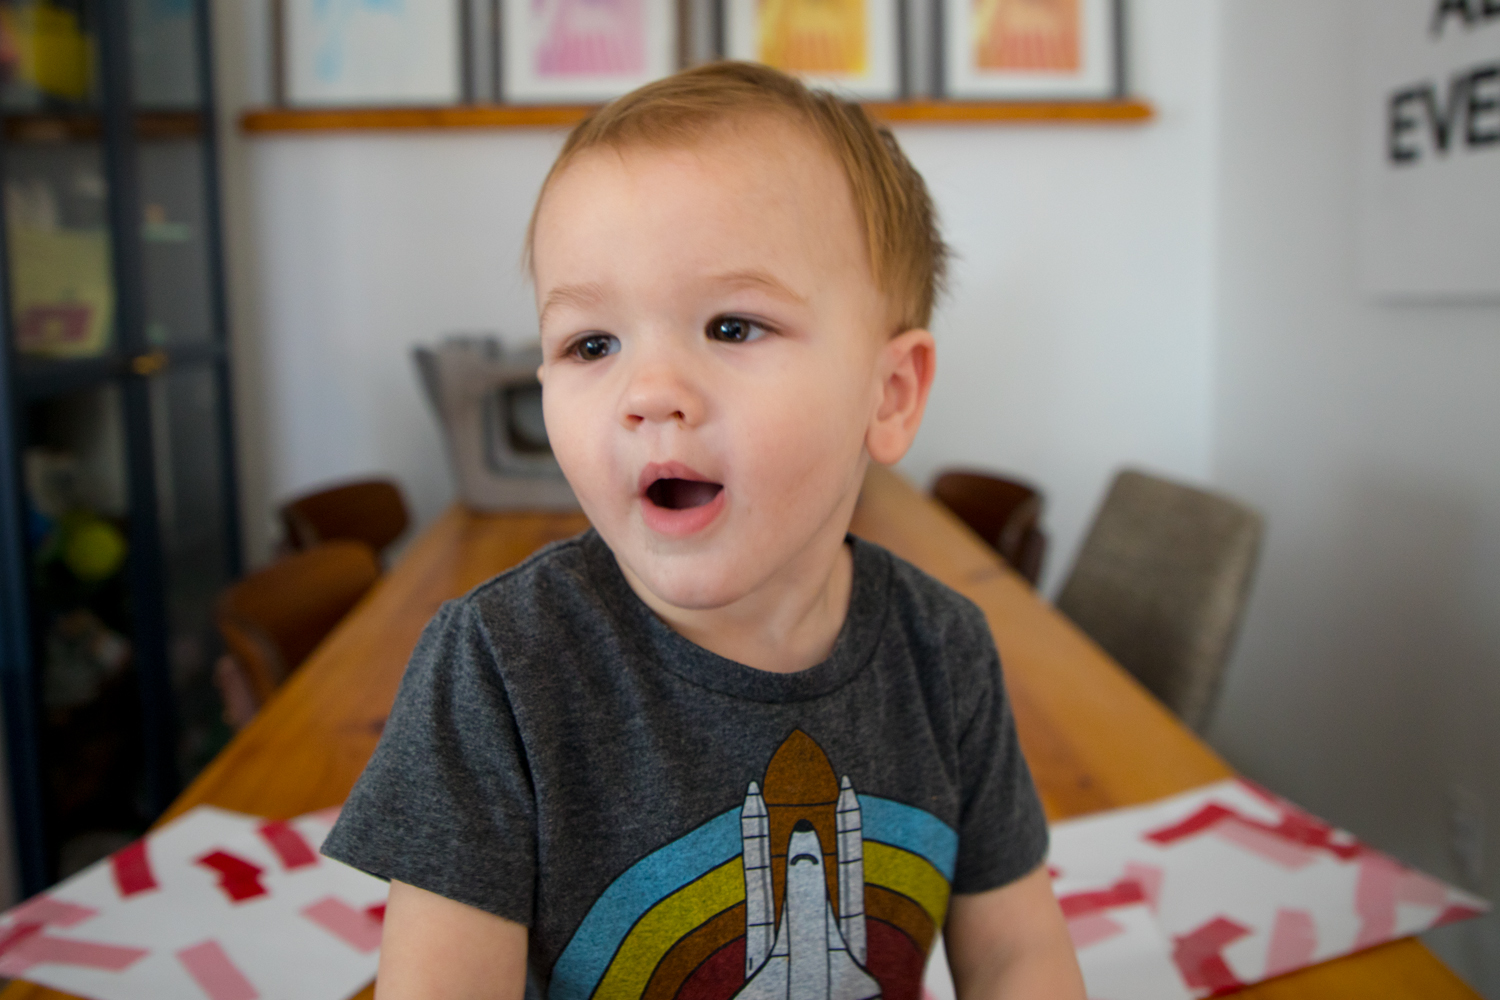
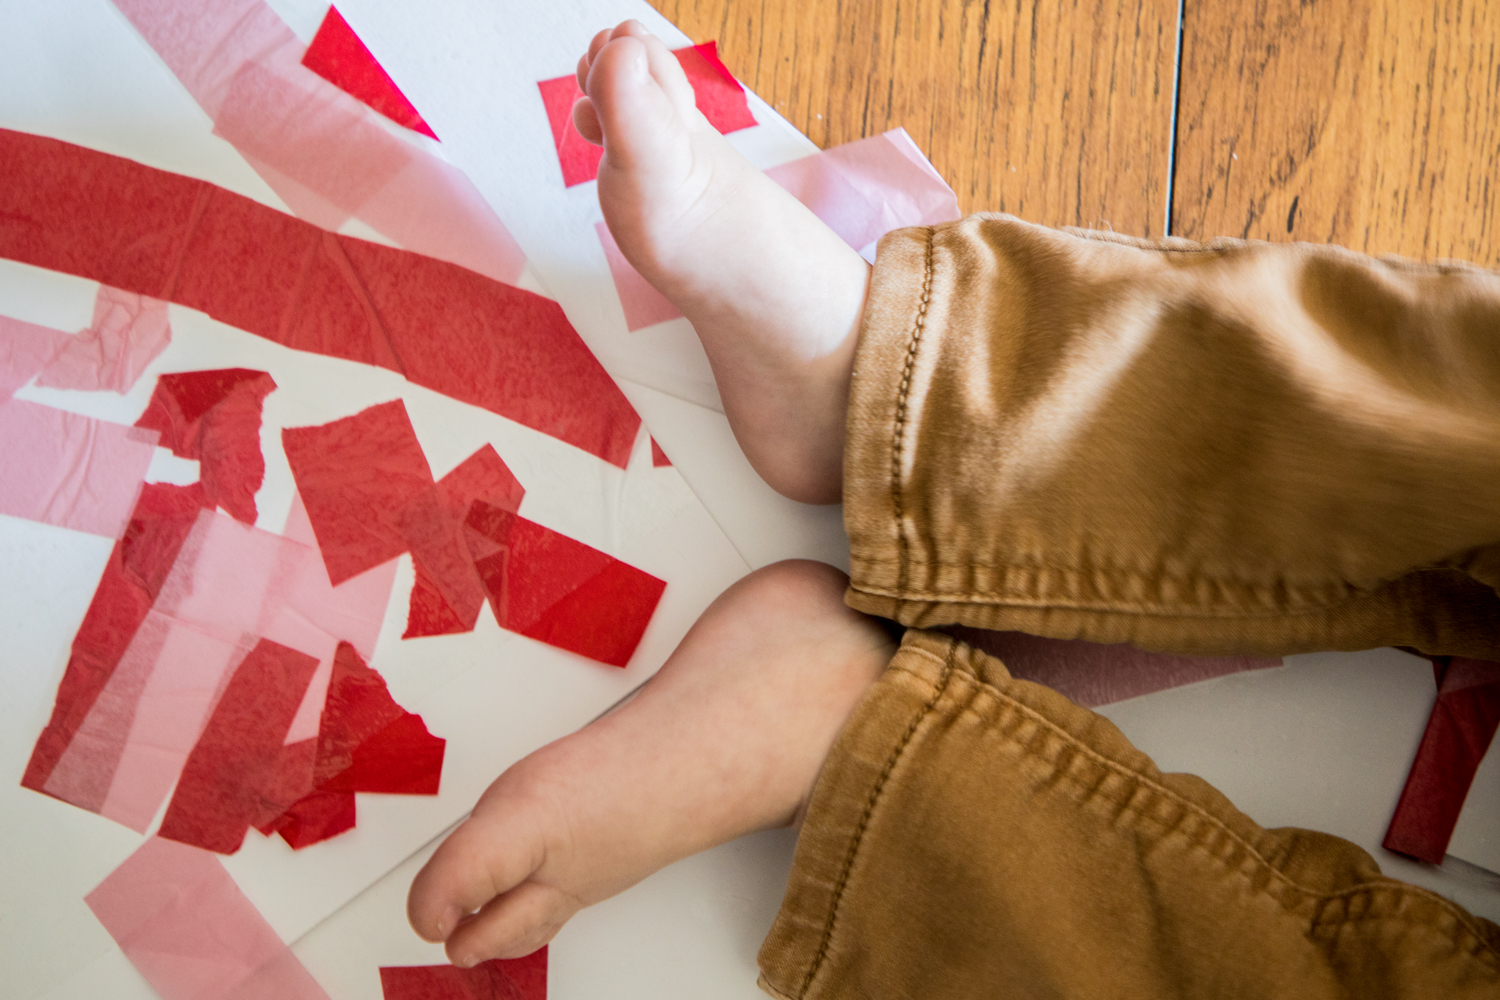
This is how I made these with the help of a 14-month old.
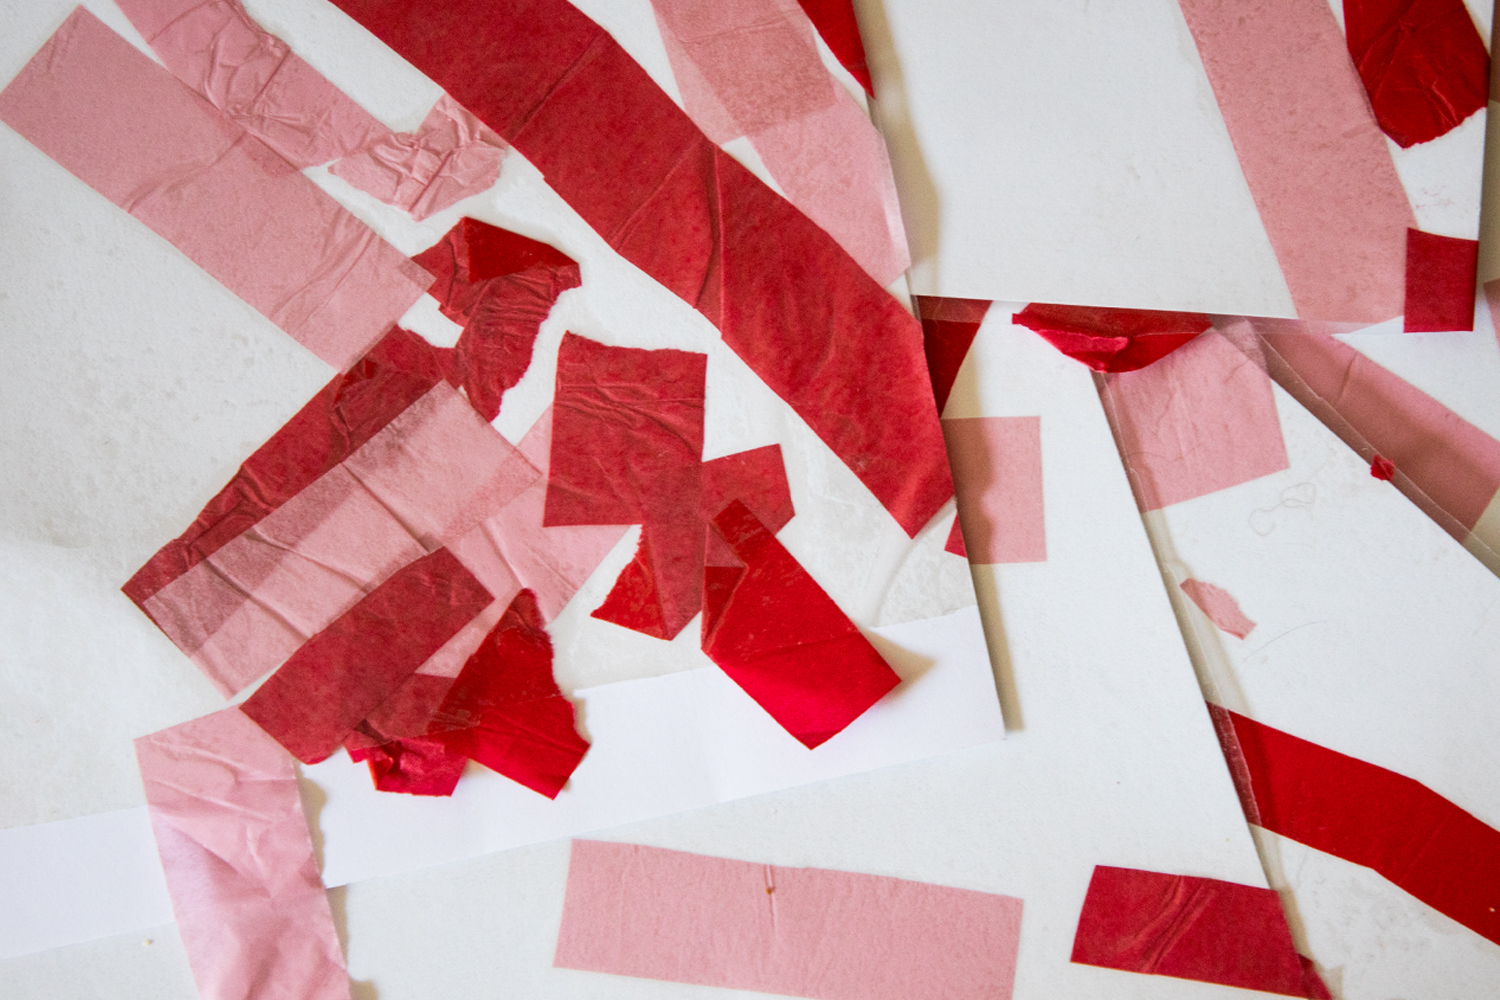
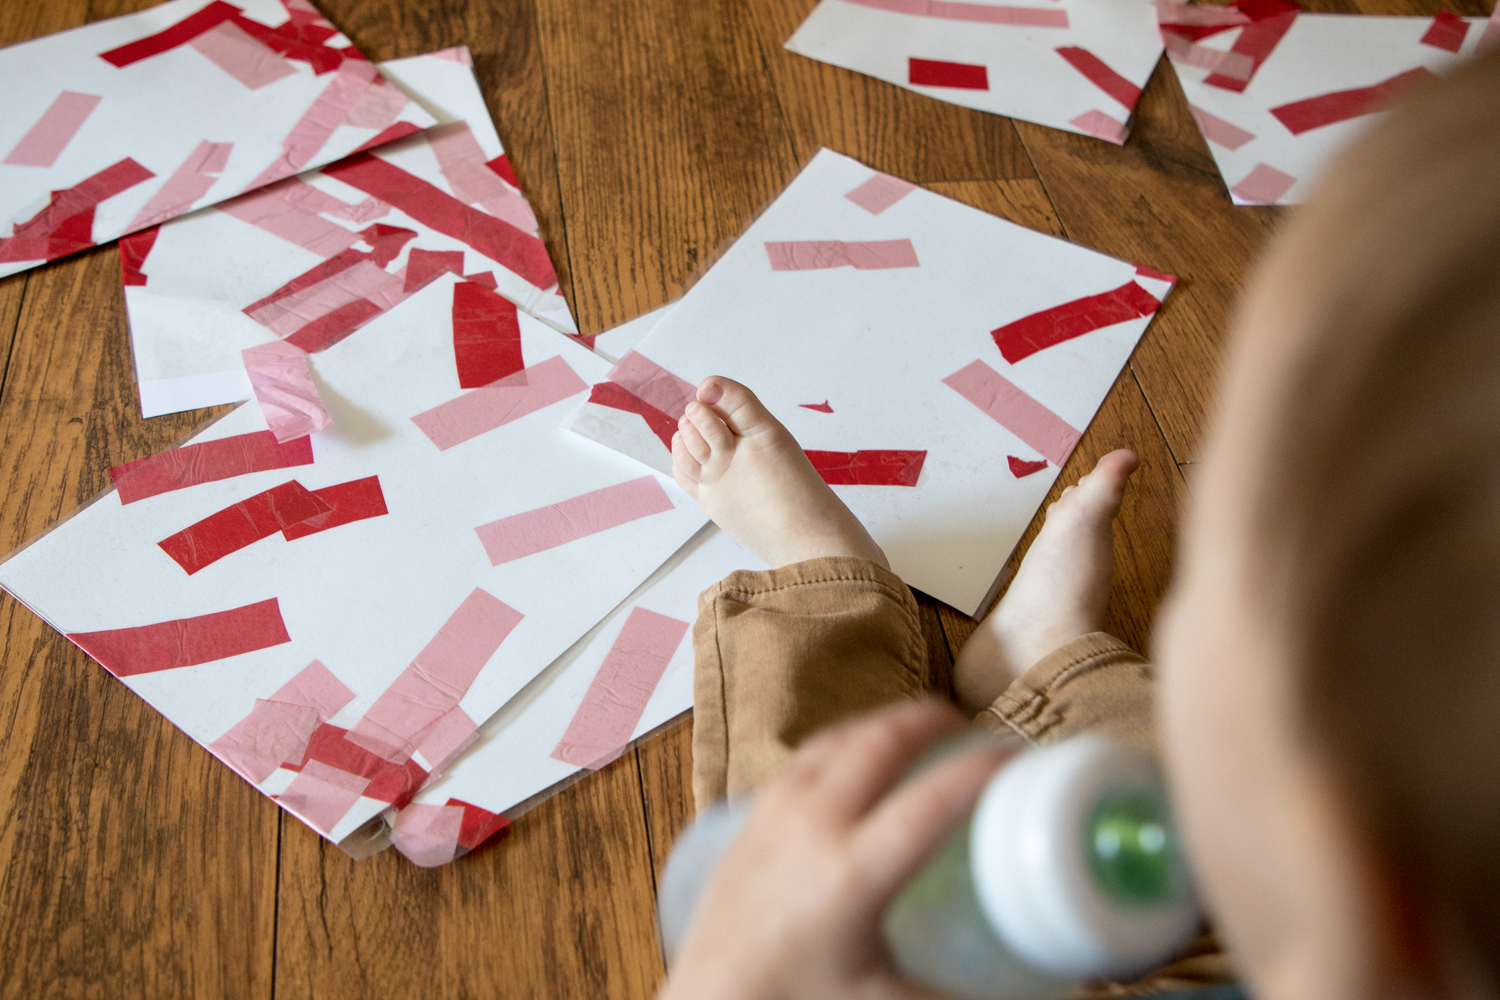
I laid contact paper out on the table sticky side up in front of Hue. I had pre-cut the tissue strips and had a pile but I put a few in front of Hue so that he could put them on the contact paper wherever he wanted. Something I learned real fast is that he likes to clump a group of tissue together, so I threw out the idea of this looking perfect from the beginning. Once I had enough tissue on the contact sheet I took 4 letter size sheets of card stock and adhered it to the sticky side of the contact paper. Then I cut out the card stock to make them their own individual pieces. I didn’t measure when I rolled out the contact paper but both times I cut it to fit 4 pieces of letter-sized card stock by eyeballing it. This part is fun for your toddler and he gets to see what he just created.
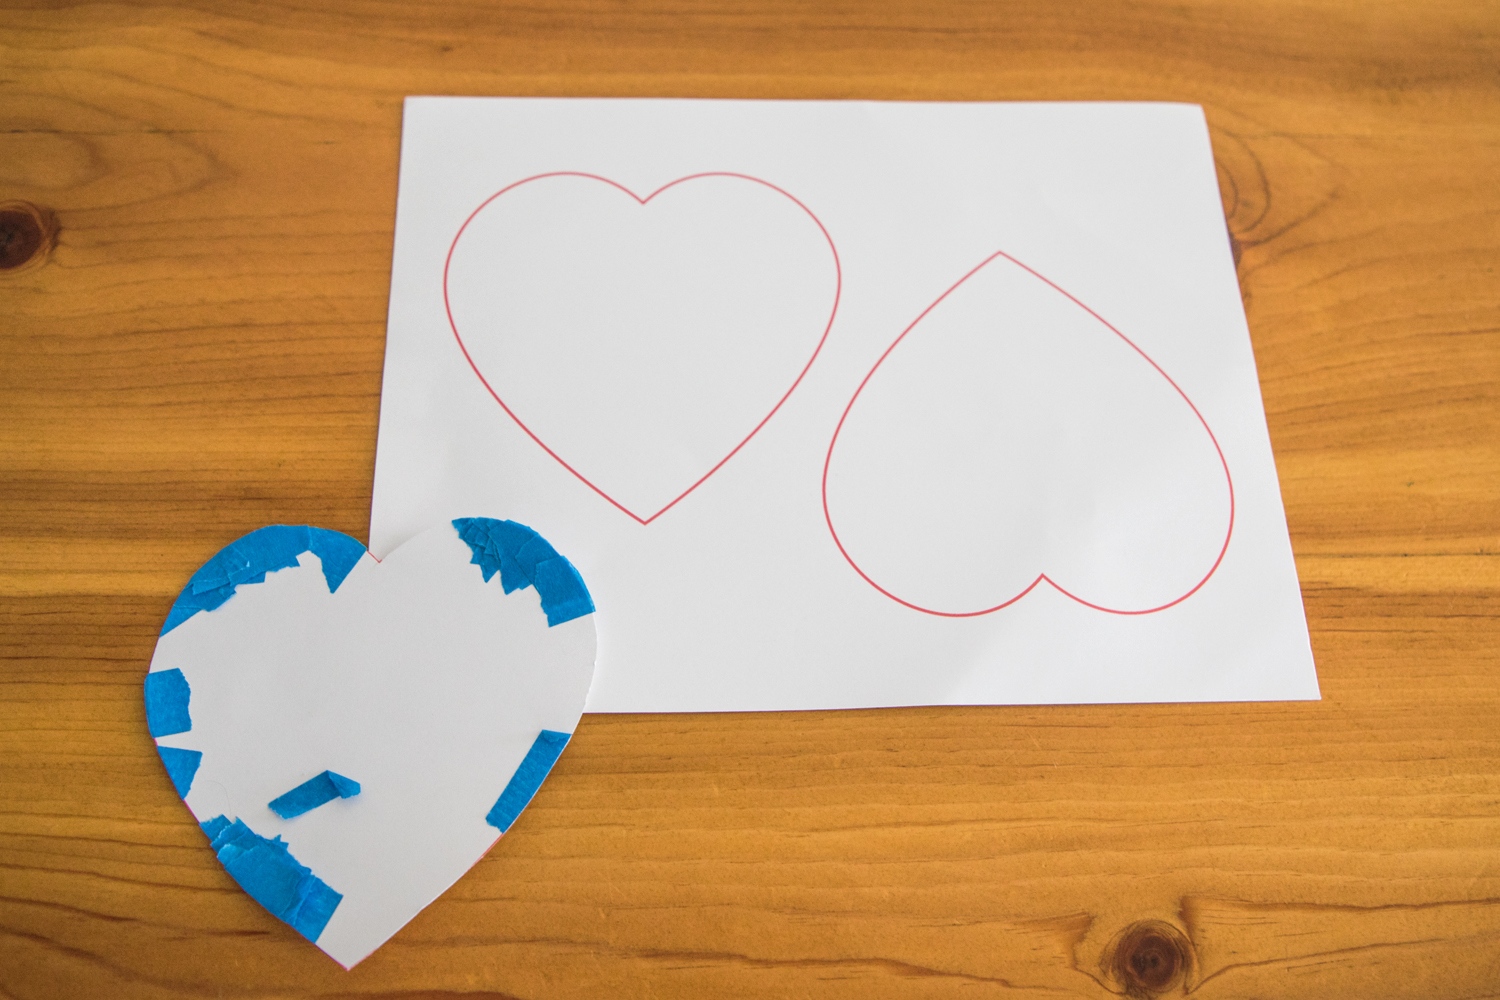
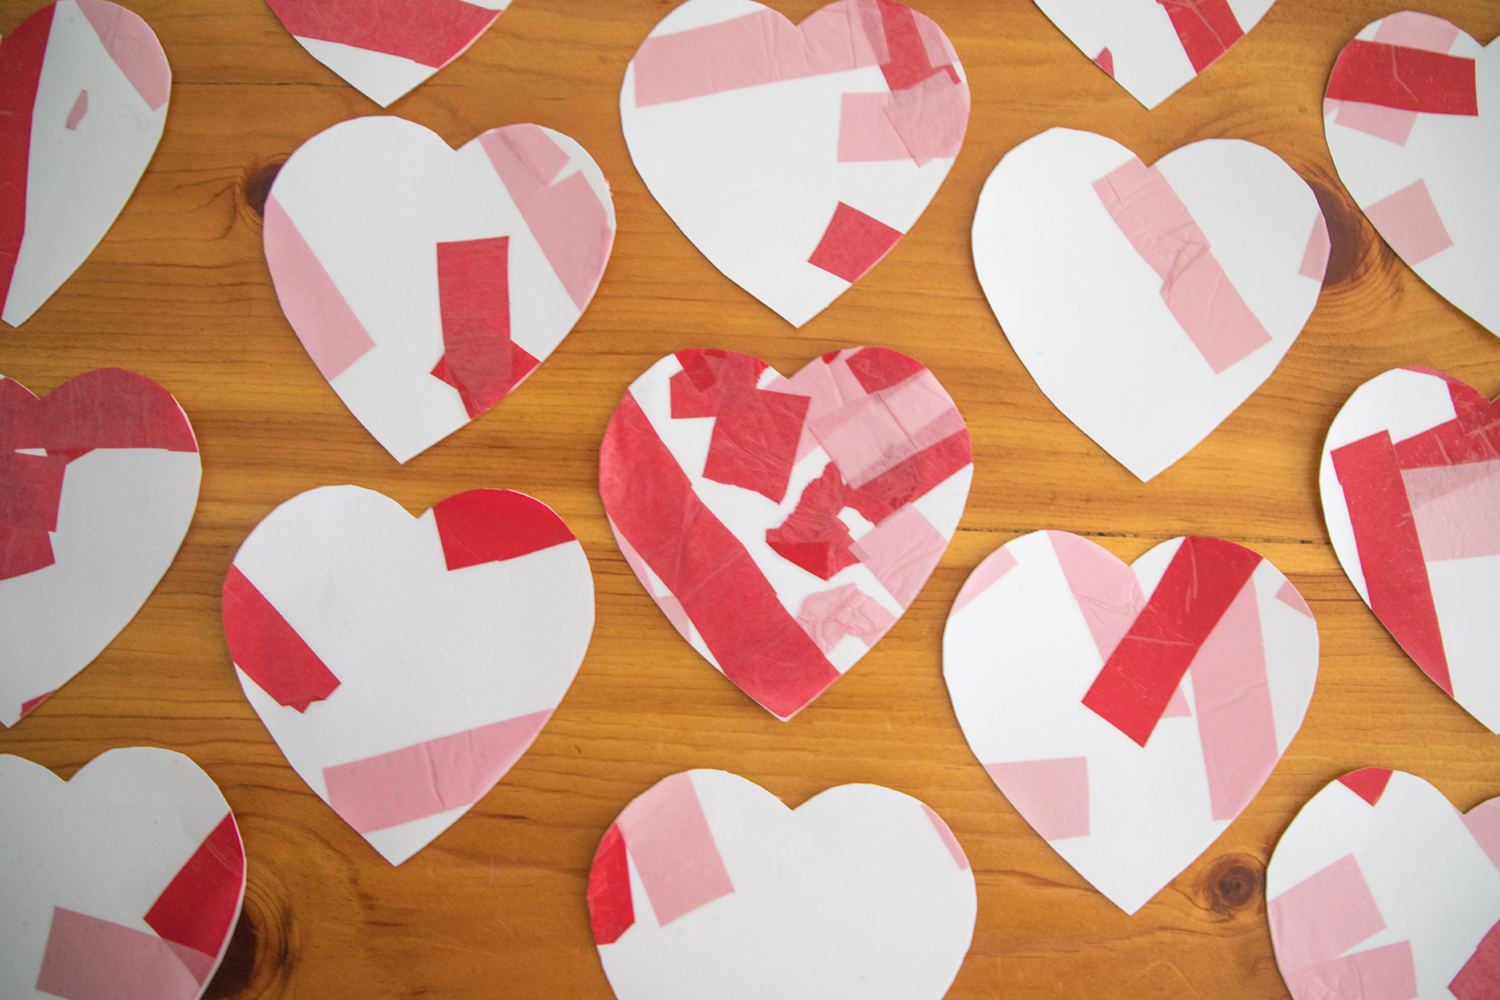
The rest of the steps I did without my 14-month old’s help. I cut out a heart from my heart-shaped template. I new 2 hearts would fit per each tissue filled card stock. I picked where the hearts would look best and taped a few small pieces to keep the heart shape secure while I cut it. I had 8 pieces of card stock so I cut out 16 hearts. I did this all in the car while Hue was sleeping and Jake was driving us to a park. This part did not take very long.
Then I punched two holes in each heart and strung the string through the wholes. Pretty easy!
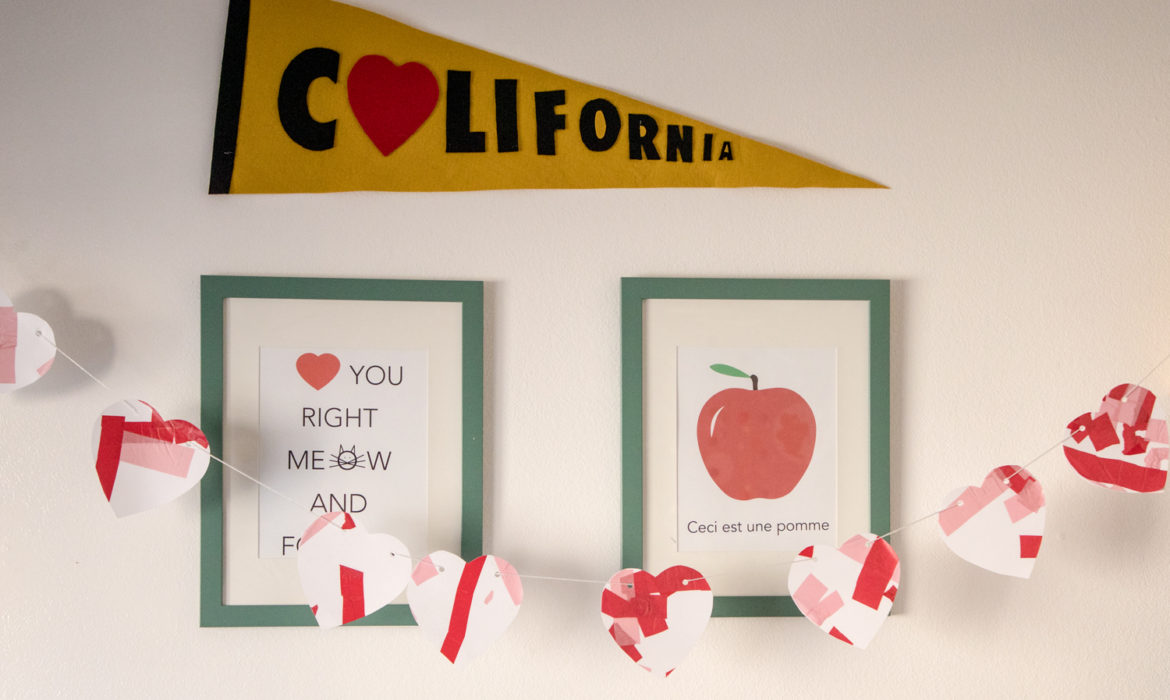
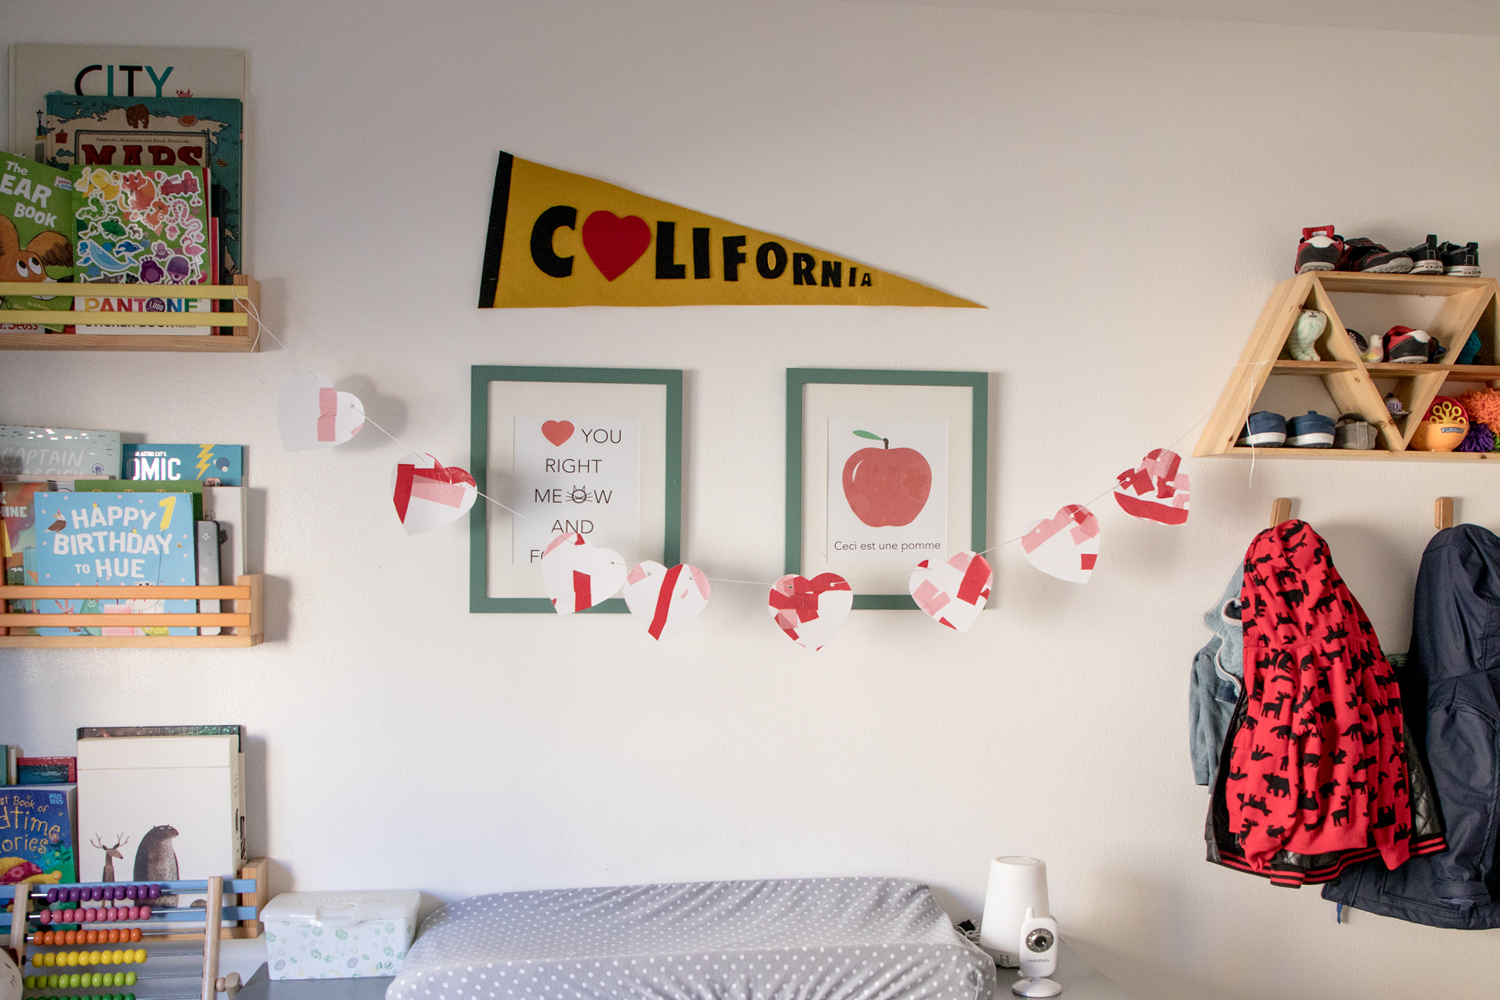
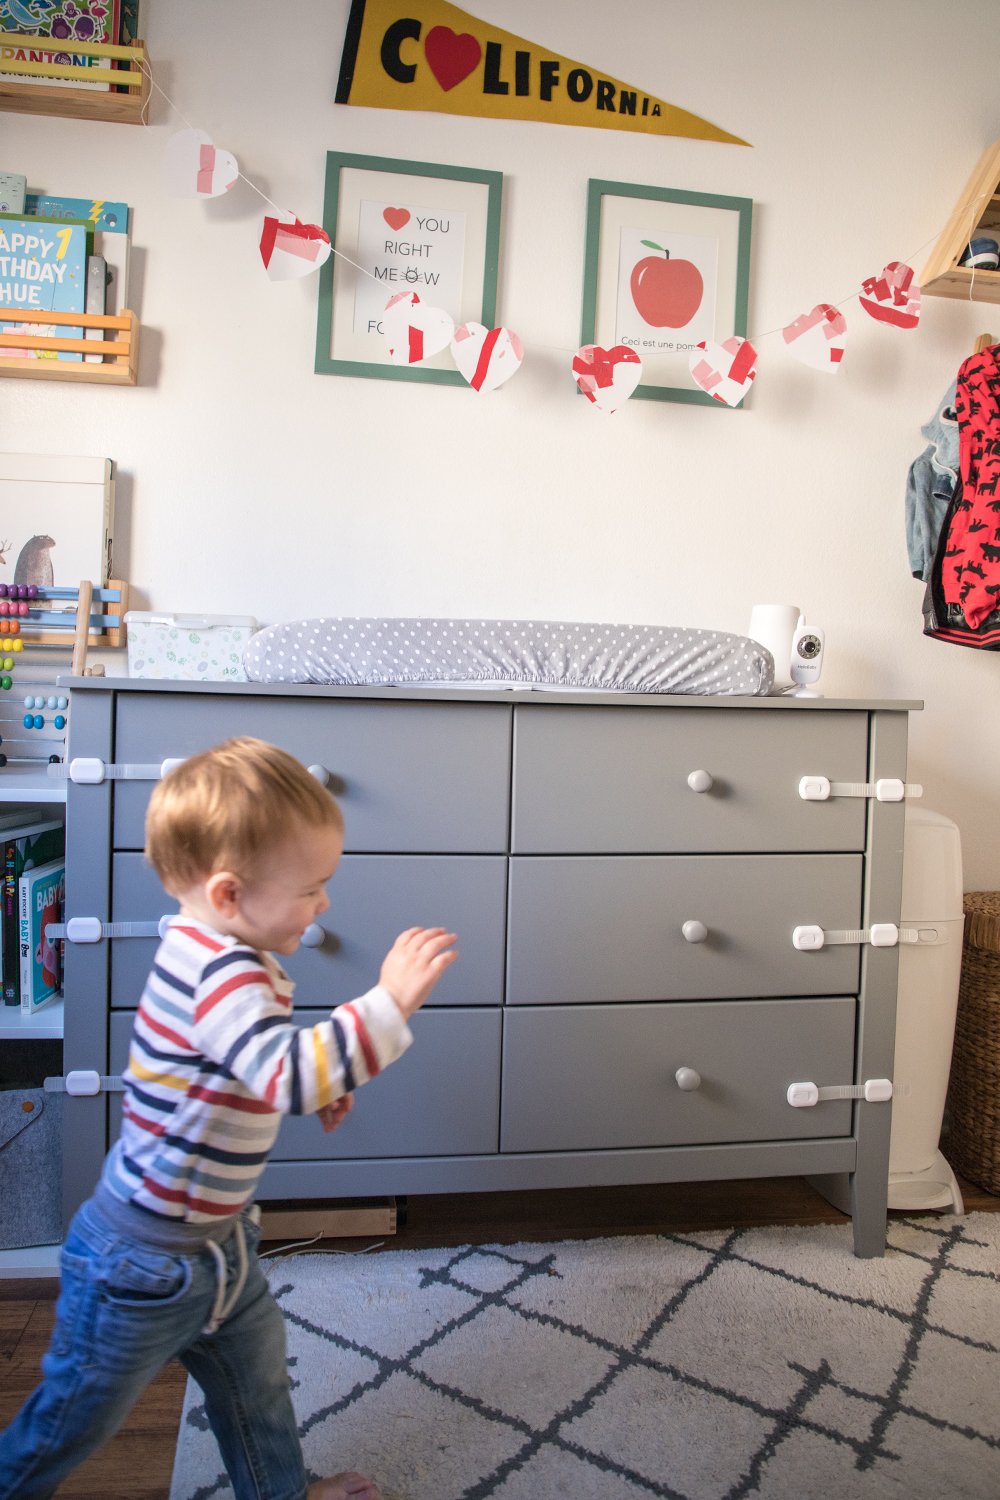
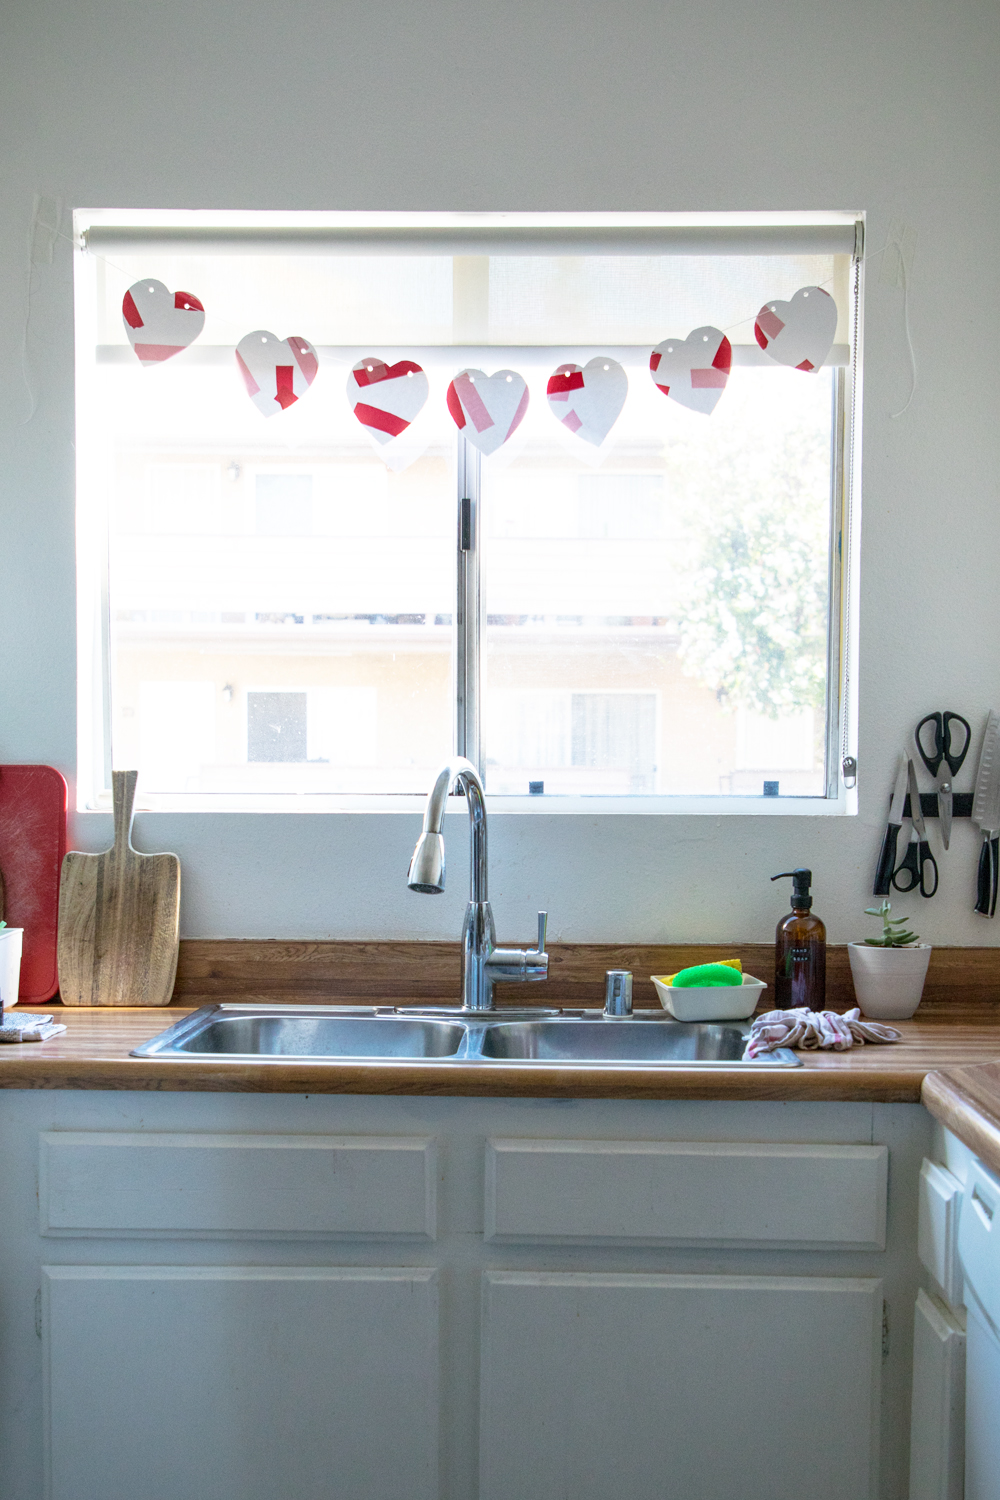
Here is the finished look! I made two banners, one for Hue’s bedroom and one for the kitchen. I LOVE how these turned out and I love that we made them together. I will save these for future Valentine’s days too.
You still have time to make these for Valentine’s day too! Let me know if you do!
Carri
First of all I would like to say superb blog! I had a quick question which I’d like to ask if you don’t mind.
I was interested to know how you center yourself and clear your head before writing.
I have had a tough time clearing my thoughts in getting my ideas out.
I do enjoy writing however it just seems like the first 10 to
15 minutes tend to be lost just trying to figure out how to begin. Any ideas or hints?
Cheers!