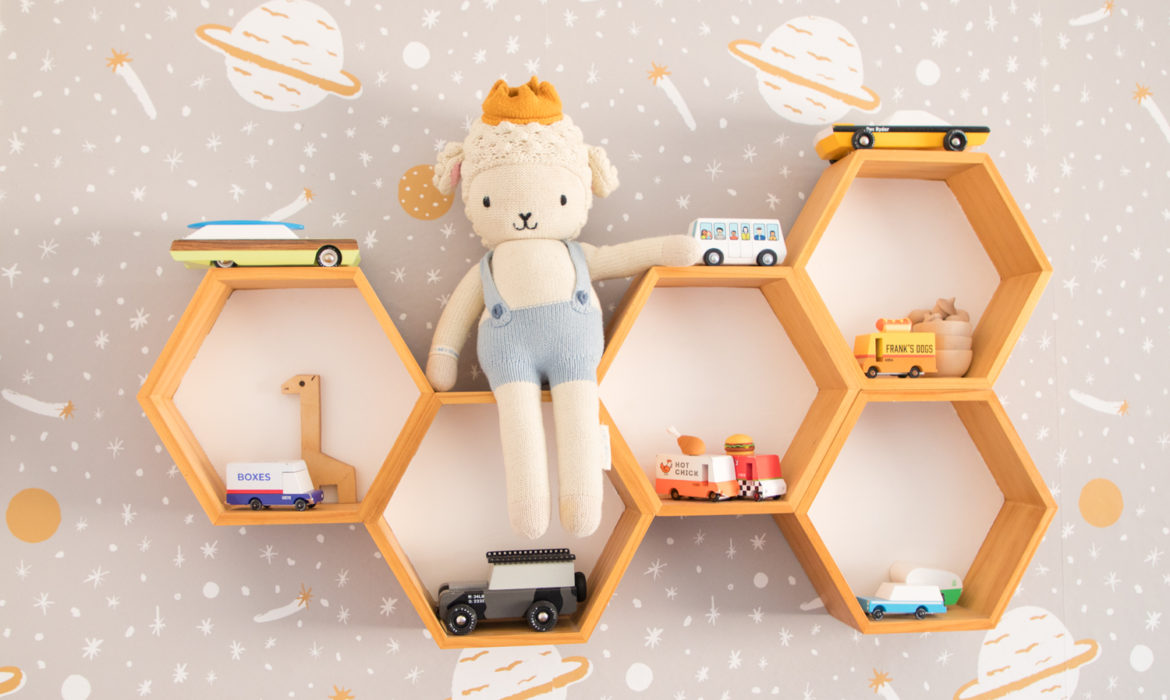

I found these cool wooden hexagon shelves in the craft isle at Target about 5-ish years ago. For $5 each. I had them in my living room hanging up separately but they really needed to become united in order to make a bigger impact. Honestly, they just look better together. They have been hanging up in Hue’s room for about 6 months and he loves them. He asks for his toy cars all the time and it’s a great way to show off his toys and keep them all collected. Here is how I diy-ed these.

Here is what you need:
- Hexagon shelves (The one’s I got are no longer available but I have seen them at JoAnn’s, Amazon and in the dollar section at Target ((smaller but just get a couple more)), so when you see them grab them for this diy!)
- Paint (If you have a back and want to break up all the wood tones.)
- Paint brush
- Wood Glue
- Sponge, cotton ball, paper towel, sponge brush to apply the glue
- Painters Tape
- Nails
- Hammer
- Clear Varnish (0ptional)
Here is how I made it one piece:
First of all when I first hung these up separately in my living room, I stained them and put on a clear coat of varnish. So You can do that part but it’s not necessary. Once I decided I was going to make it one piece for Hue’s room, I decided to paint each back white to break up all the wood tones. I wanted objects to pop more, so I knew a white back ground would help with that. I used painters tape to prevent any white paint getting on the sides and used acrylic white paint.
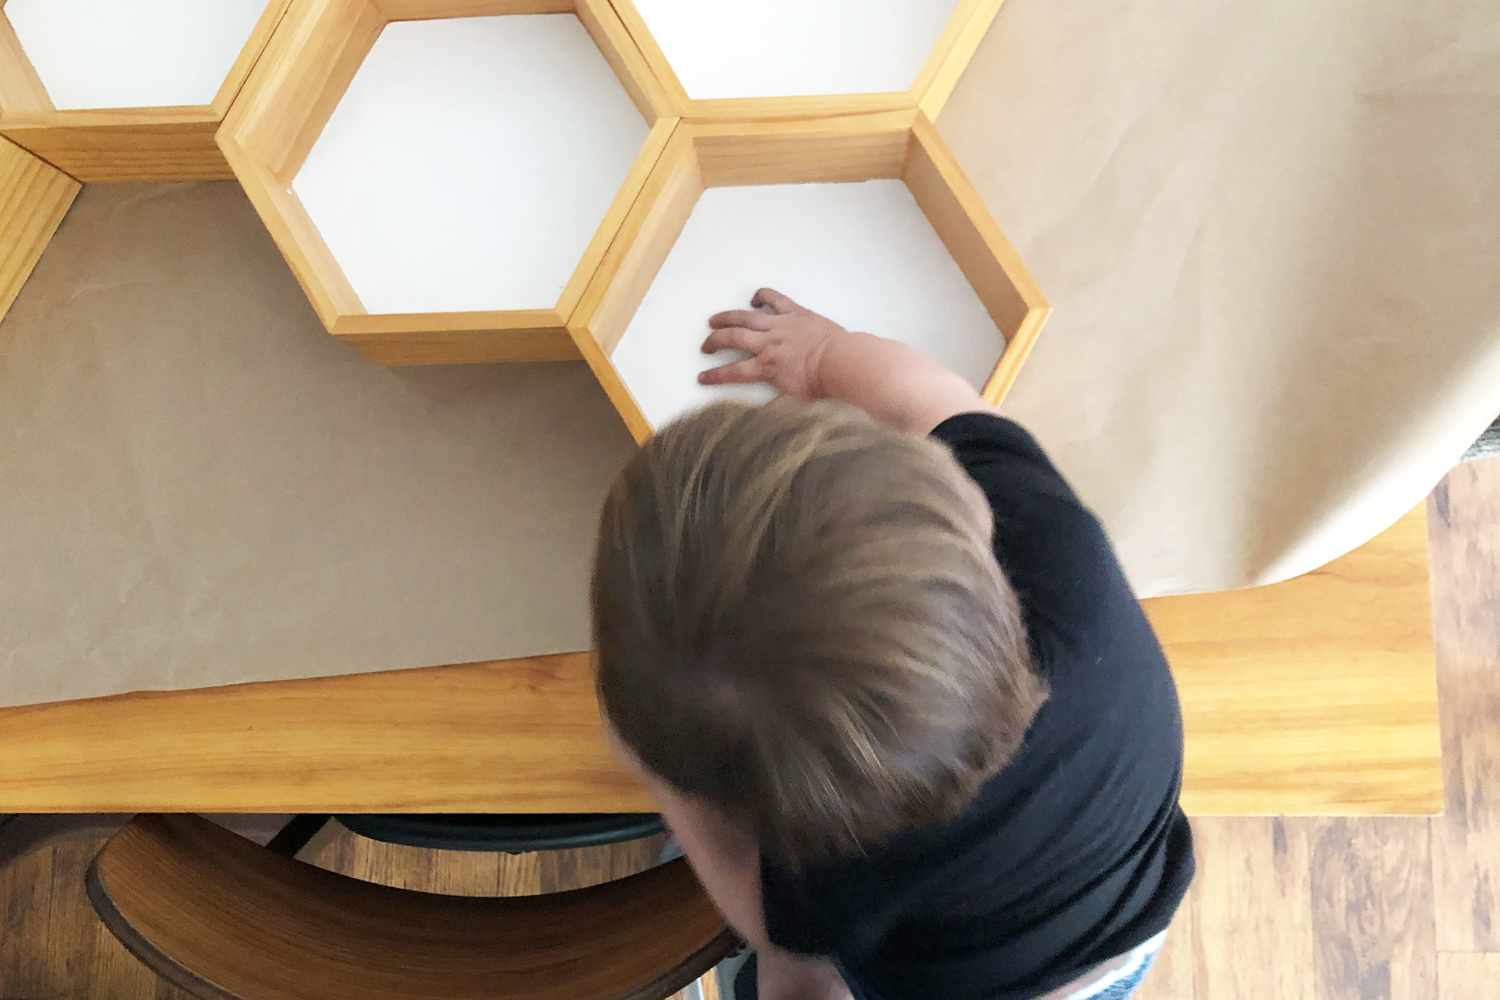
Once the paint dried, I set up all the hexagons on my dining table and moved them around until I was happy with the shape. I then wood glued them together and used painter’s tape as clamps to hold the individual pieces together until the wood glue dried. I made sure the nail hangers were facing the correct way before I glued everything together.
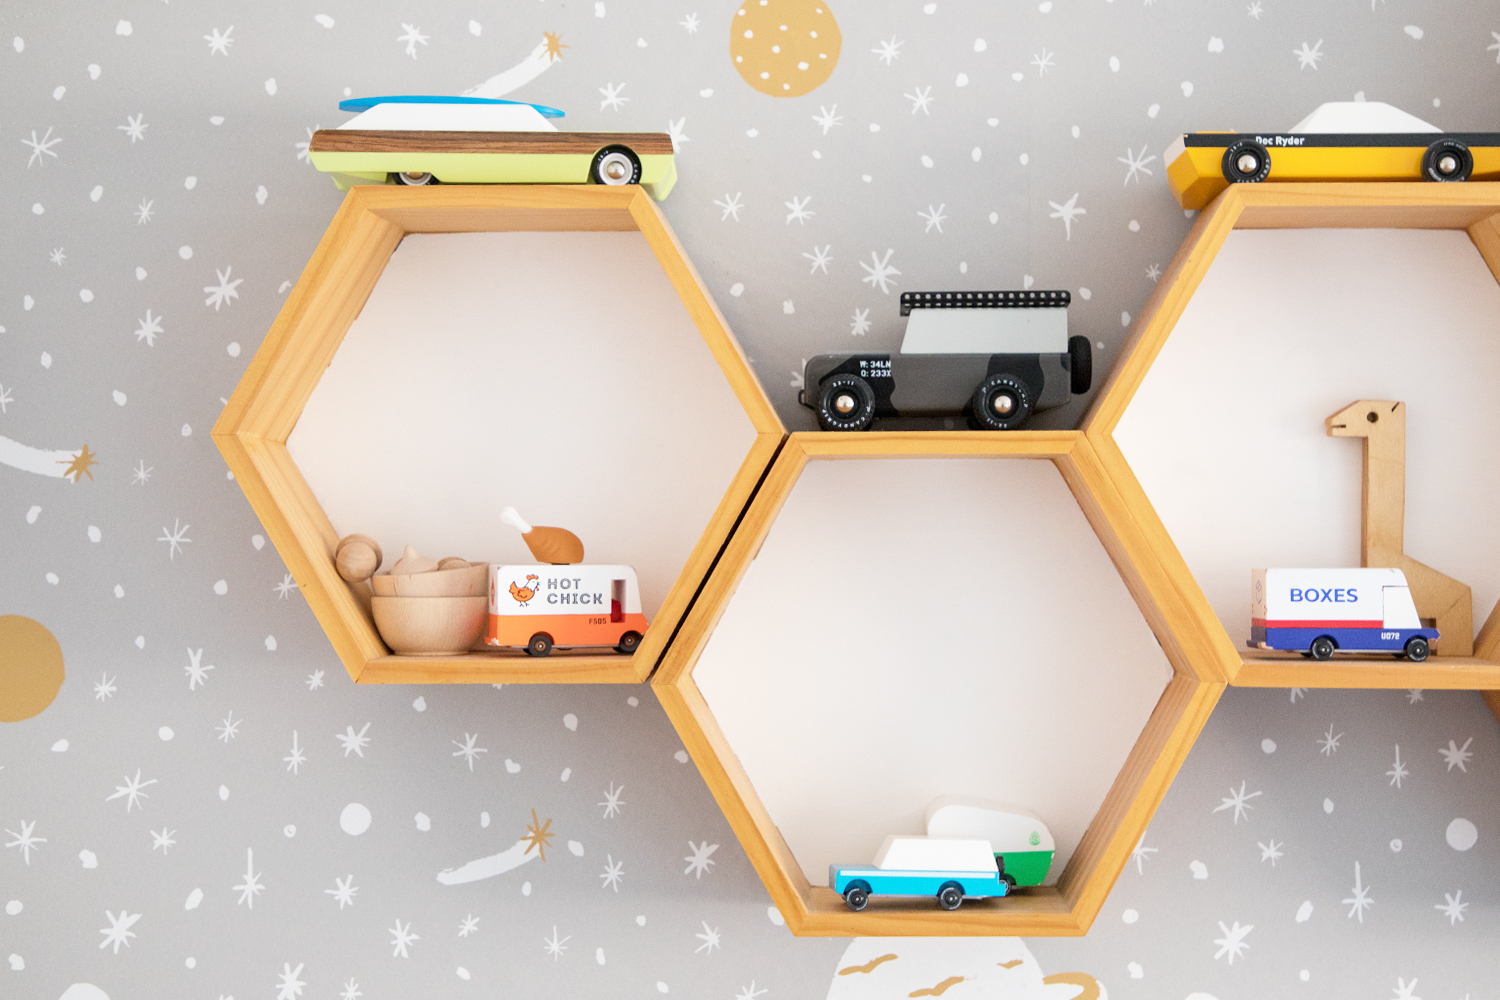
One it was dry, I nailed two nails in the wall and hung it up. I put all of Hue’s cute toys up on the now all-together shelf unit.
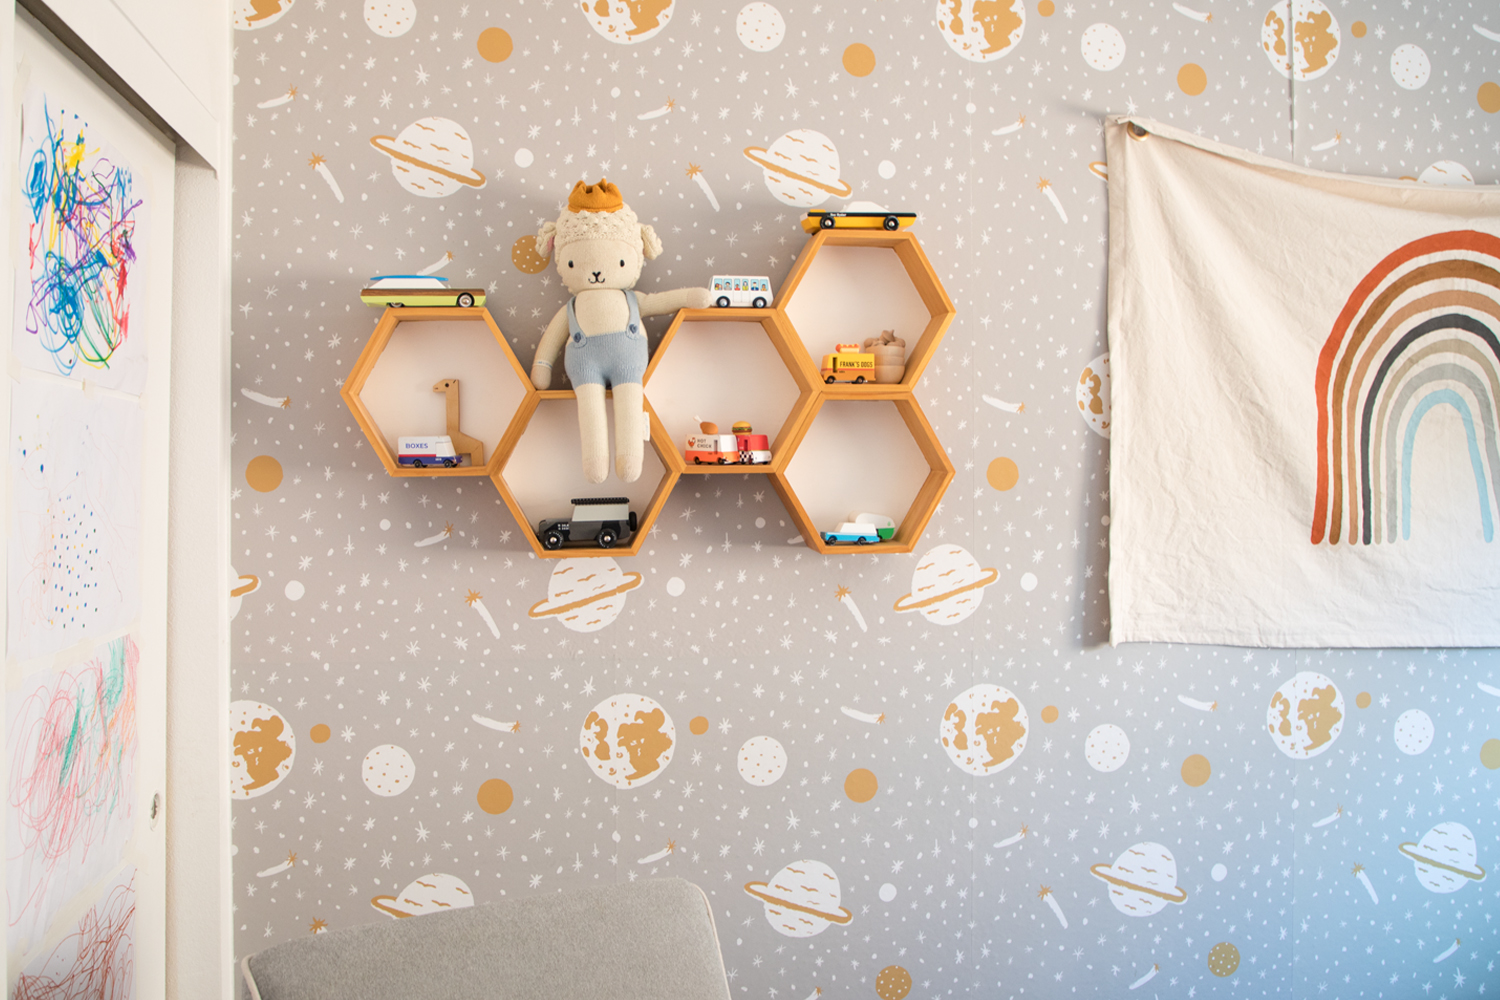
I made these about 6 months ago. They have held up well but I noticed one of them had a huge gap in it so I took it down and it came apart from the rest of the unit in my hands. So, I just wood glued the piece back on the rest of the unit and used painter’s tape again as clamps. I was trying to force the surface to all be flush the first time around but this time I didn’t force it and I think that might have solved the issue. Besides that I have had no problems with it. Here is a pic of the gap I was talking about. You can see the hexagon all the way at the left is coming apart. That is what I glued back together.
This was a pretty easy DIY with a huge impact once I was done. I am so glad I decided to repurpose these into something that ended up looking so much better! It looks really cute in Hue’s room too!