When I was pregnant with Hue we knew our home office was going to soon turn into a nursery. So we cut down my desk to fit a small area in our living room. It use to be much bigger when it was in our home office pictured below.
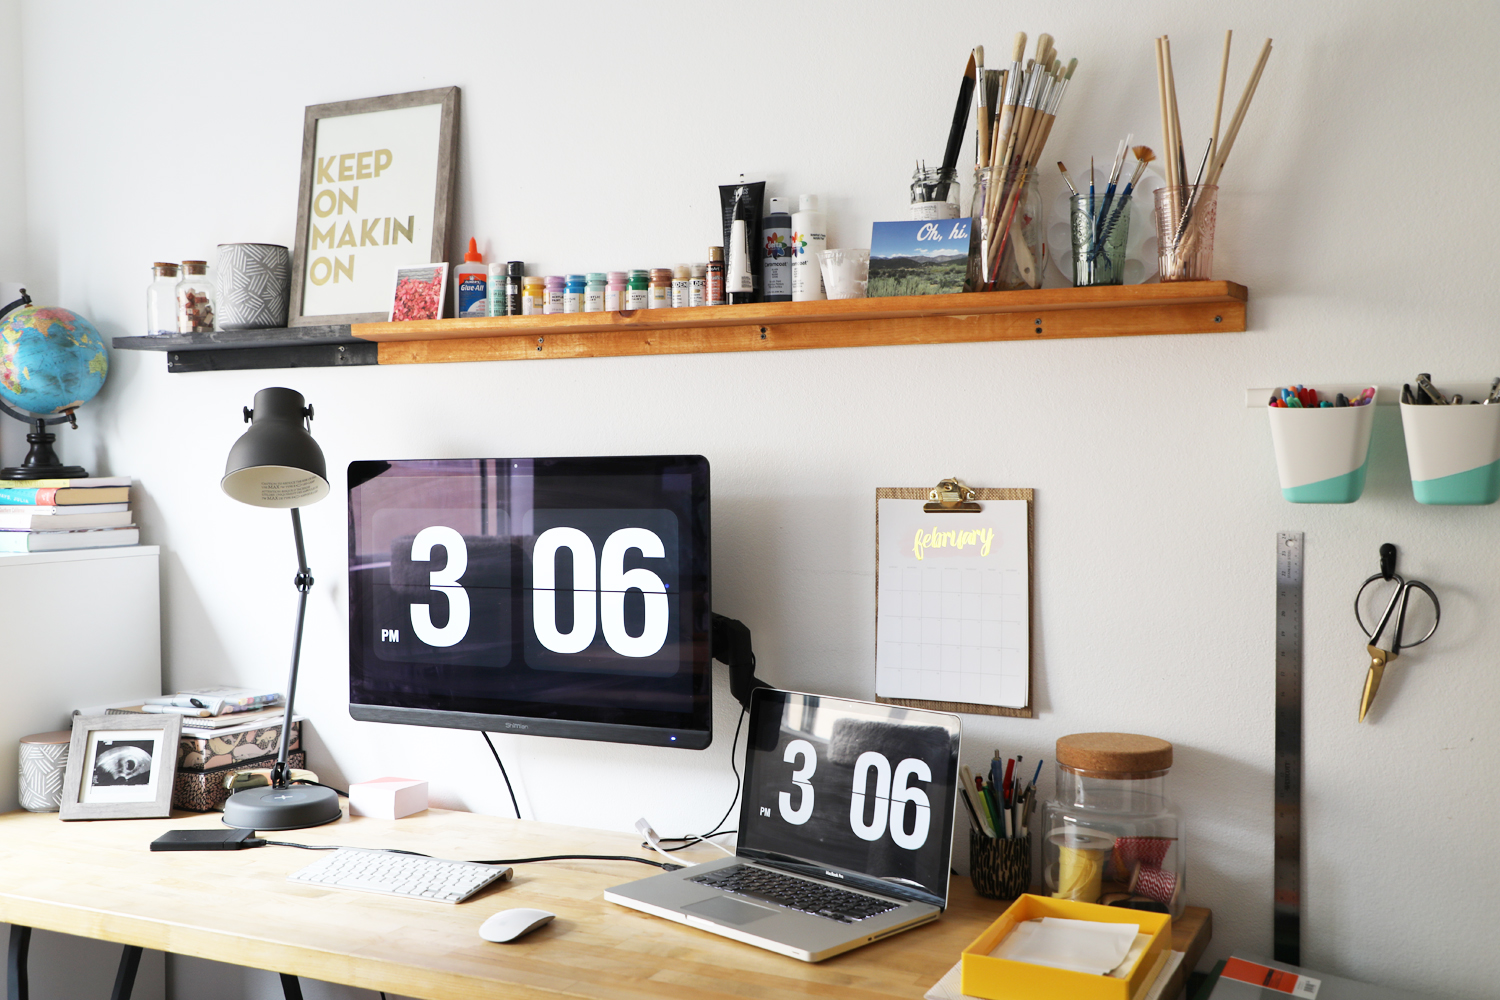
We moved Jake’s side of the office into our bedroom and my side of the office into the living room/entry way area. I had to pare way down. The first thing we tackled was the size of my desk. We made that desk back when we were living in our apartment in Burbank. They are Ikea butcher block counters and we just attached legs underneath. Ikea will cut the butcher block piece to the size you need which is great but once we needed to change that original size we couldn’t find a place that would cut it down for us. So we bought a circular saw and trimmed it down ourselves. The legs I had underneath were these but since the desk was way smaller after we cut it I needed less bulkier legs. Luckily we had our old dining room legs available. You can see what they looked like in the dining room here. The slim legs (not exact but similar) could never really support the weight of our dining table and it was forever wobbly. We had already replaced the dining table legs with sturdier ones from Etsy. So we had these slim legs just hanging around. They fit perfectly with the new width and the desk was small enough so these legs were able to support the trimmed-down butcher blog weight.
Here is how we made the desk.
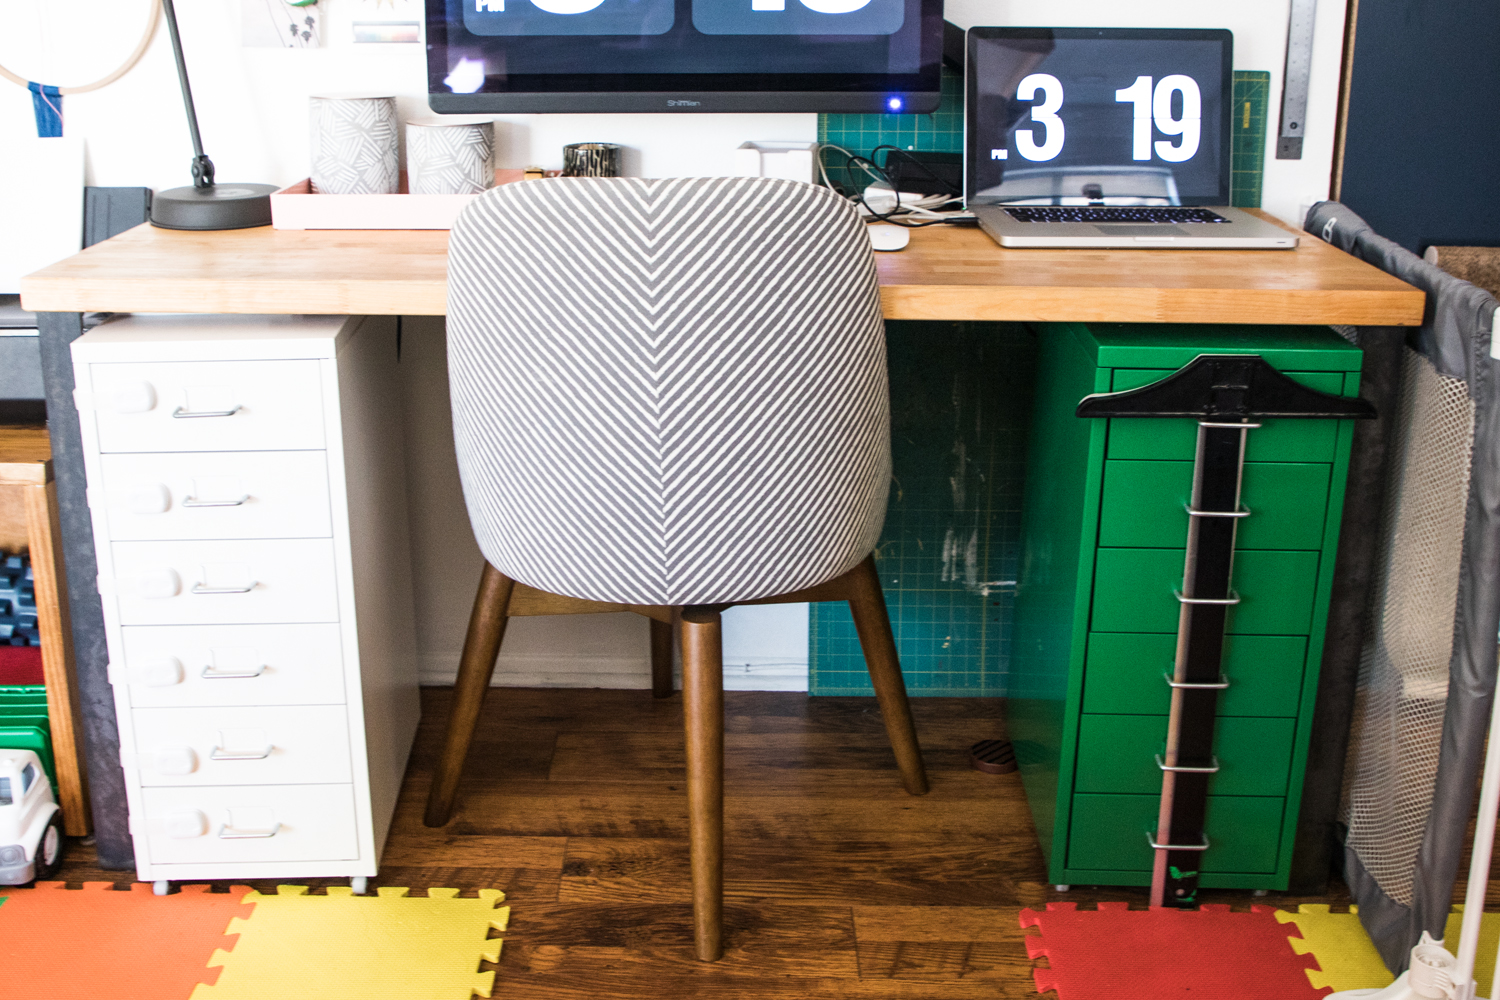
After trimming with a circular saw to the size we needed. We lightly sanded and then applied a thin non-glossy polyurethane. Once that was dry we turned the finished side so it was facing the ground. That way we could attach the legs. We screwed the legs towards the edge and made sure it was centered width wise. Make sure the leg to edge distance is the same on each side. We checked to make sure the desk felt sturdy once turned upright. It is pretty simple. You don’t even have to get butcher block. You could even go to a hardware store and get a thicker piece of wood and have them cut it to the size you need.
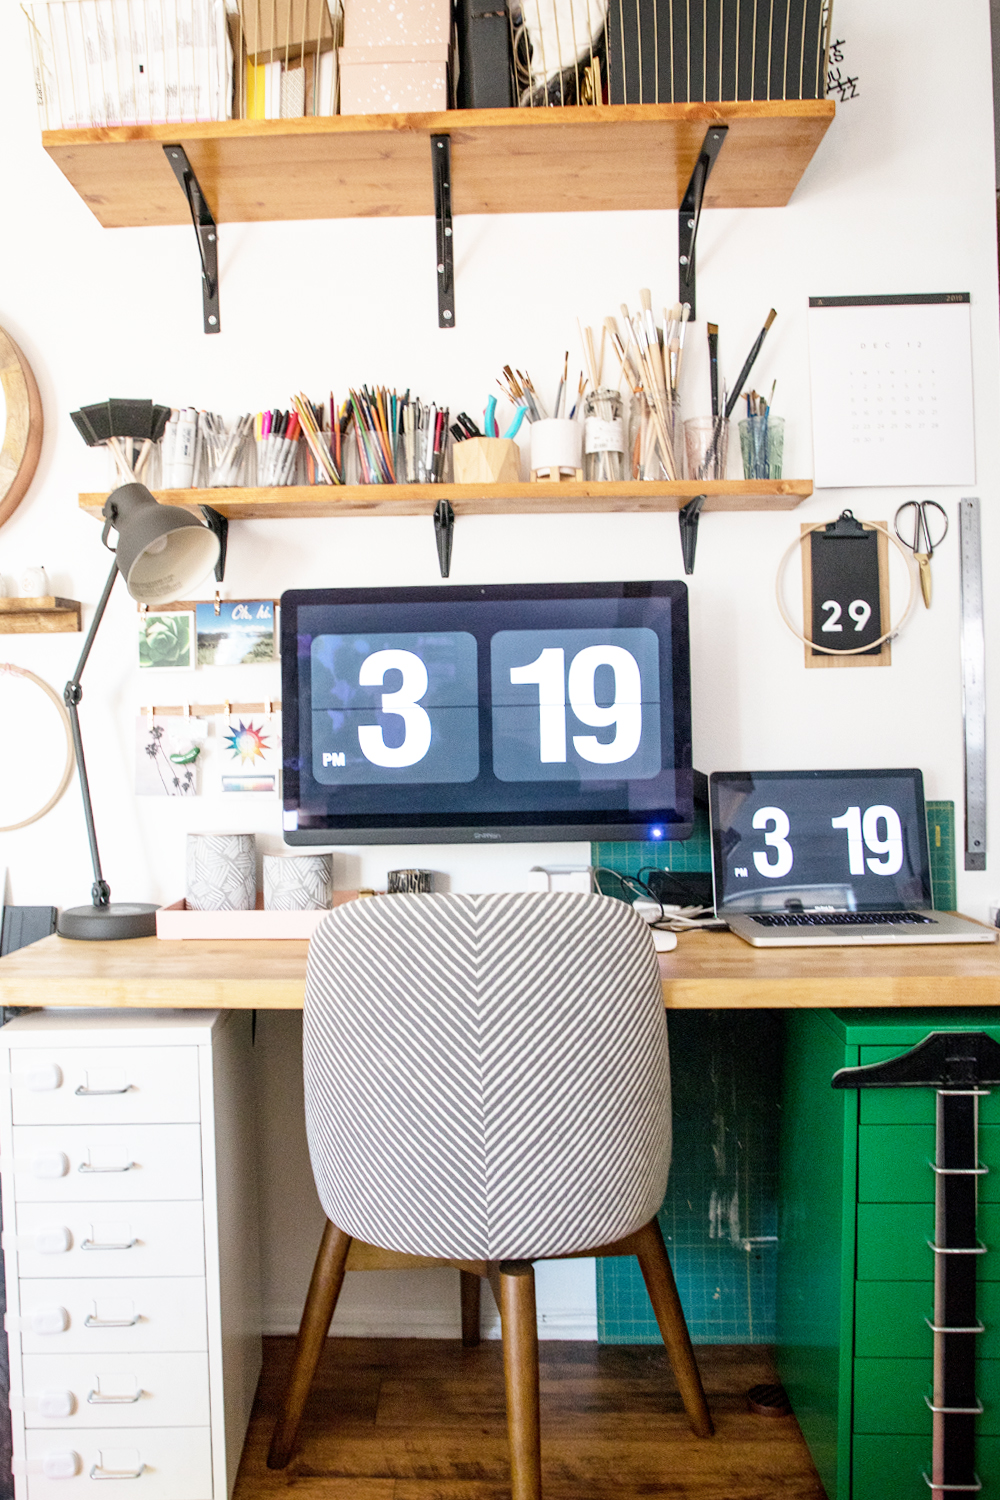
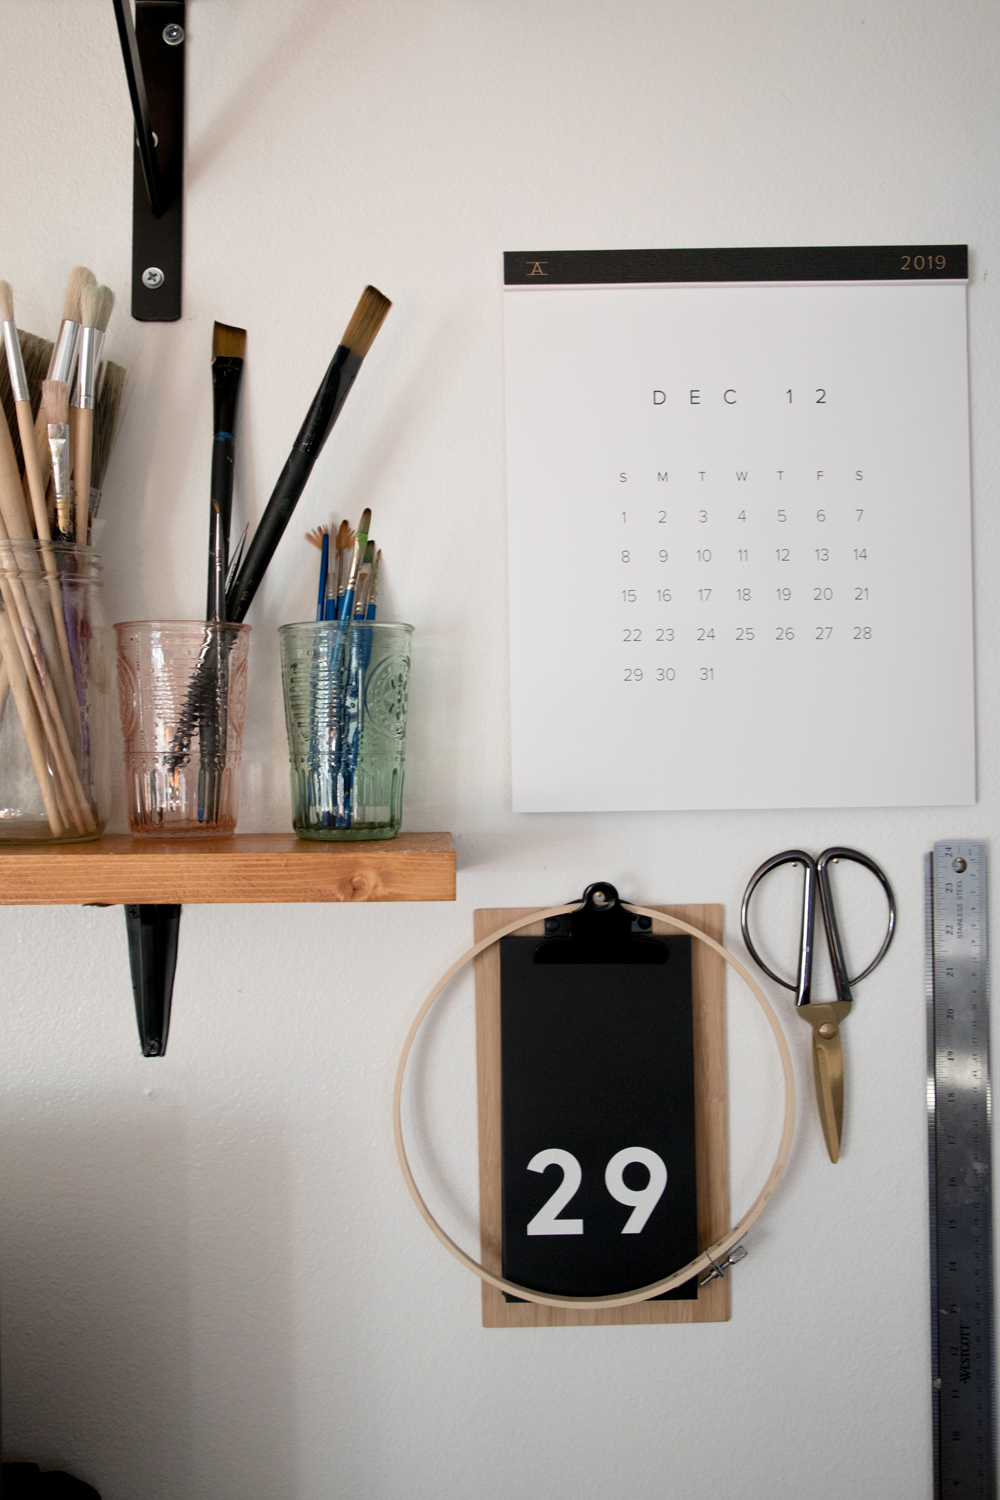
Since I was having to pare down my office I decided I needed a new chair! I got this chair from West Elm. I don’t see this fabric available but here is a very similar chair. We had some extra wood in the garage to make the shelves and I think we got the brackets from a hardware store. I am going to do a shelf tutorial soon because I keep getting asked how to make a shelf!
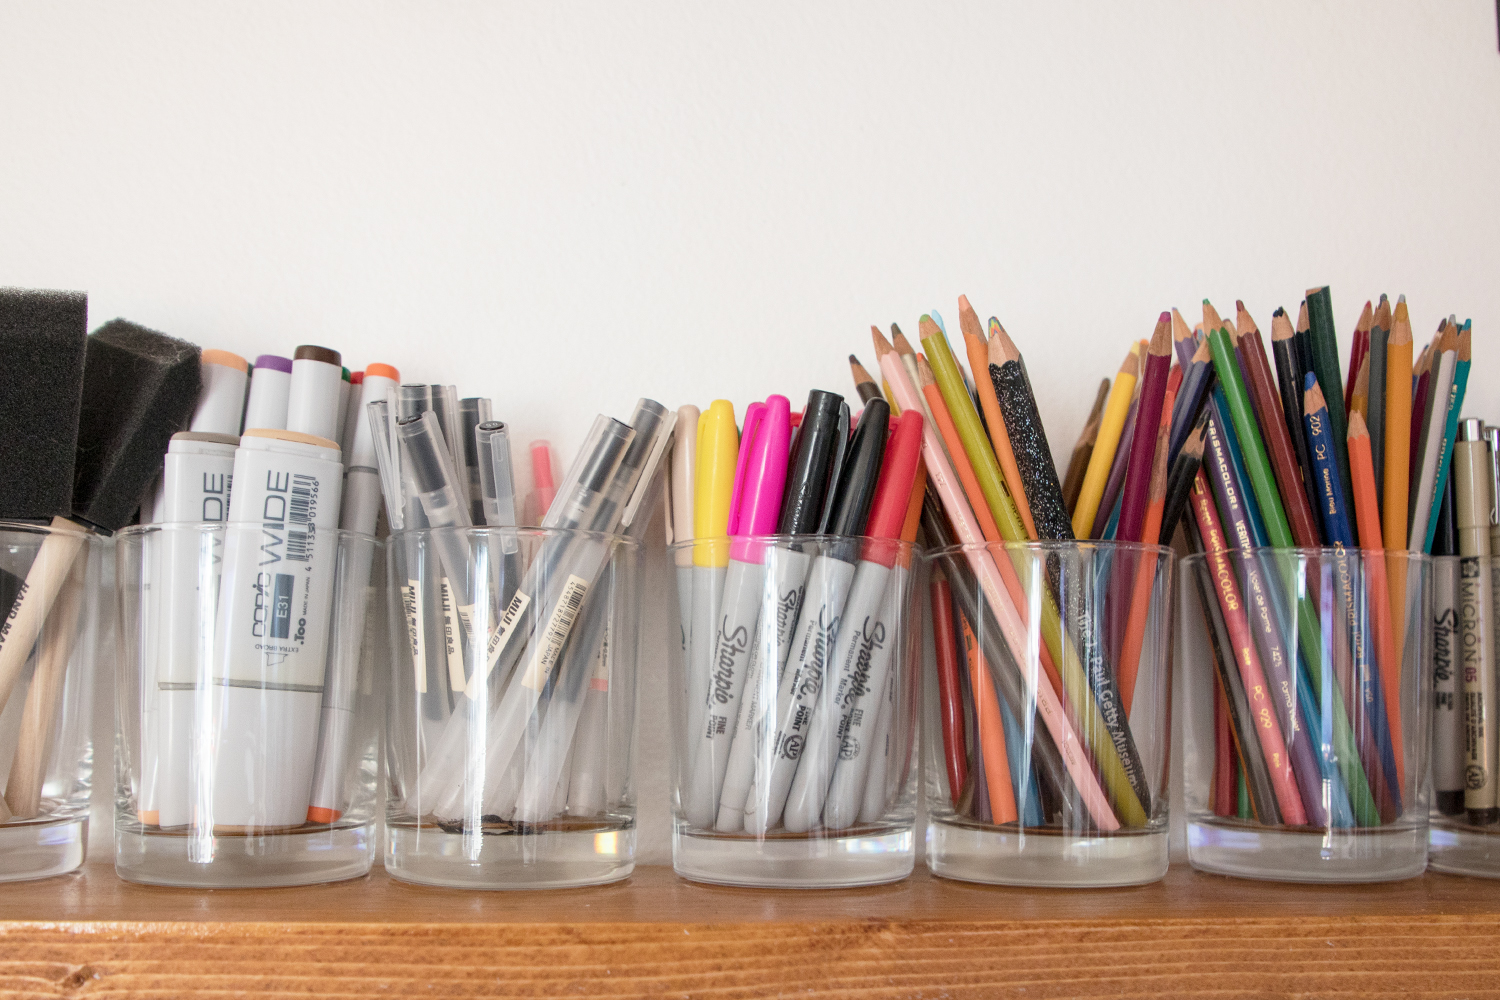
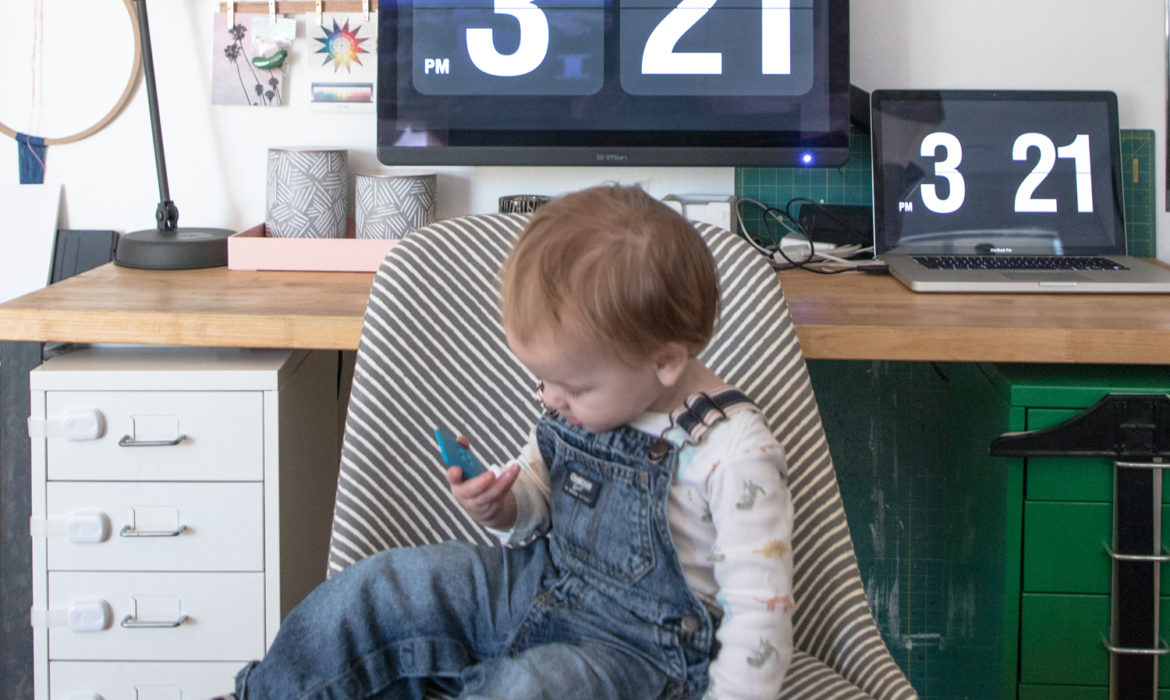
I designed this desk area while I was still pregnant so some of the choices I made I probably wouldn’t make now. These glass jars are cute but Hue already climbed up on the desk and threw a glass. It didn’t break but it was enough for me to start realizing that we are going to have to make some changes in the near future. For now we moved the bench he used to climb onto the desk from!

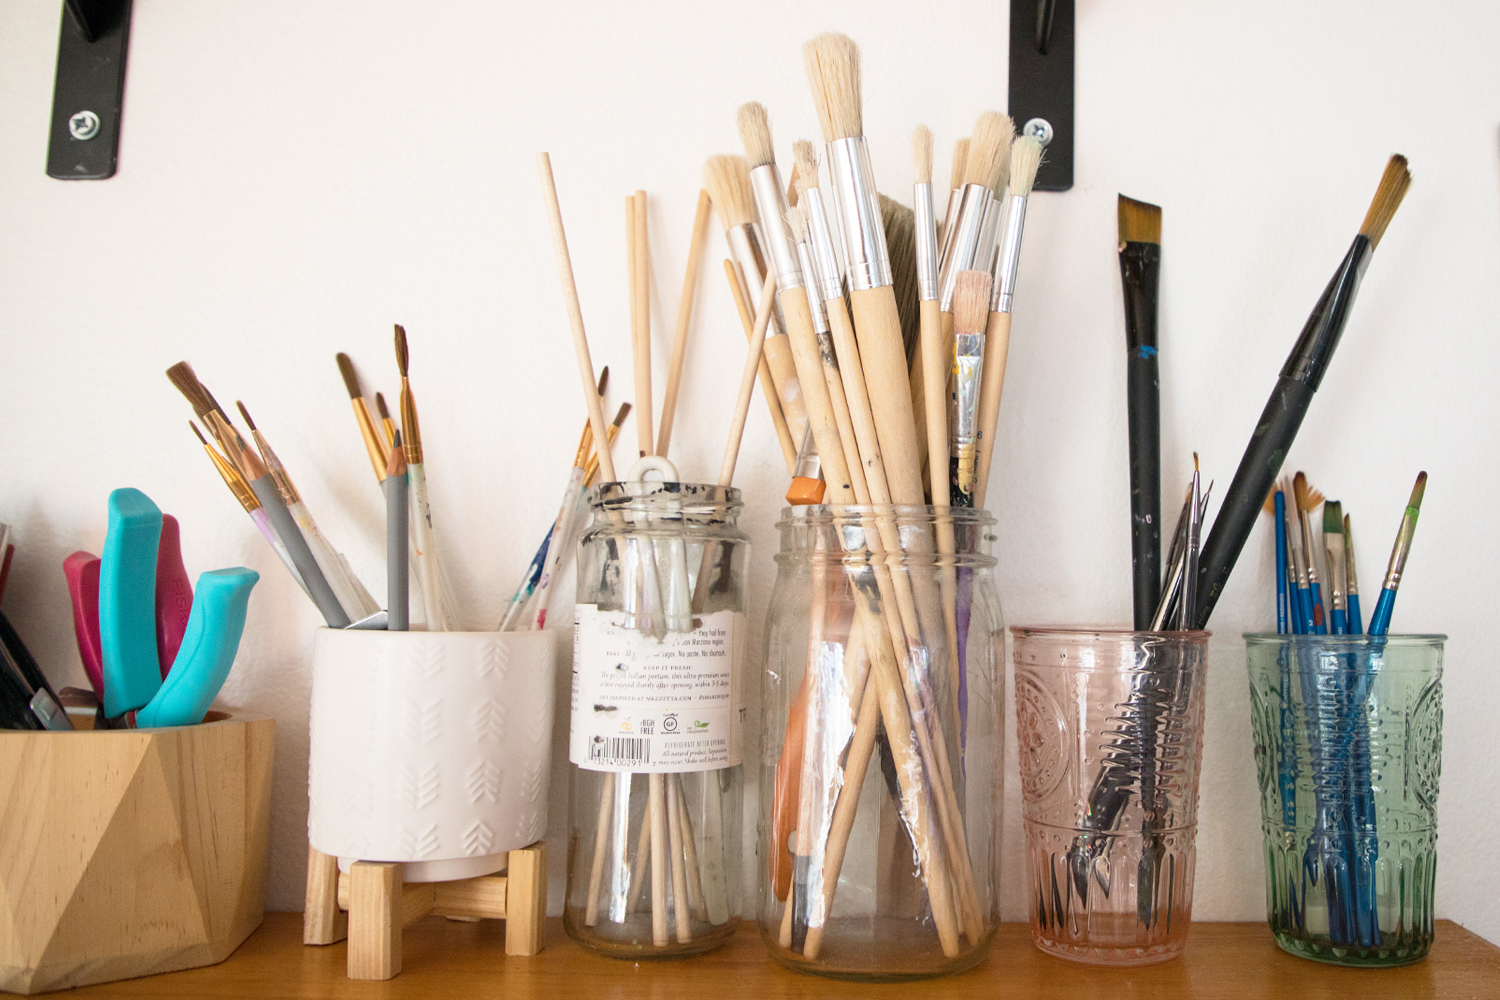
It is a very efficient desk. It holds all of my necessities. I have so much art stuff!!! It is hard to keep it all contained. I mostly work on anything computer related on this desk. If I am painting, I move a mat over to the dining room table. We have a baby so we have a lot of baby mats and gates and I know this won’t always be the case. I am okay with the primary overload for this cute little moment in time with Hue.

This area is always changing since Hue is always growing. I am sure this space will look a lot different six months from now!
Florida
Hi to every single one, it’s really a good for me to pay a quick visit this website, it consists of helpful Information.